The latest Win2PDF update includes an additional command line feature to convert reports and other specially formatted documents to PDF using a fixed width font. This feature is needed for some reports to be rendered and viewed correctly, since many applications (especially older ones) were designed to send reports to a line printer or a simple fixed width text file. The results only look correct if each character is equally spaced.
Previously, the Win2PDF txt2pdf command line option would create a PDF file with variable width text. With the new command line option – formattedtxt2pdf – users can output the file with a fixed width text font instead of variable width text.
For example, here’s a portion of a report generated by a legacy application and saved to a PDF file using the original txt2pdf command.

Notice that the report doesn’t look right because the characters aren’t evenly spaced. However, here is the same report converted to a pdf file with the new formattedtxt2pdf command.
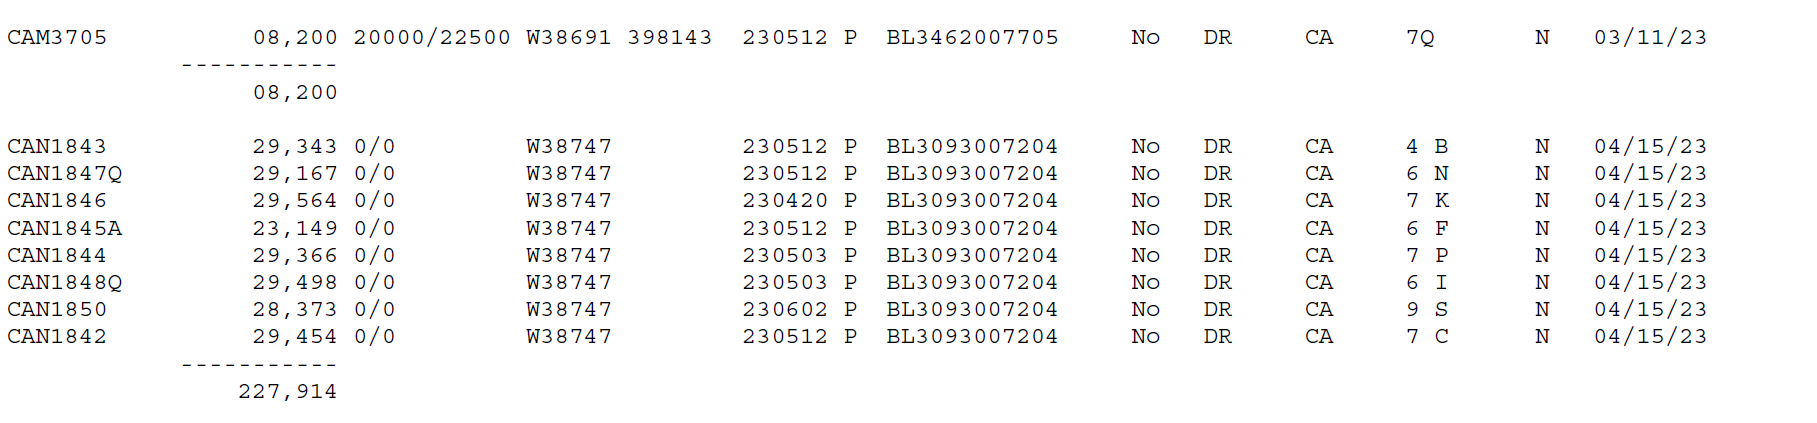
Now it looks correct, even though the text is exactly the same.
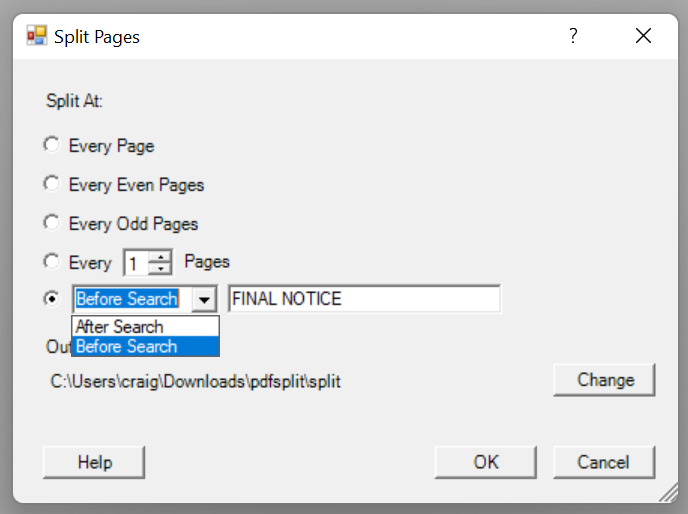
In addition to this command line feature, there’s a new Win2PDF Reformat As Text plug-in to simplify the creation of the files using this method.
First, download the plug-in setup file and double-click on it to configure the Win2PDF Reformat As Text plug-in. You will be prompted to enter the paper size, font size, and margin size to configure the plug-in values as shown below.
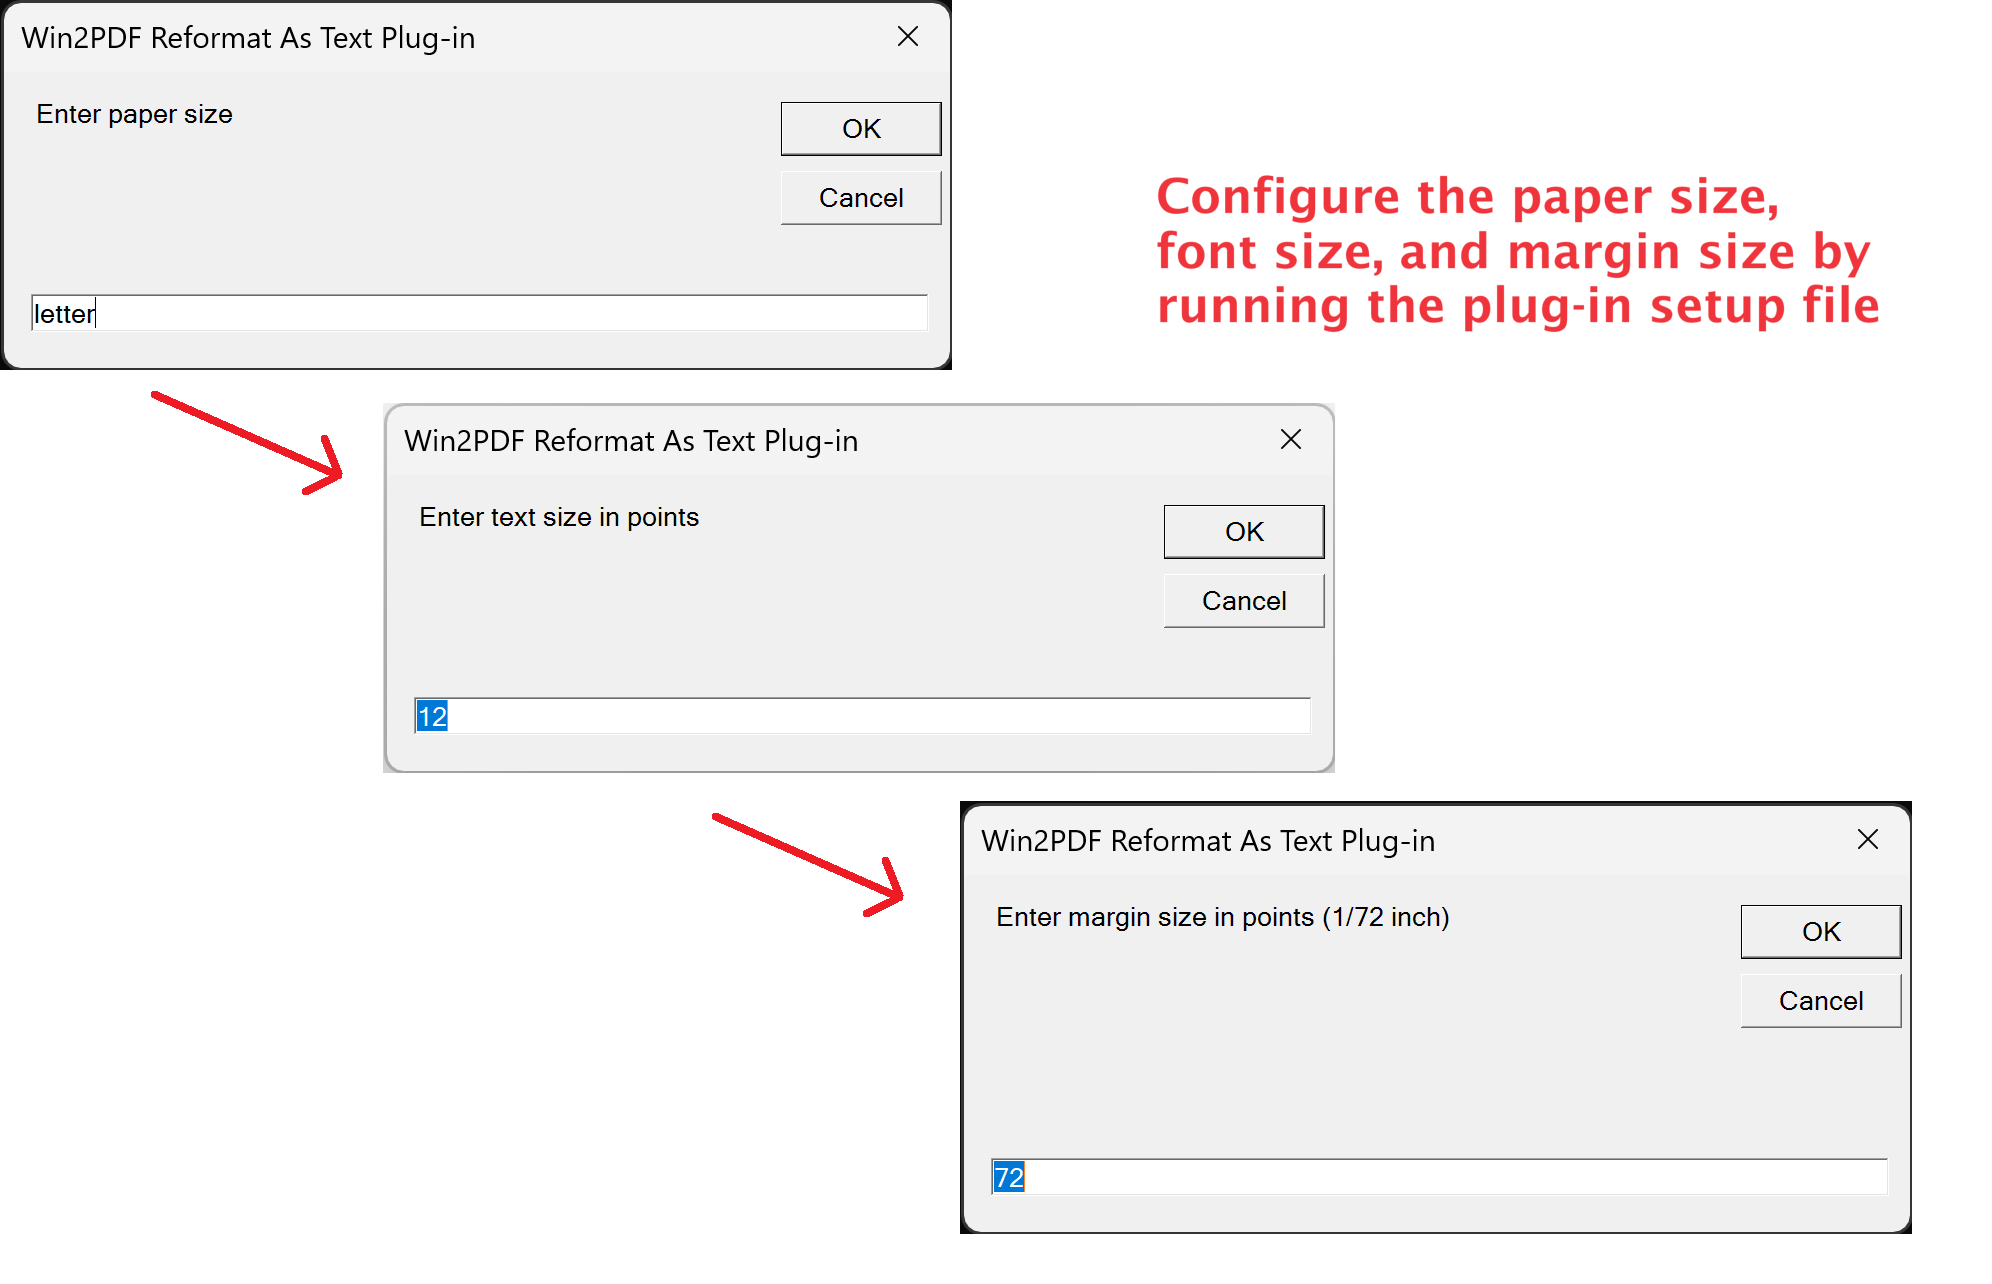
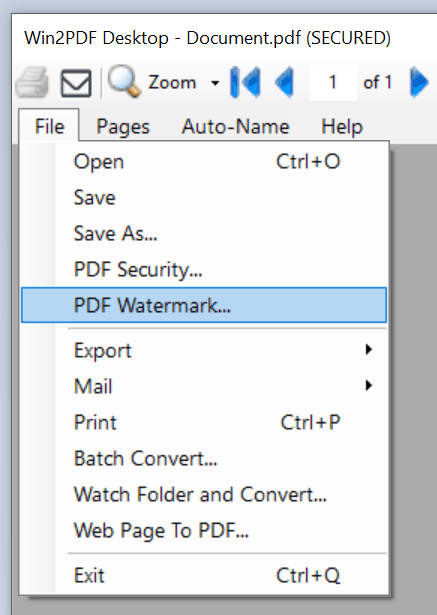
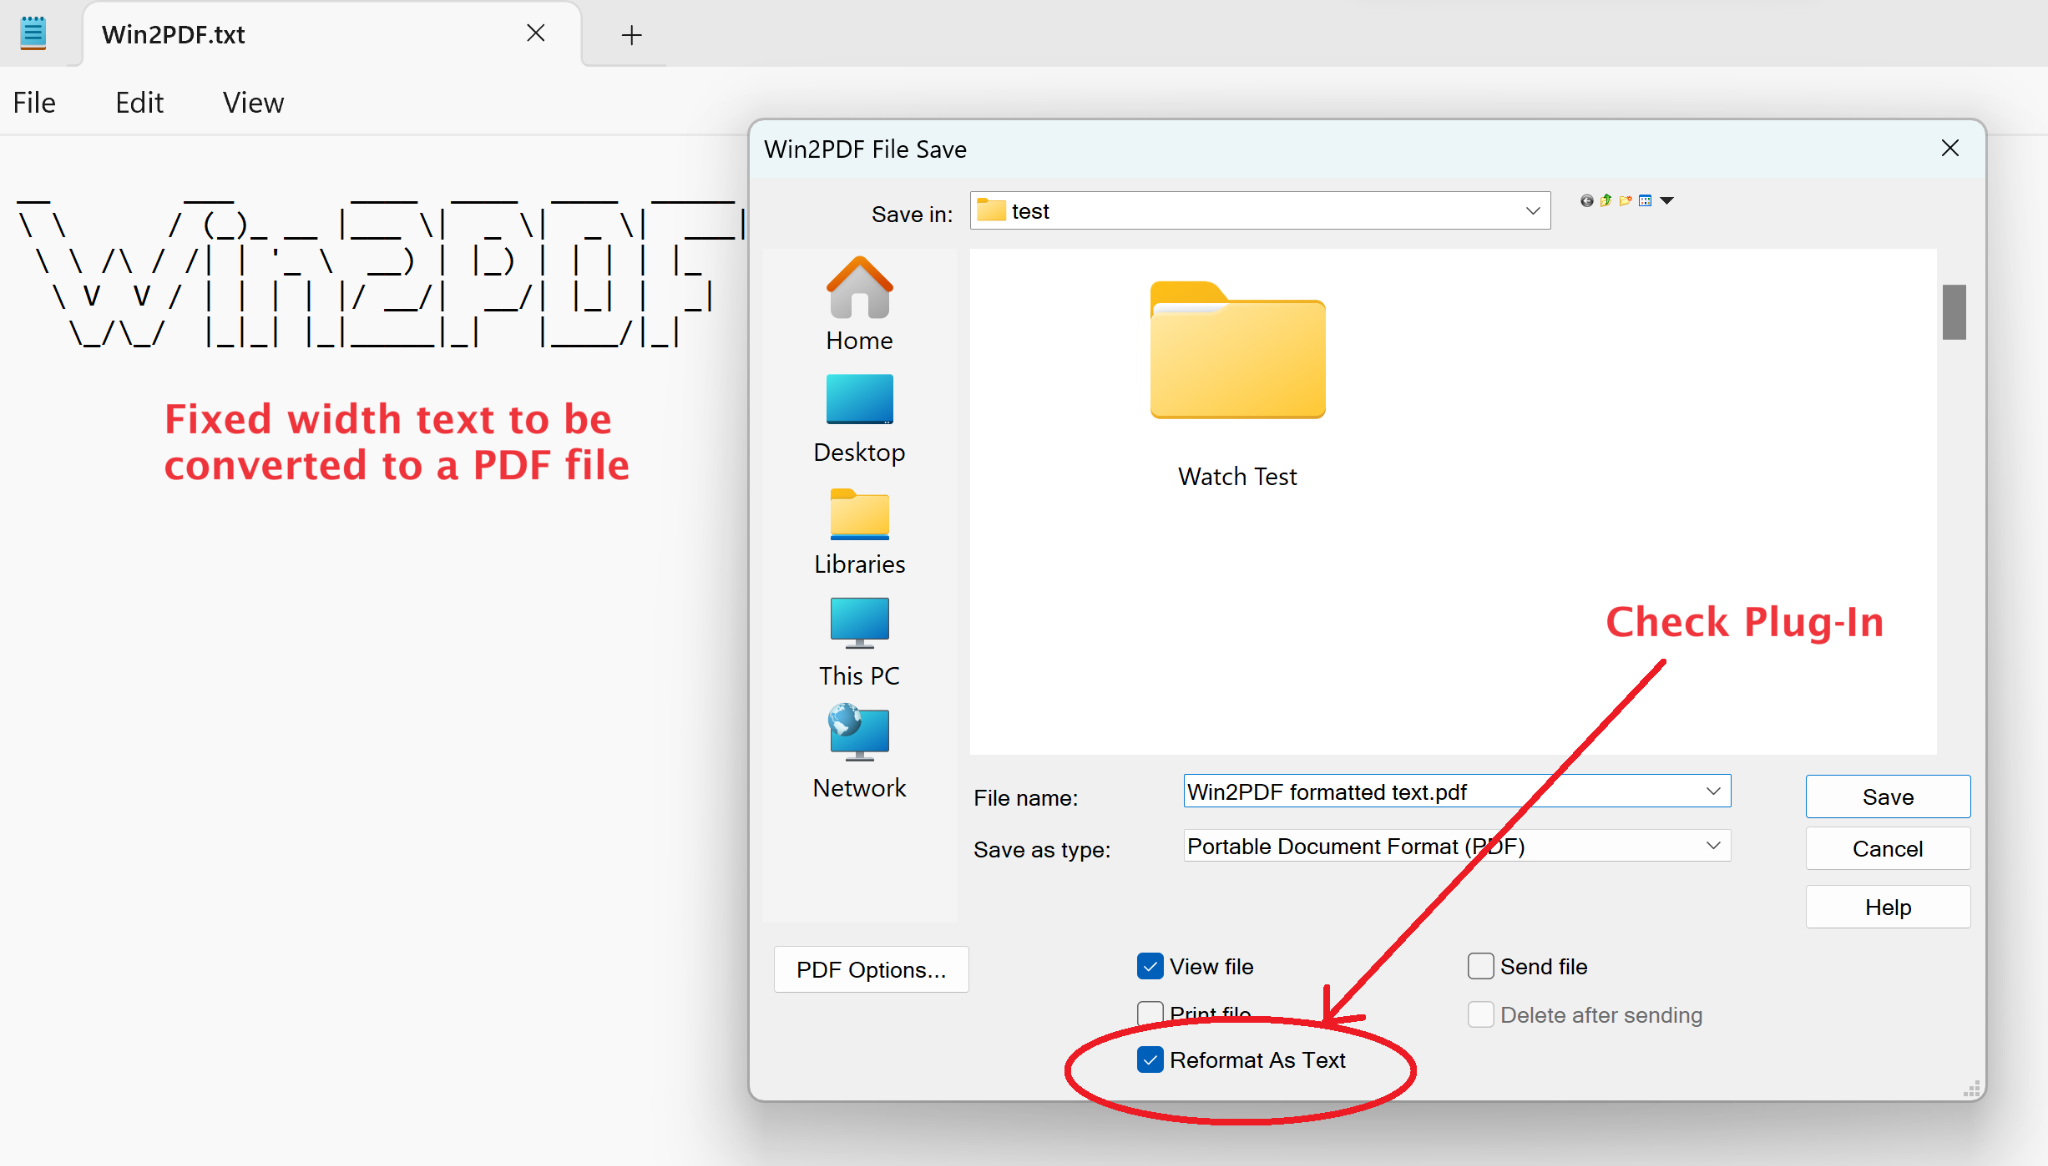
You may need to adjust these options to allow all text to fit on a page. Then, after the plug-in has been installed and configured, you can check the new box on the Win2PDF file save window labeled Reformat As Text. When saved, the fixed width formatted PDF file will be created.
Give it a try and if you have any questions, let us know.