
The recent Crowdstrike incident and UnitedHealth ransomware attack highlights the importance of having a robust business continuity plan in place. One way to ensure that your business can continue to operate in the event of a system outage is to use Win2PDF to automatically save reports and business critical documents to a local shared network drive.
This solution is particularly valuable for businesses in the Electronic Health Record (EHR) space, where access to patient records is critical. For example, in the ChangeHealth (a subsidiary of UnitedHeath) ransomware attack, it is estimated the attack will cost the company over a billion dollars this year.
“…Change Healthcare provides technology used to submit and process billions of insurance claims a year. Hackers gained access in February and unleashed a ransomware attack that encrypted and froze large parts of the company’s system…”
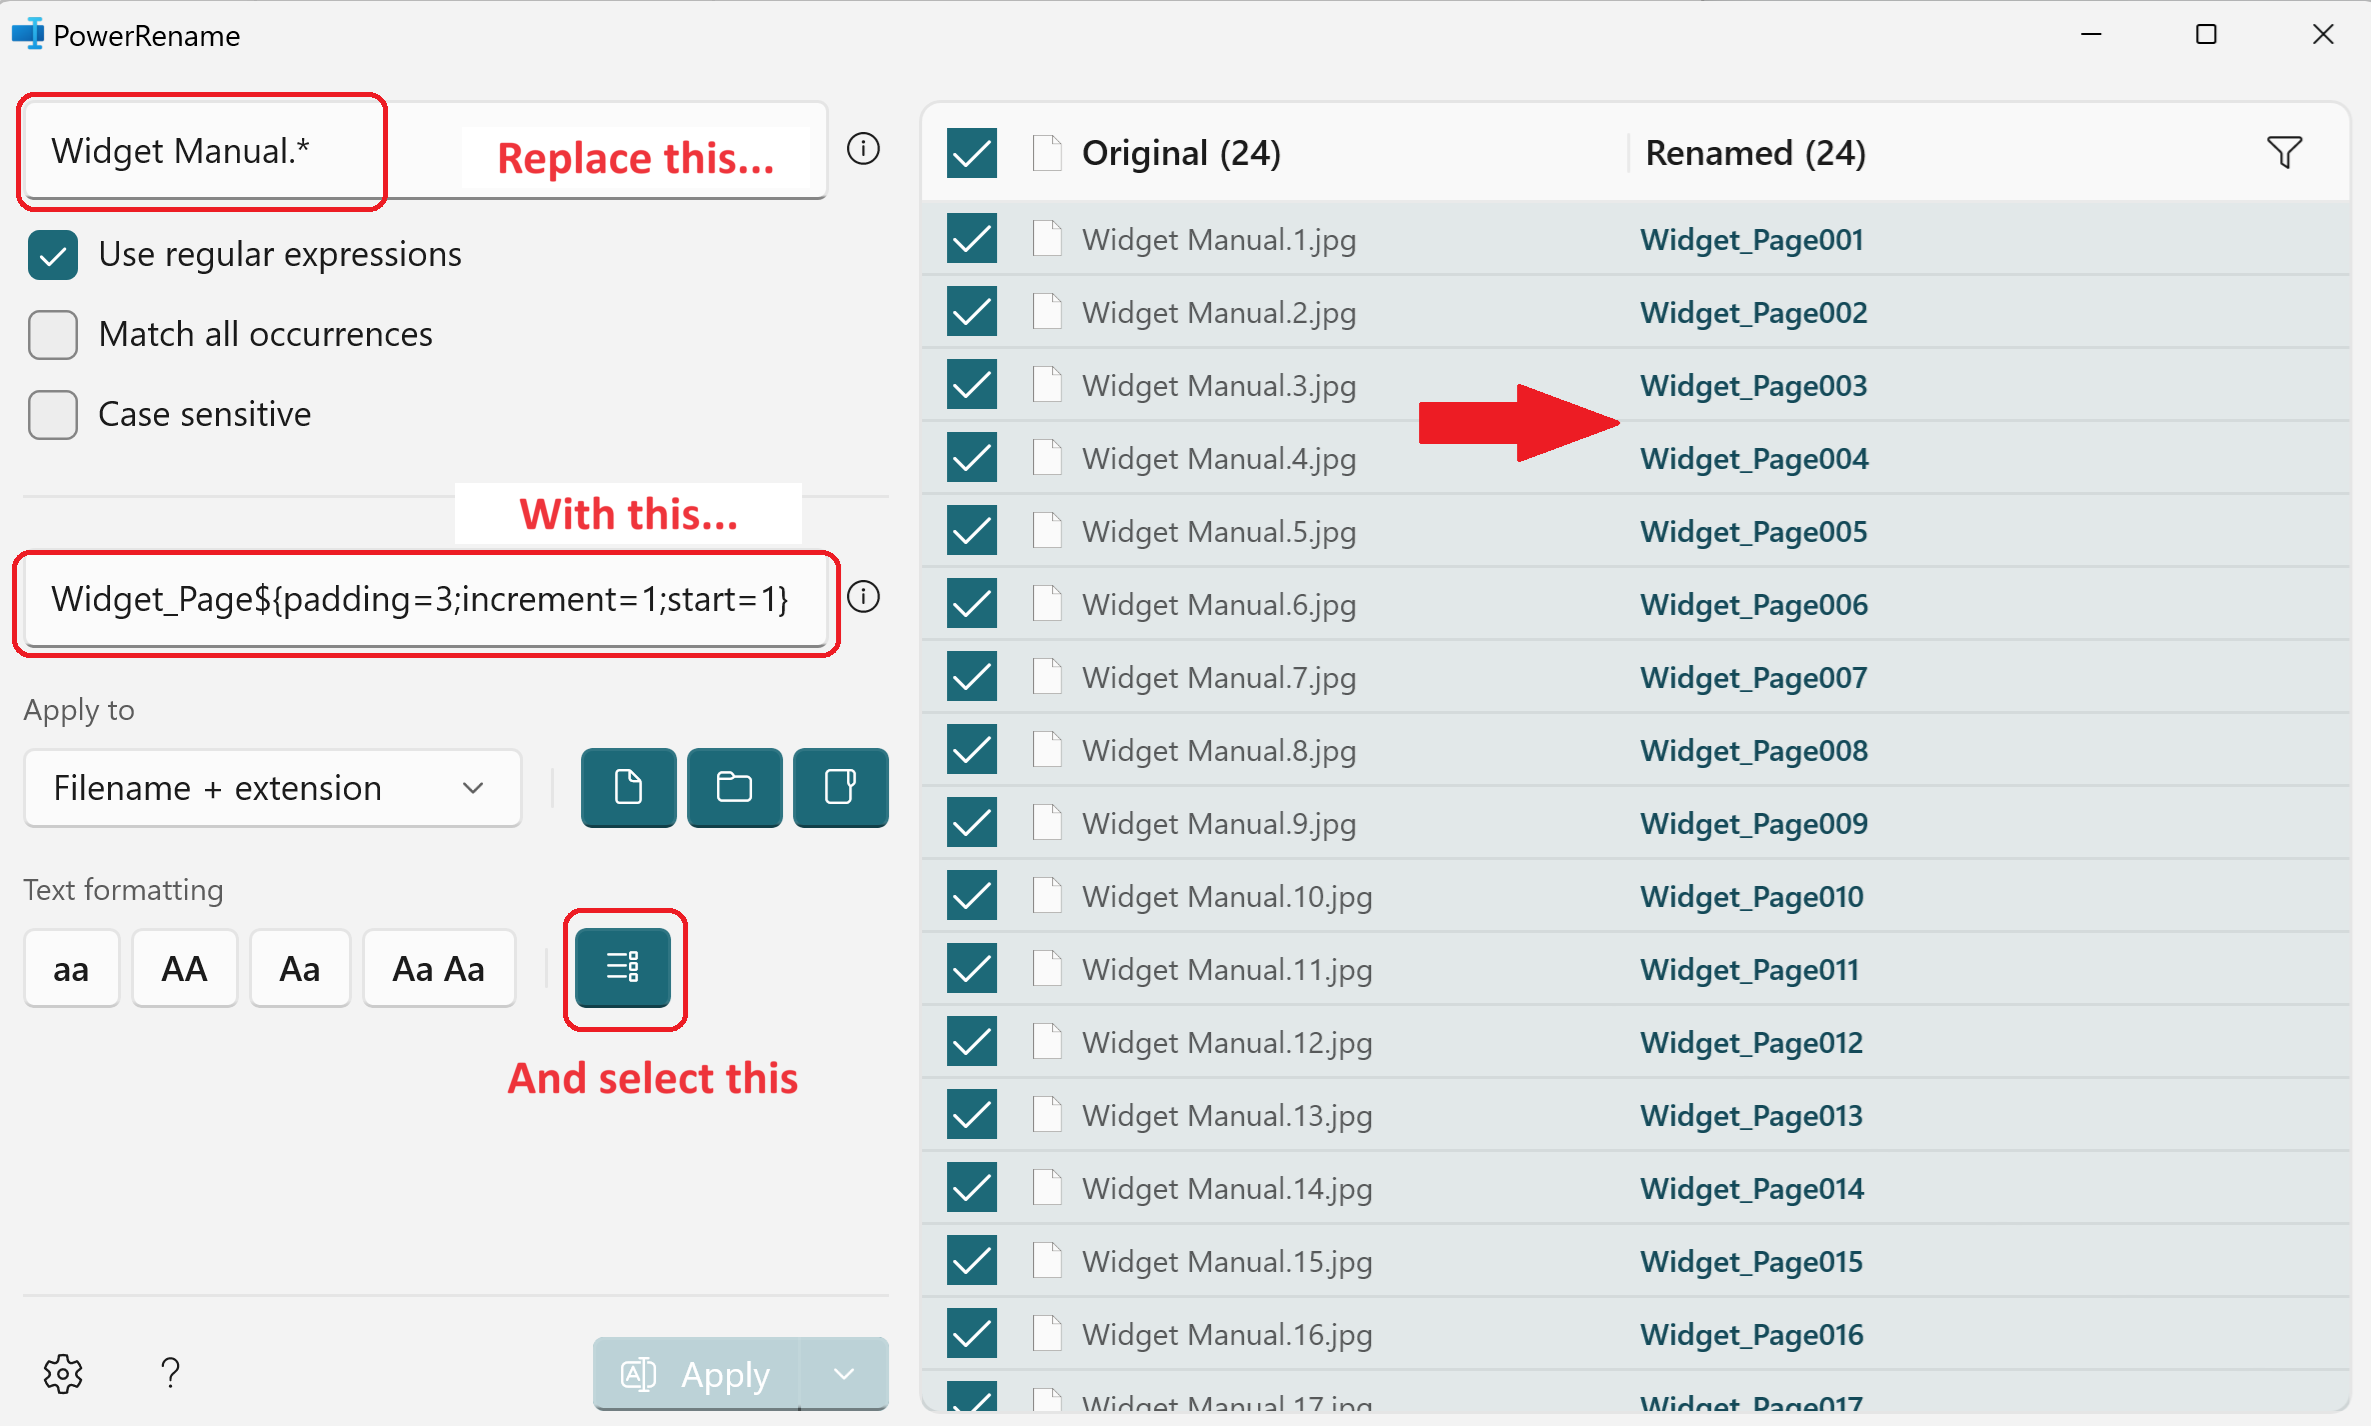
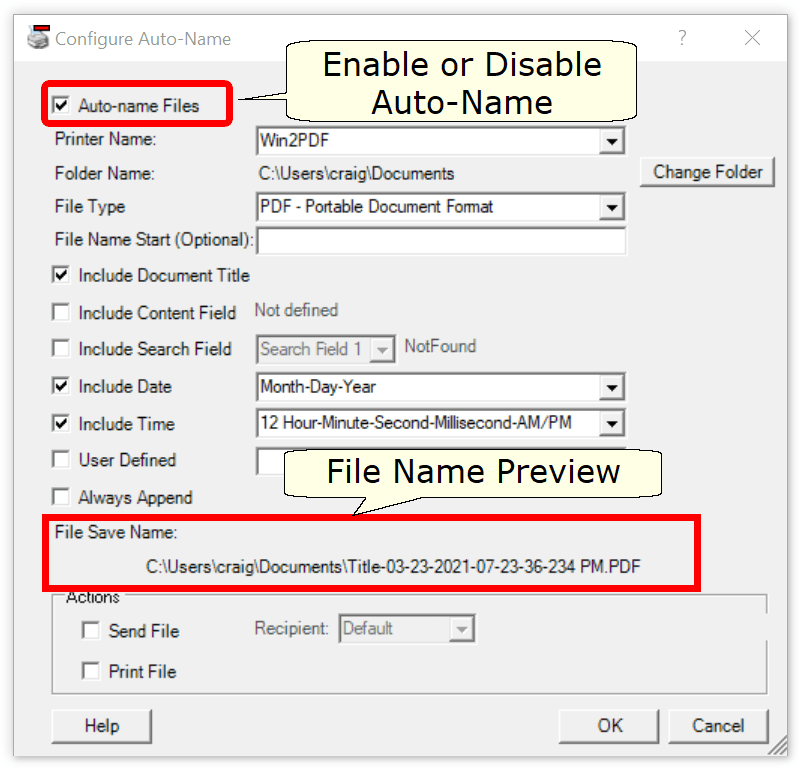
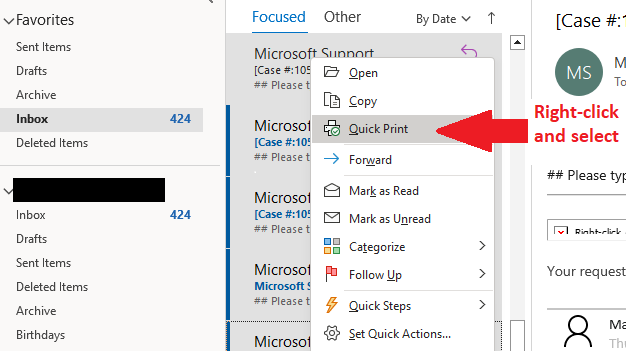
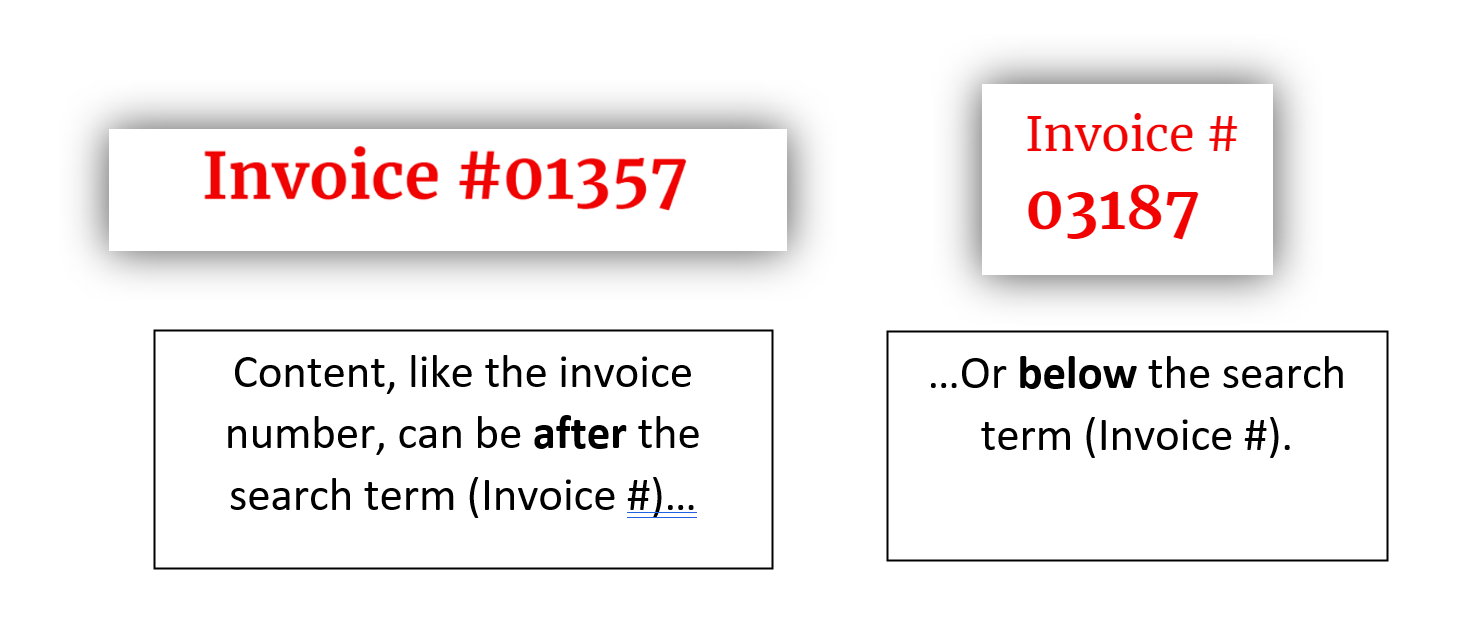
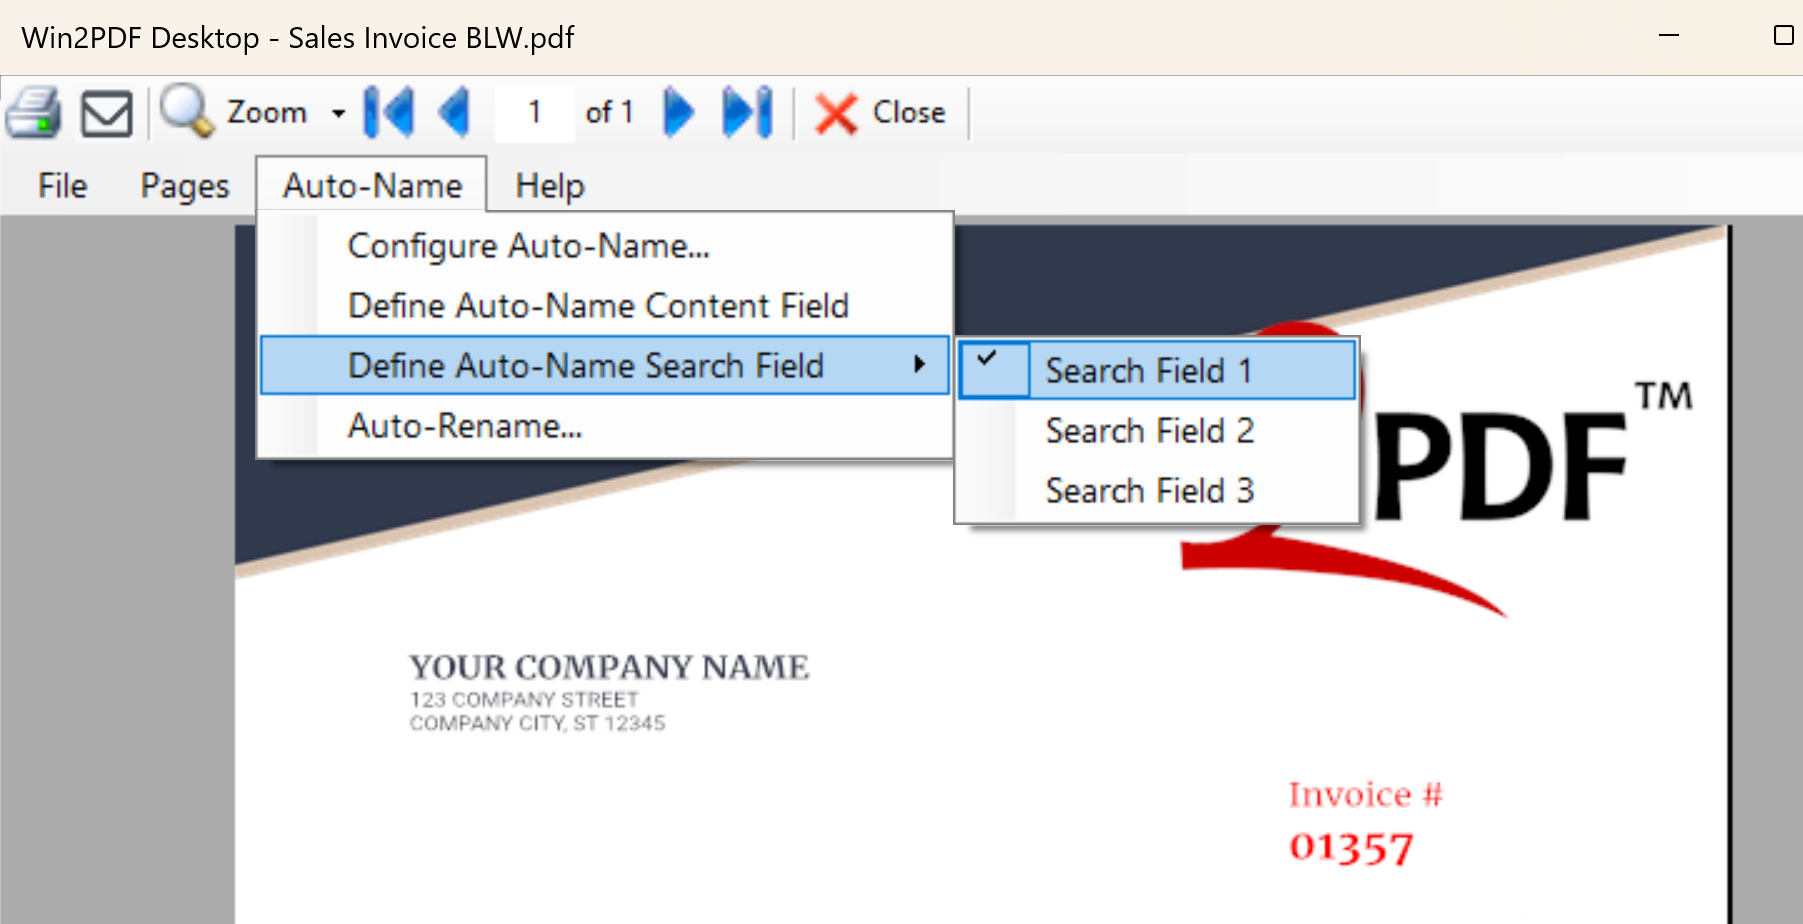
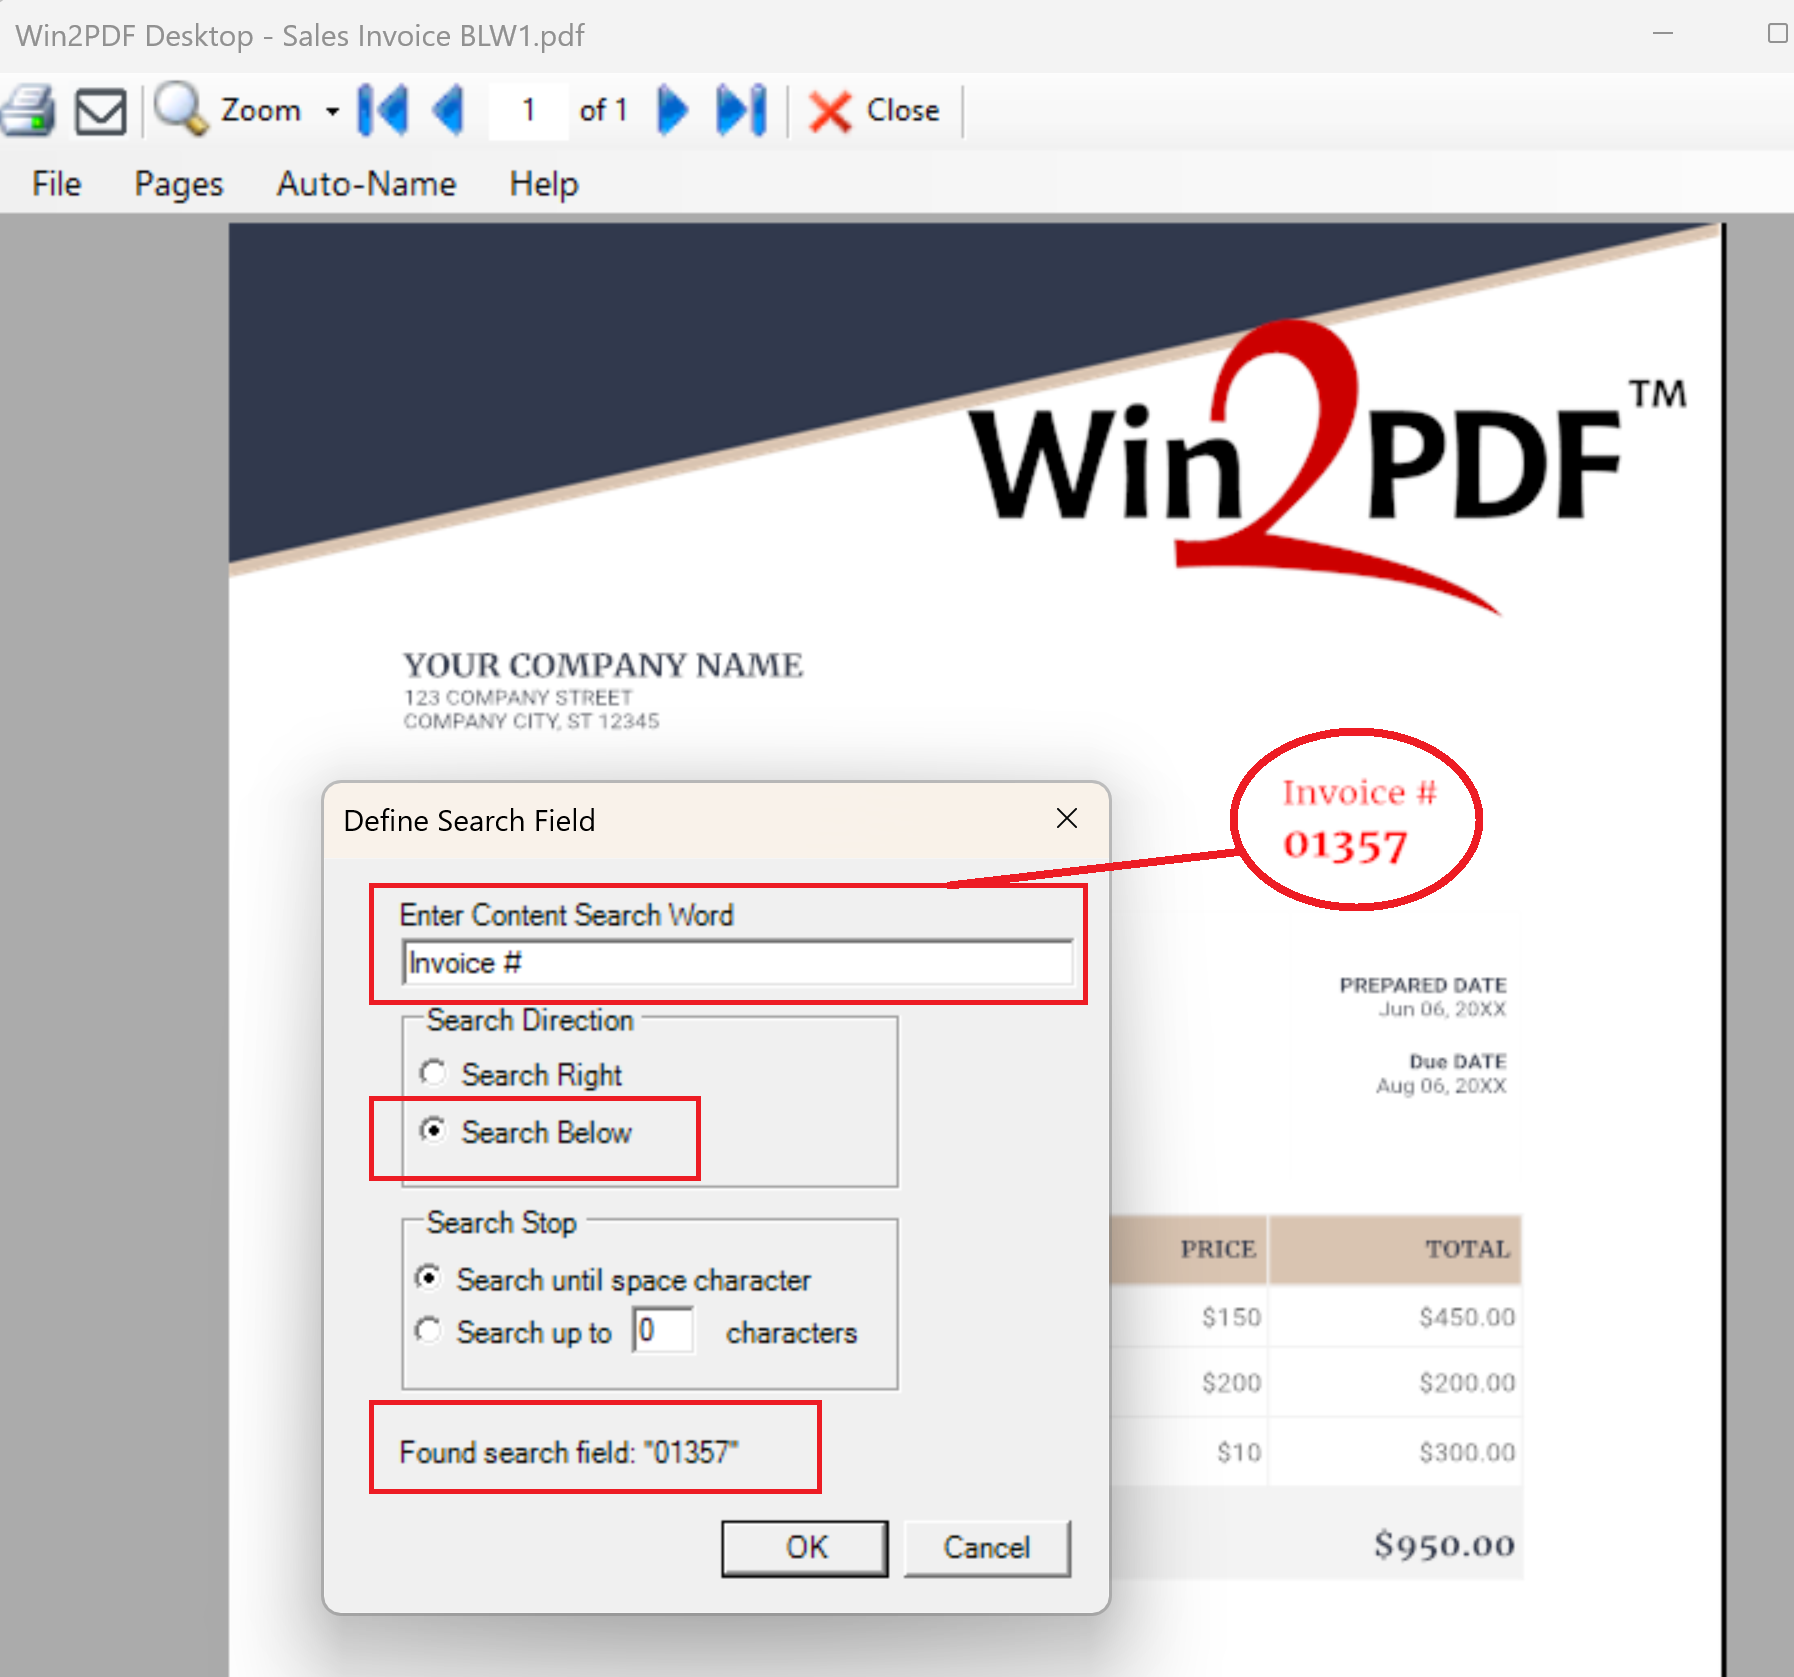
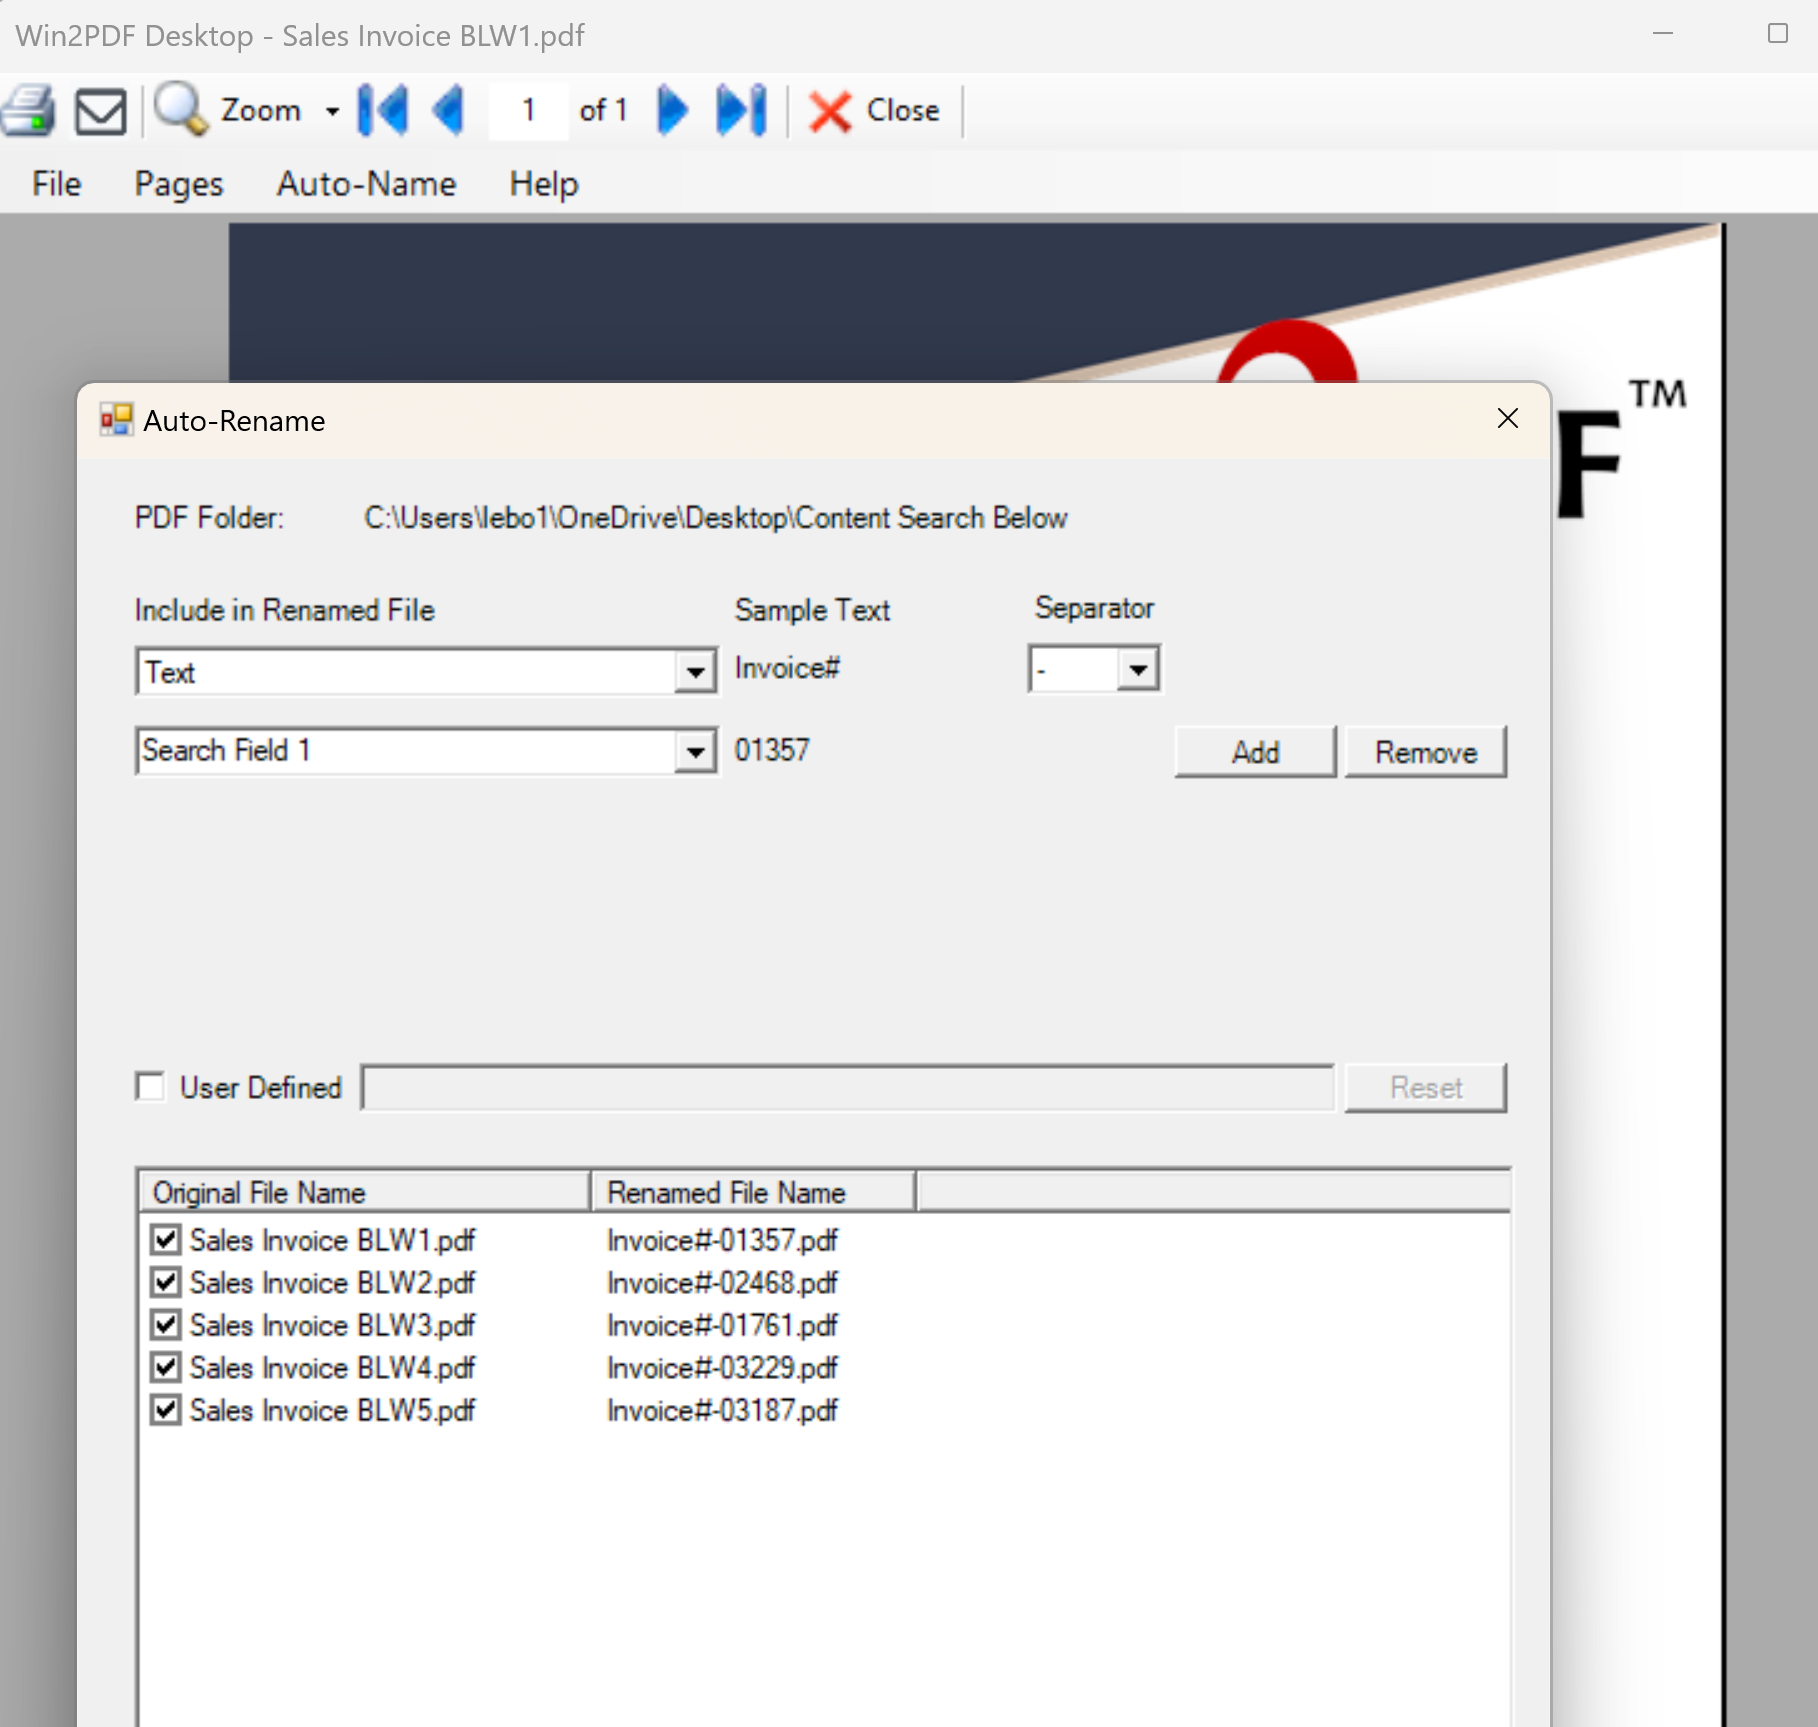
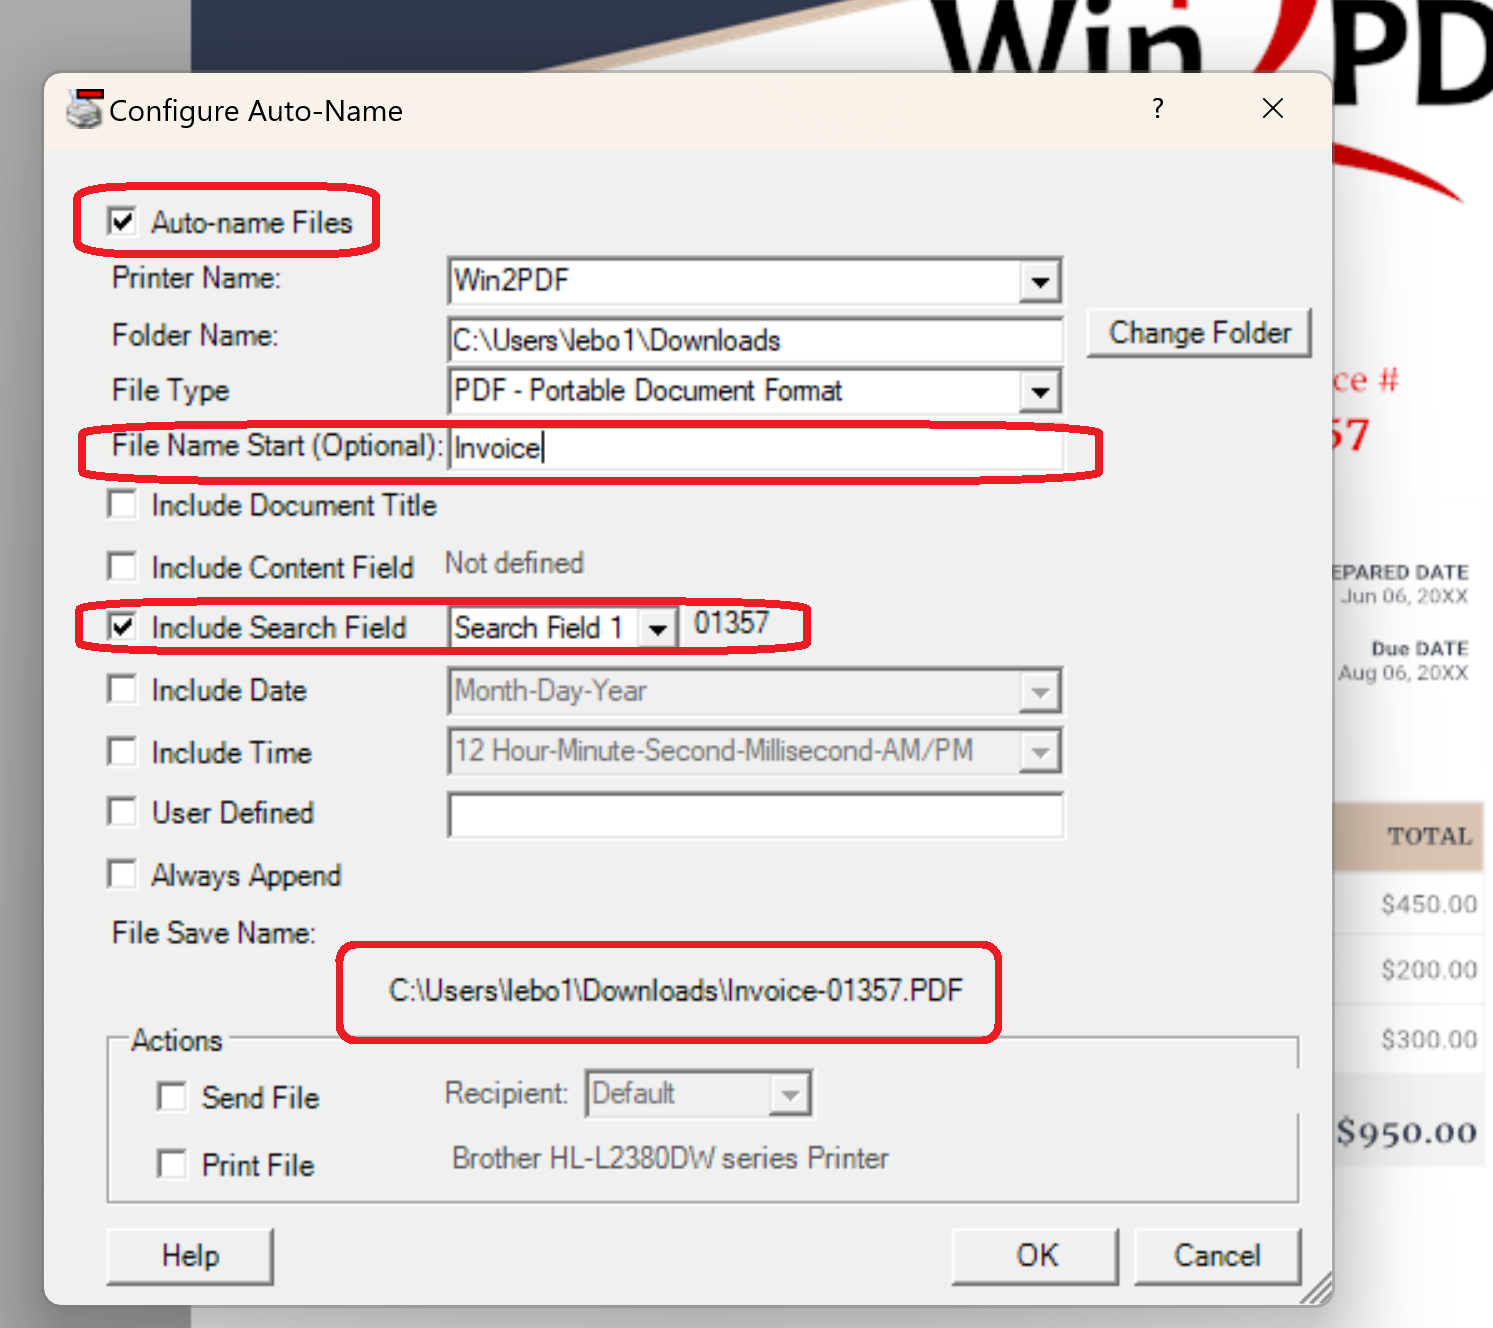
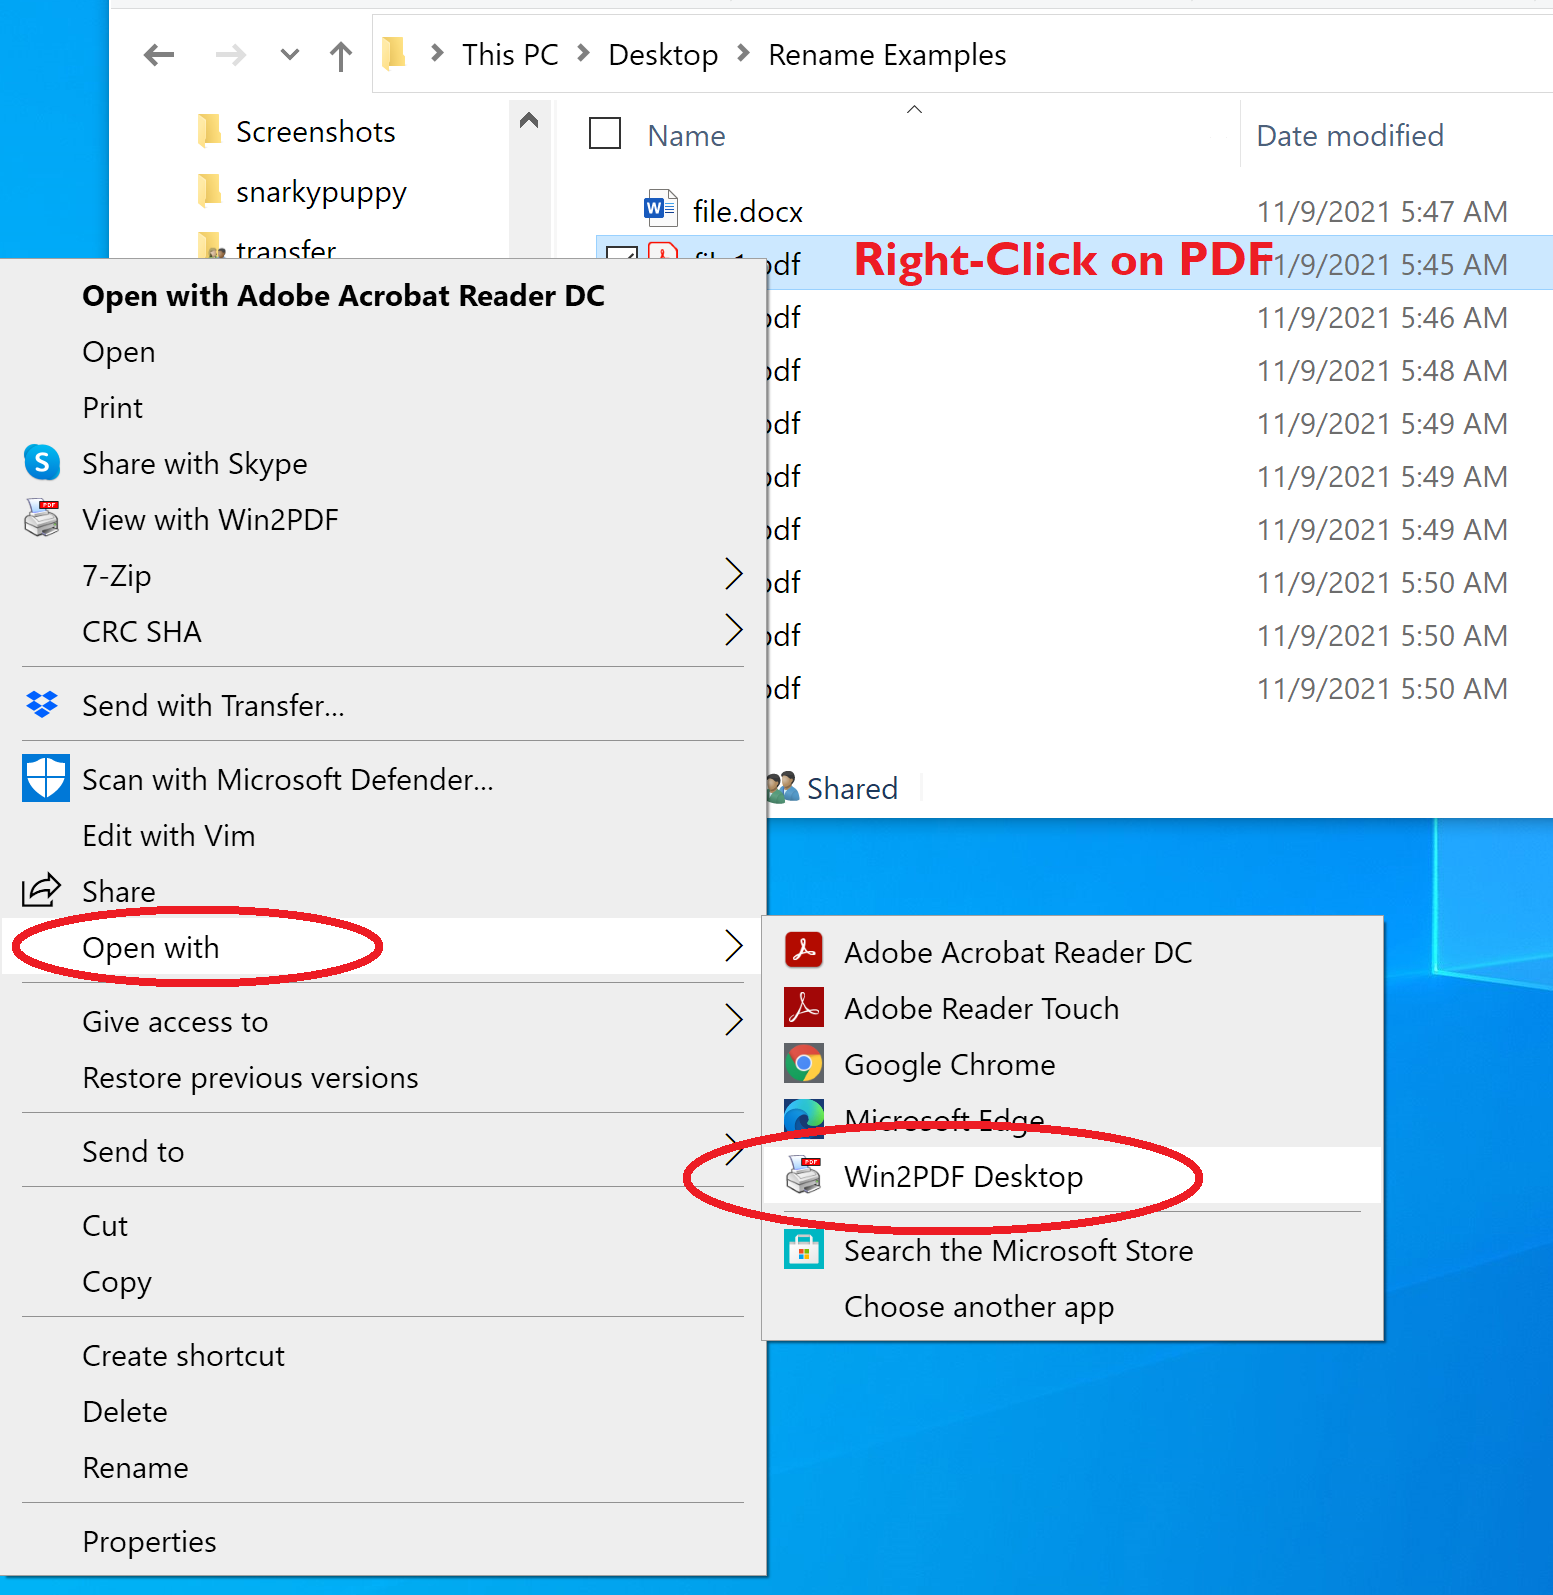
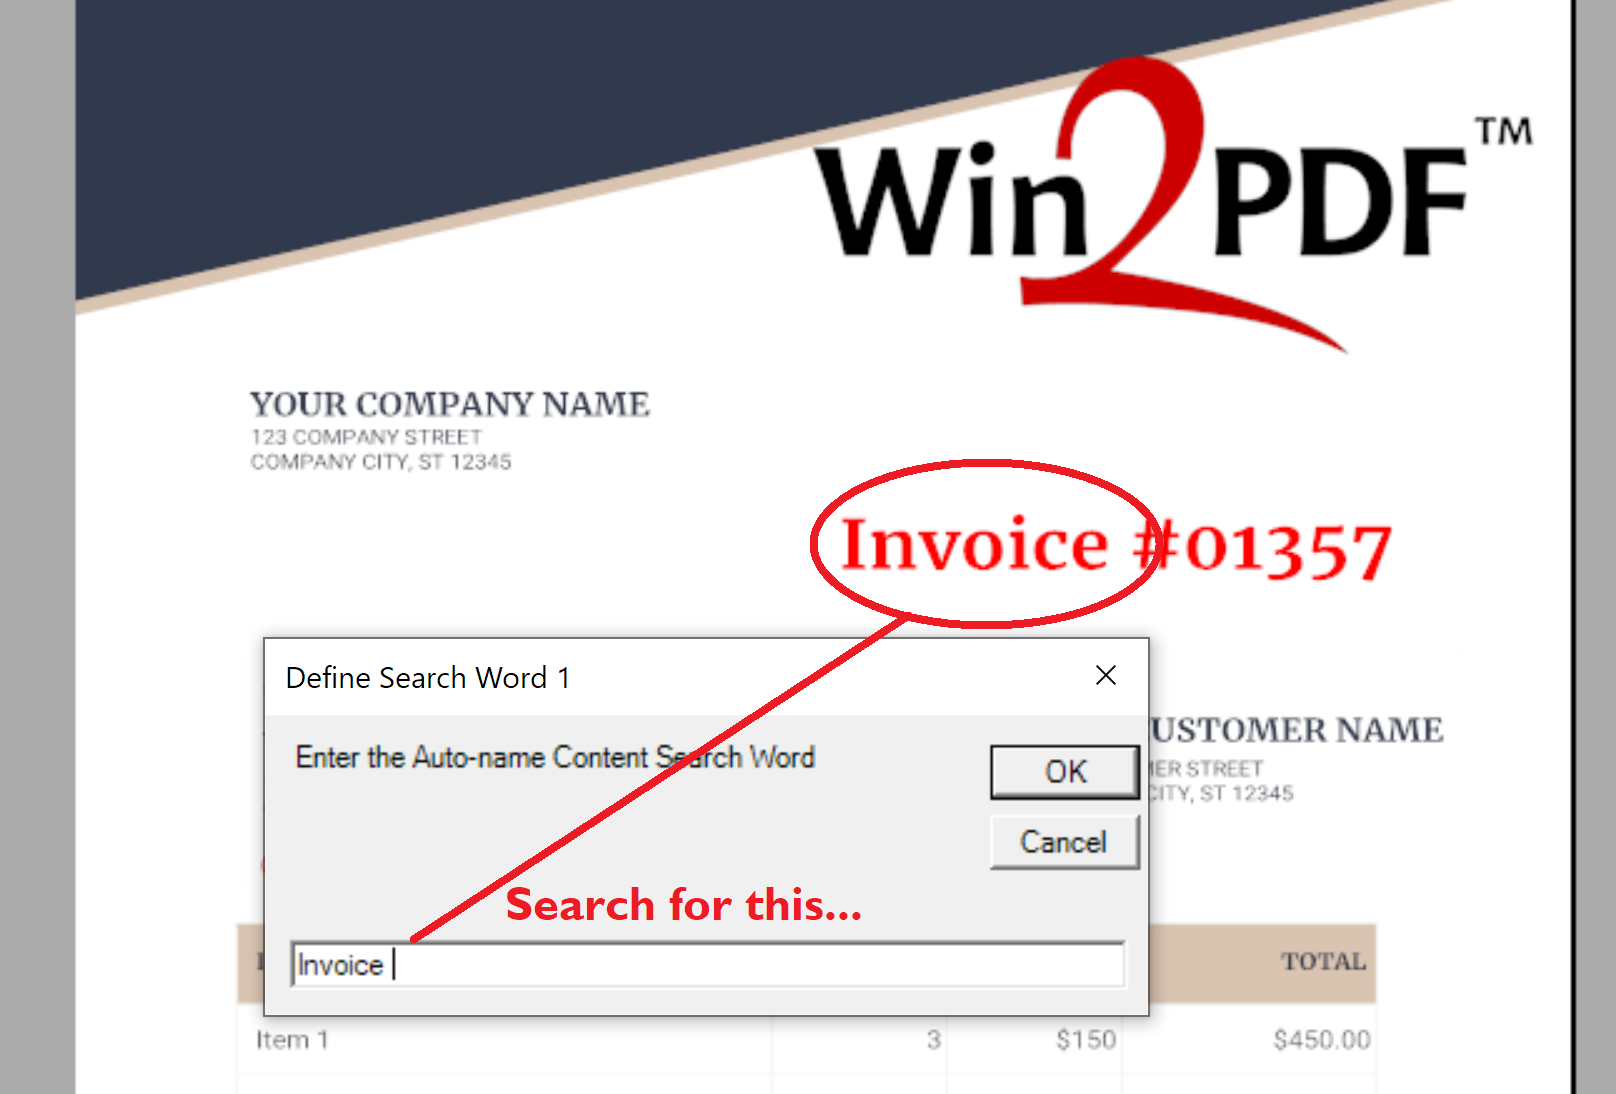
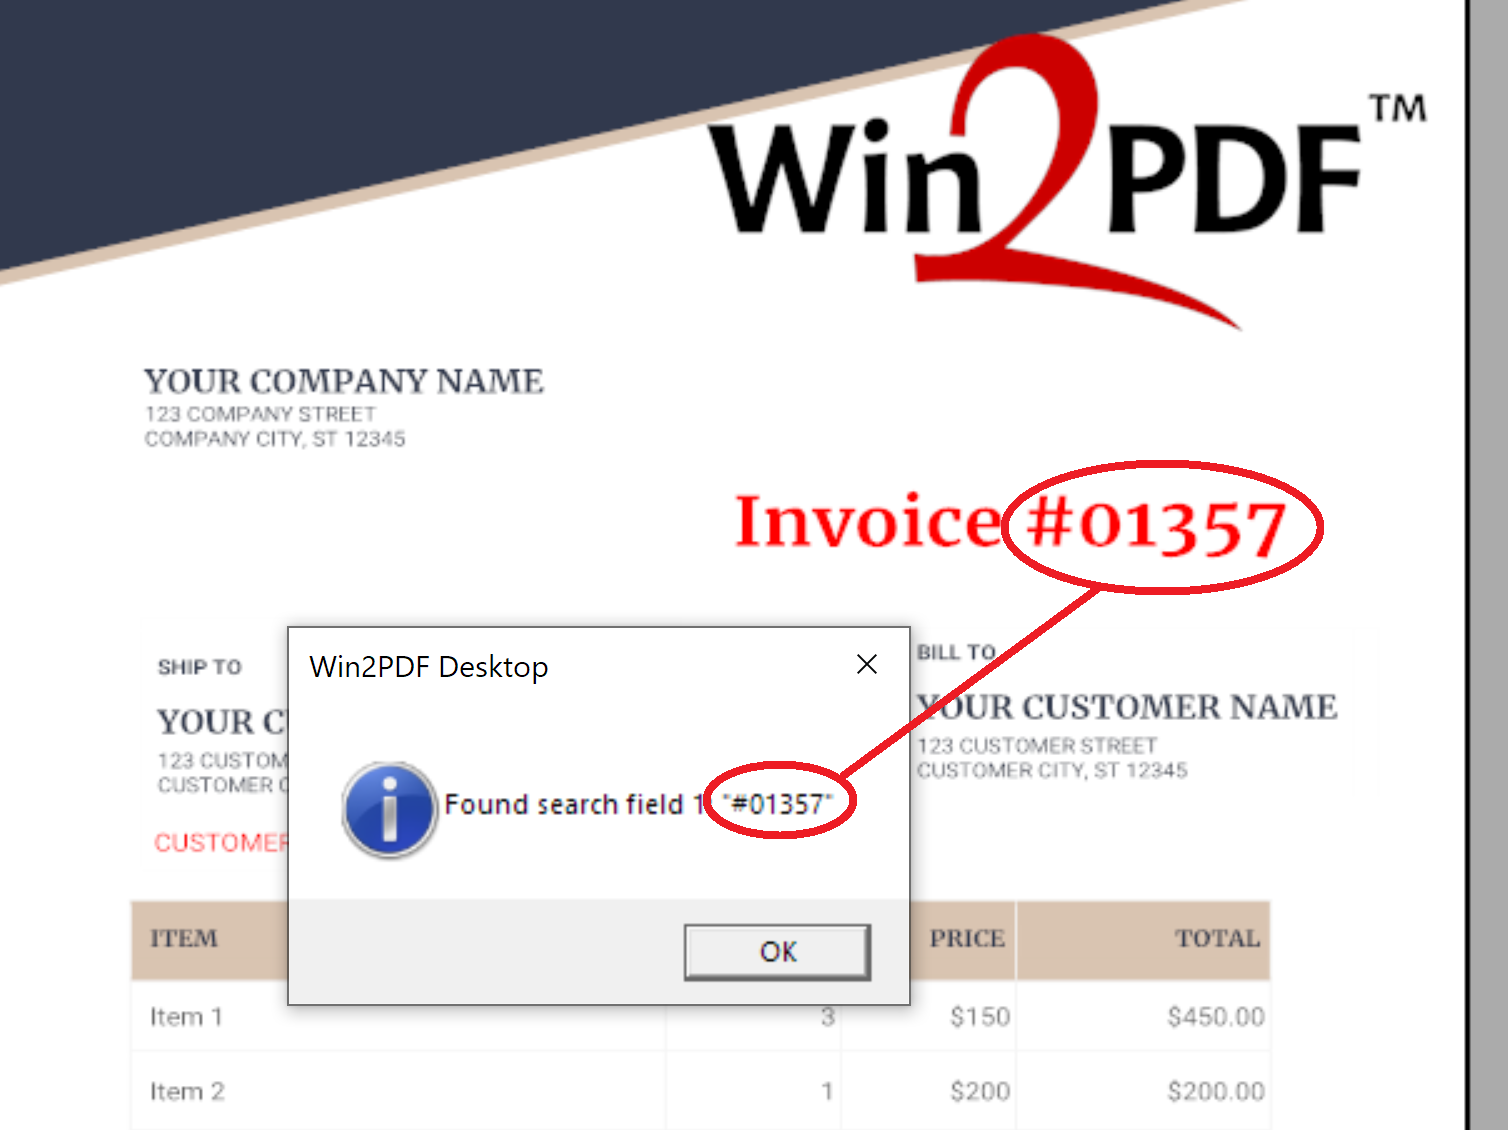
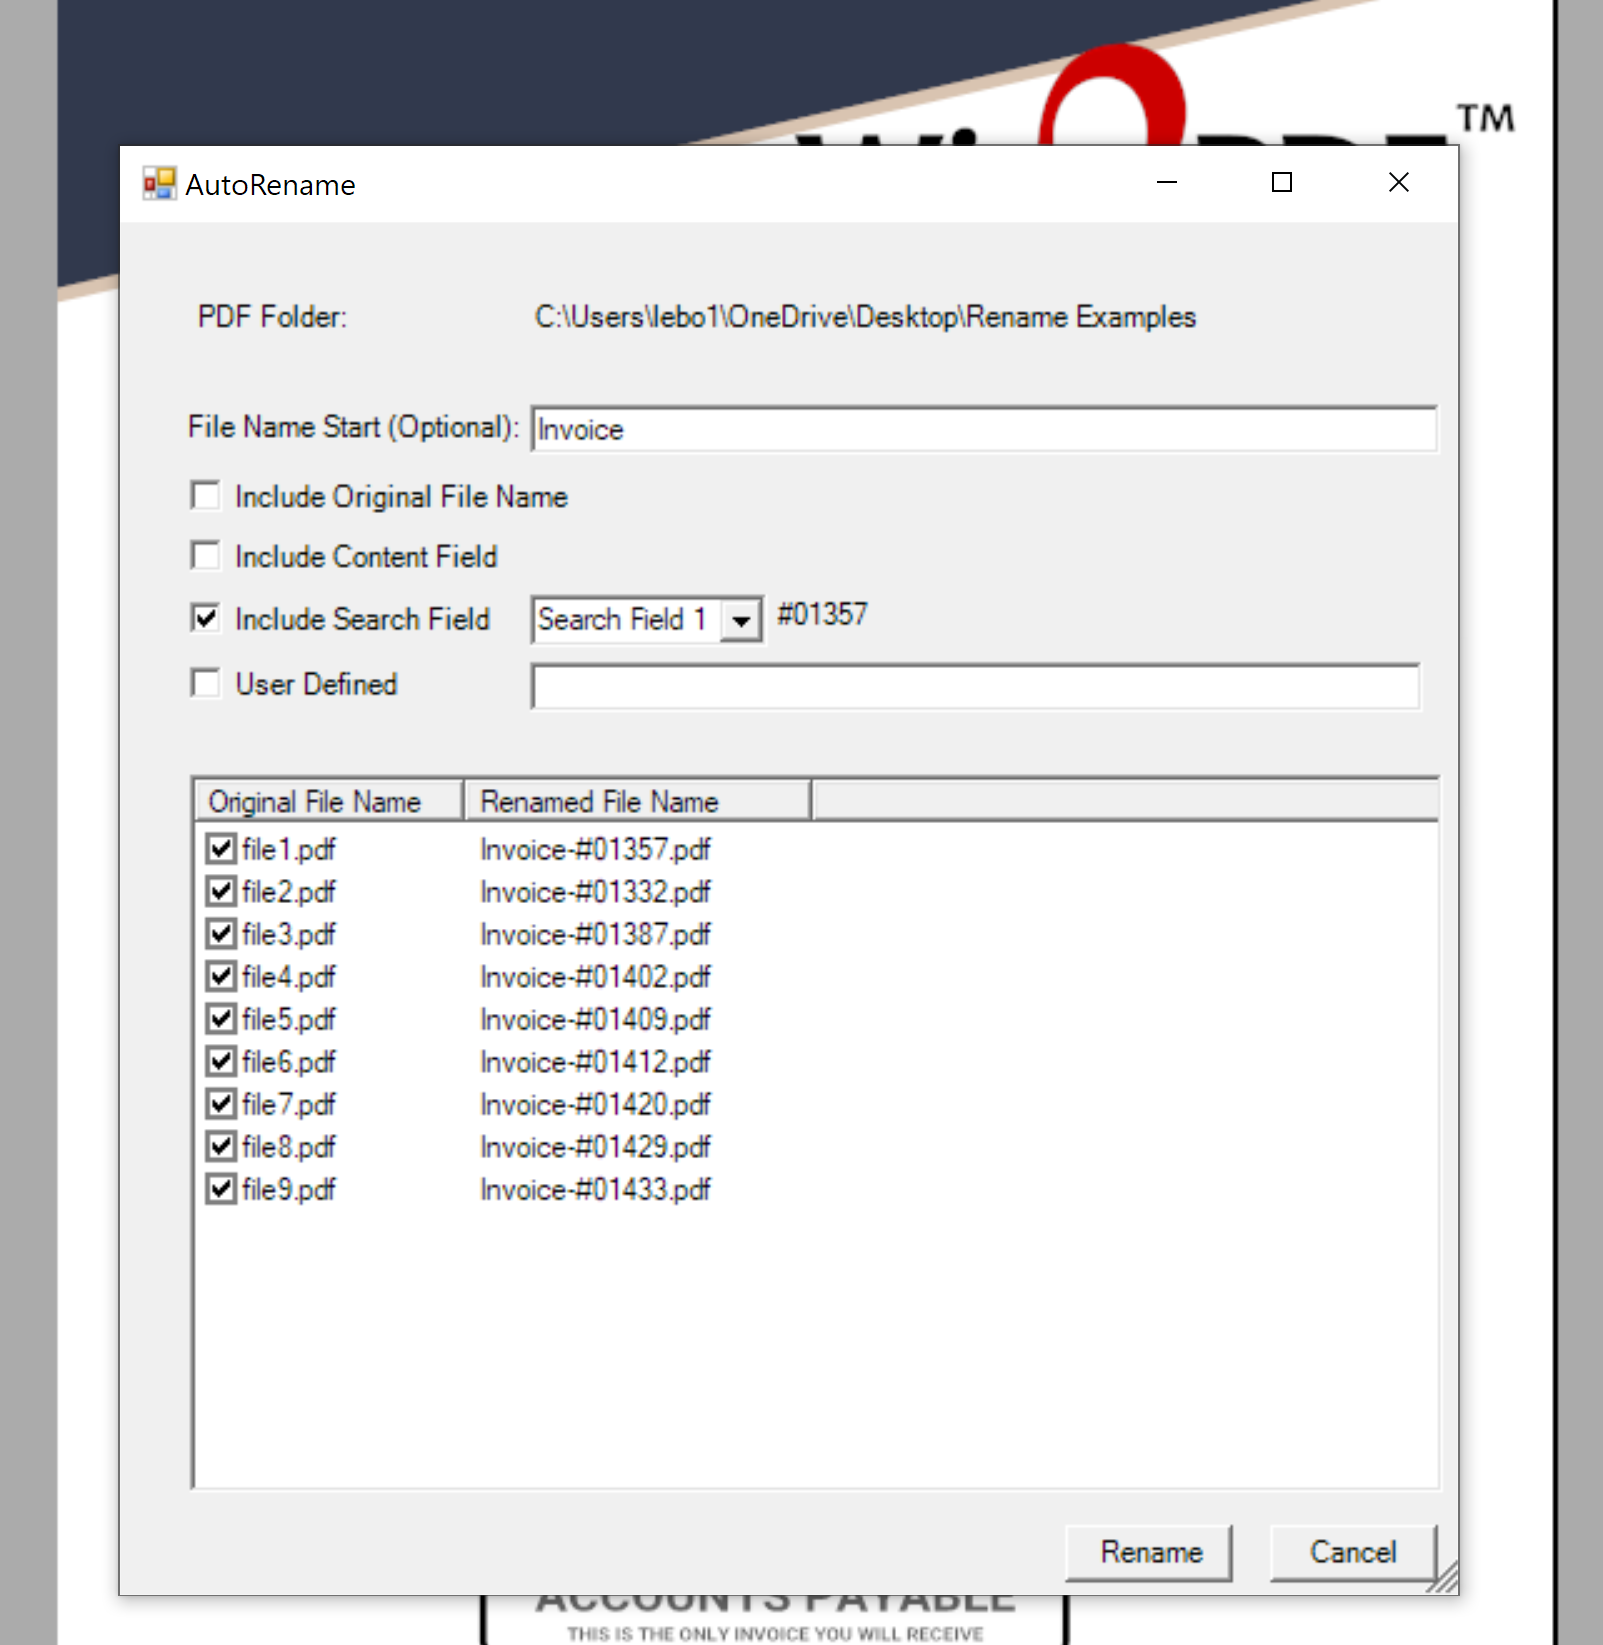
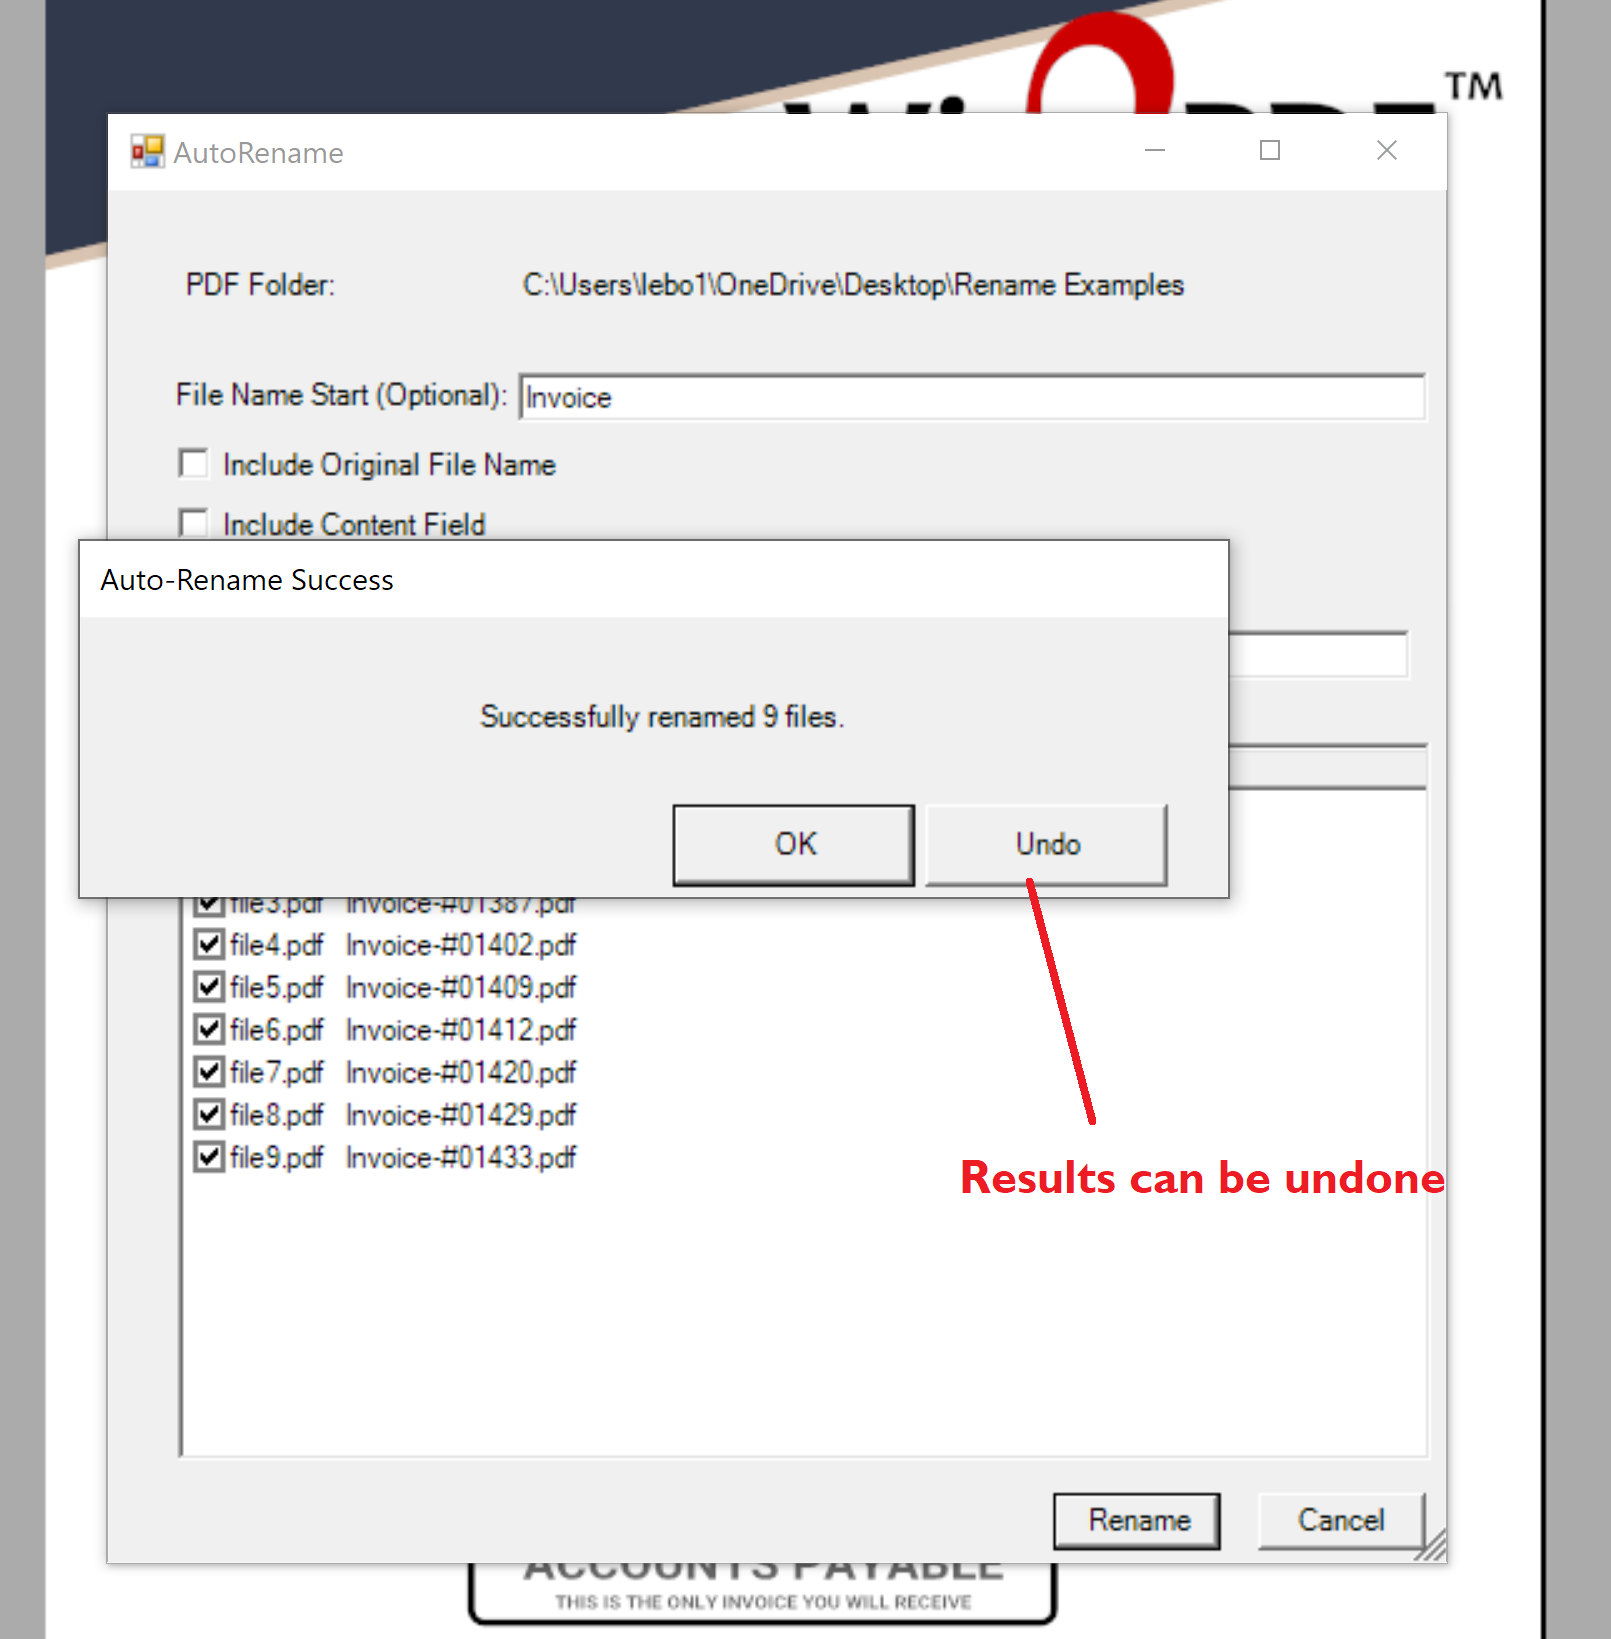
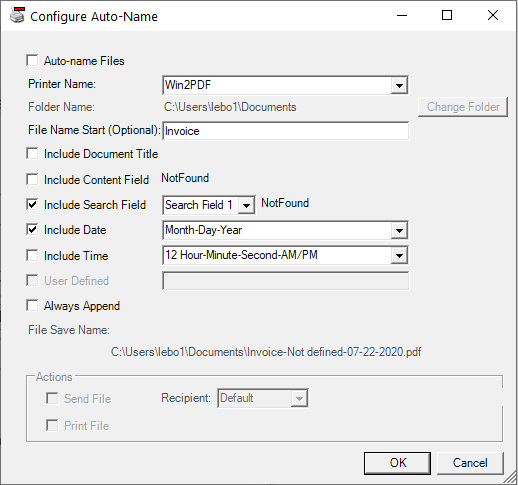
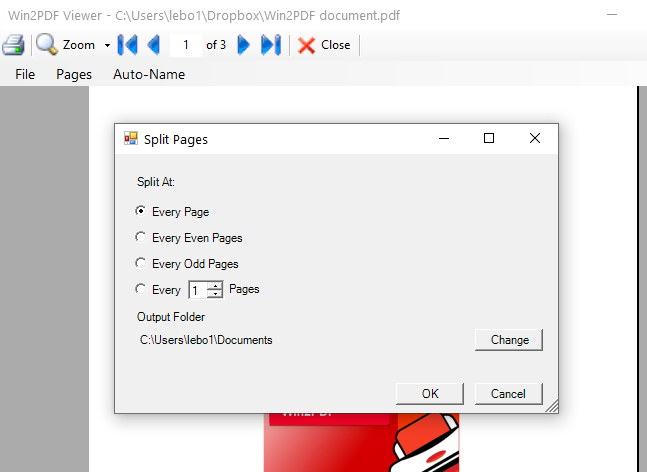
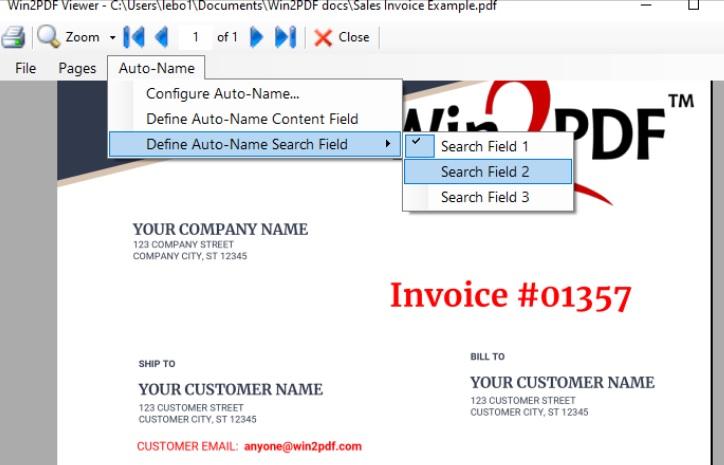
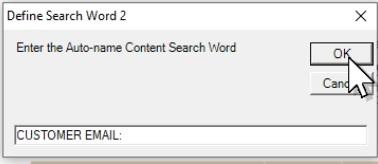
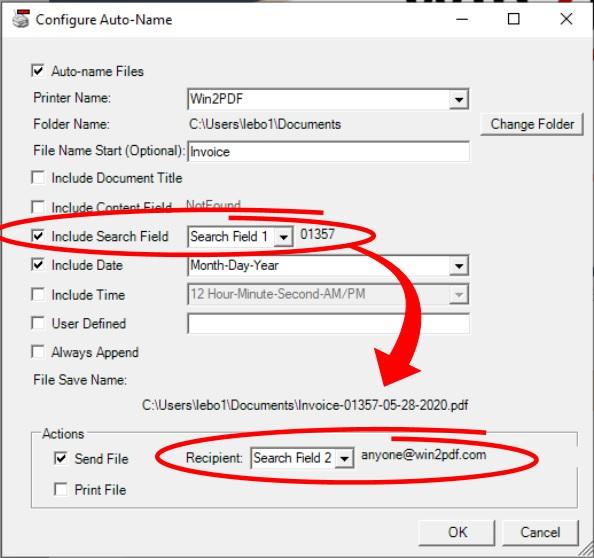
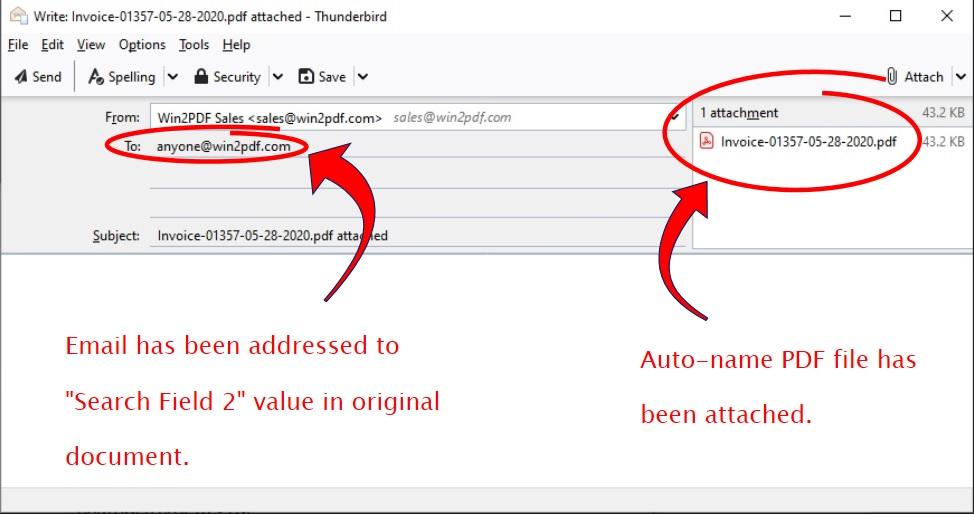
By using Win2PDF with the Auto-name feature, EHR providers can ensure that reports are saved regularly and can be accessed as a backup solution if the EHR system goes down or is frozen.
Win2PDF customers have successfully implemented solutions that integrate with Veradigm (formerly Allscripts), EPIC, Meditech and many other EHR software platforms. In addition, businesses outside of the EHR space can also benefit from using Win2PDF to generate backup reports automatically. A recent security report lists healthcare, agriculture and government as the most targeted industries.
Here are some of the benefits of using Win2PDF as part of a business continuity plan:
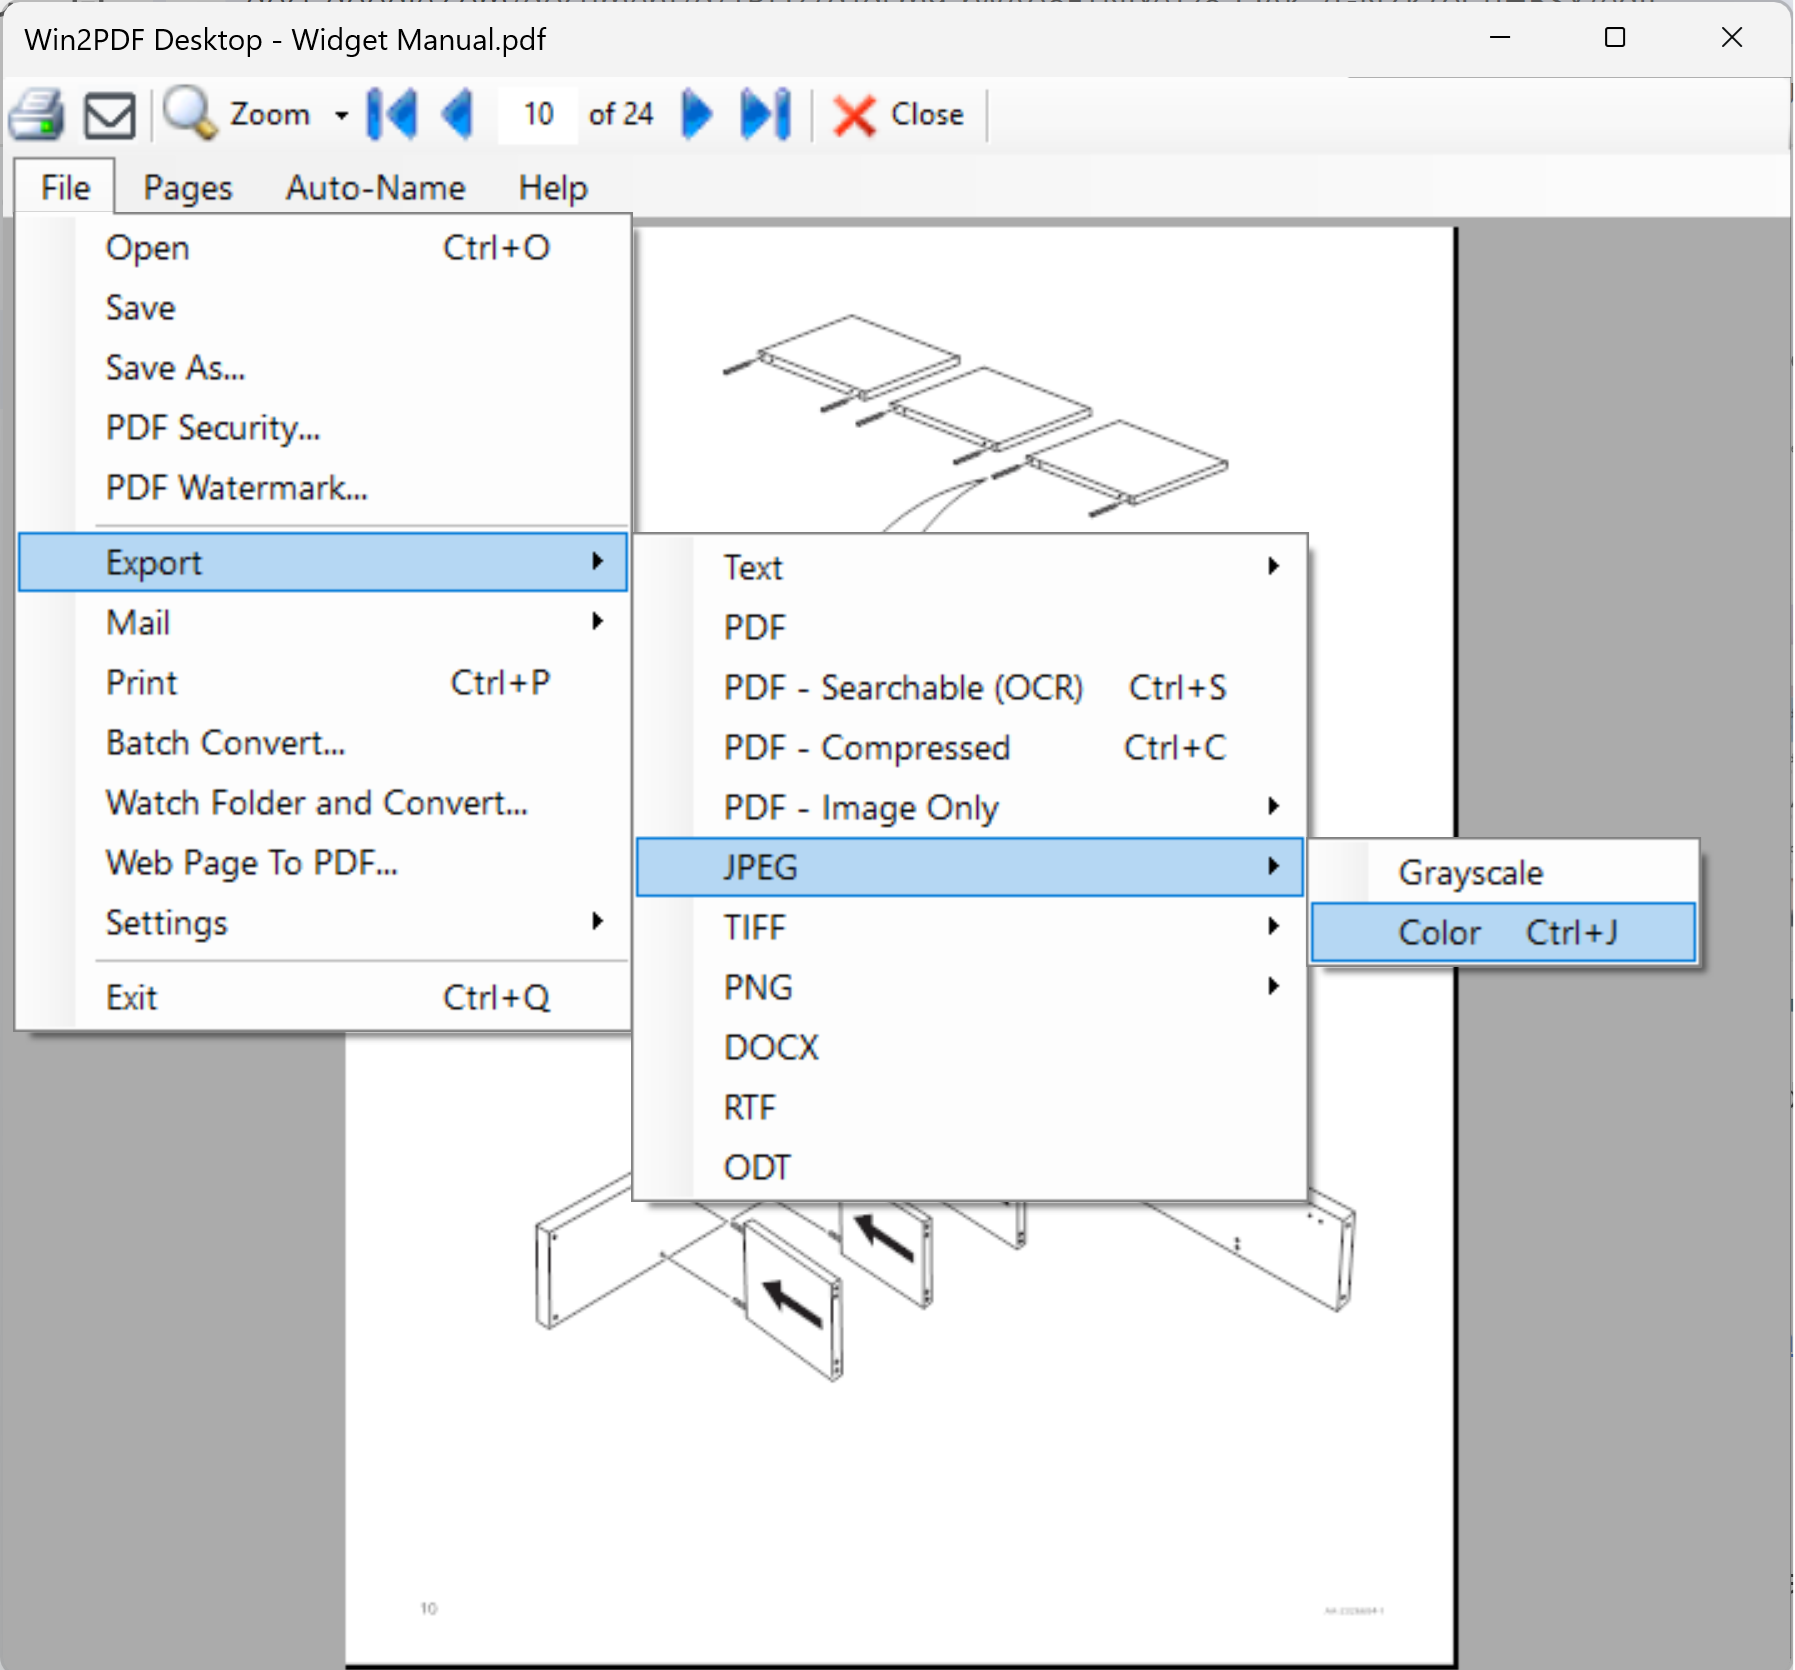
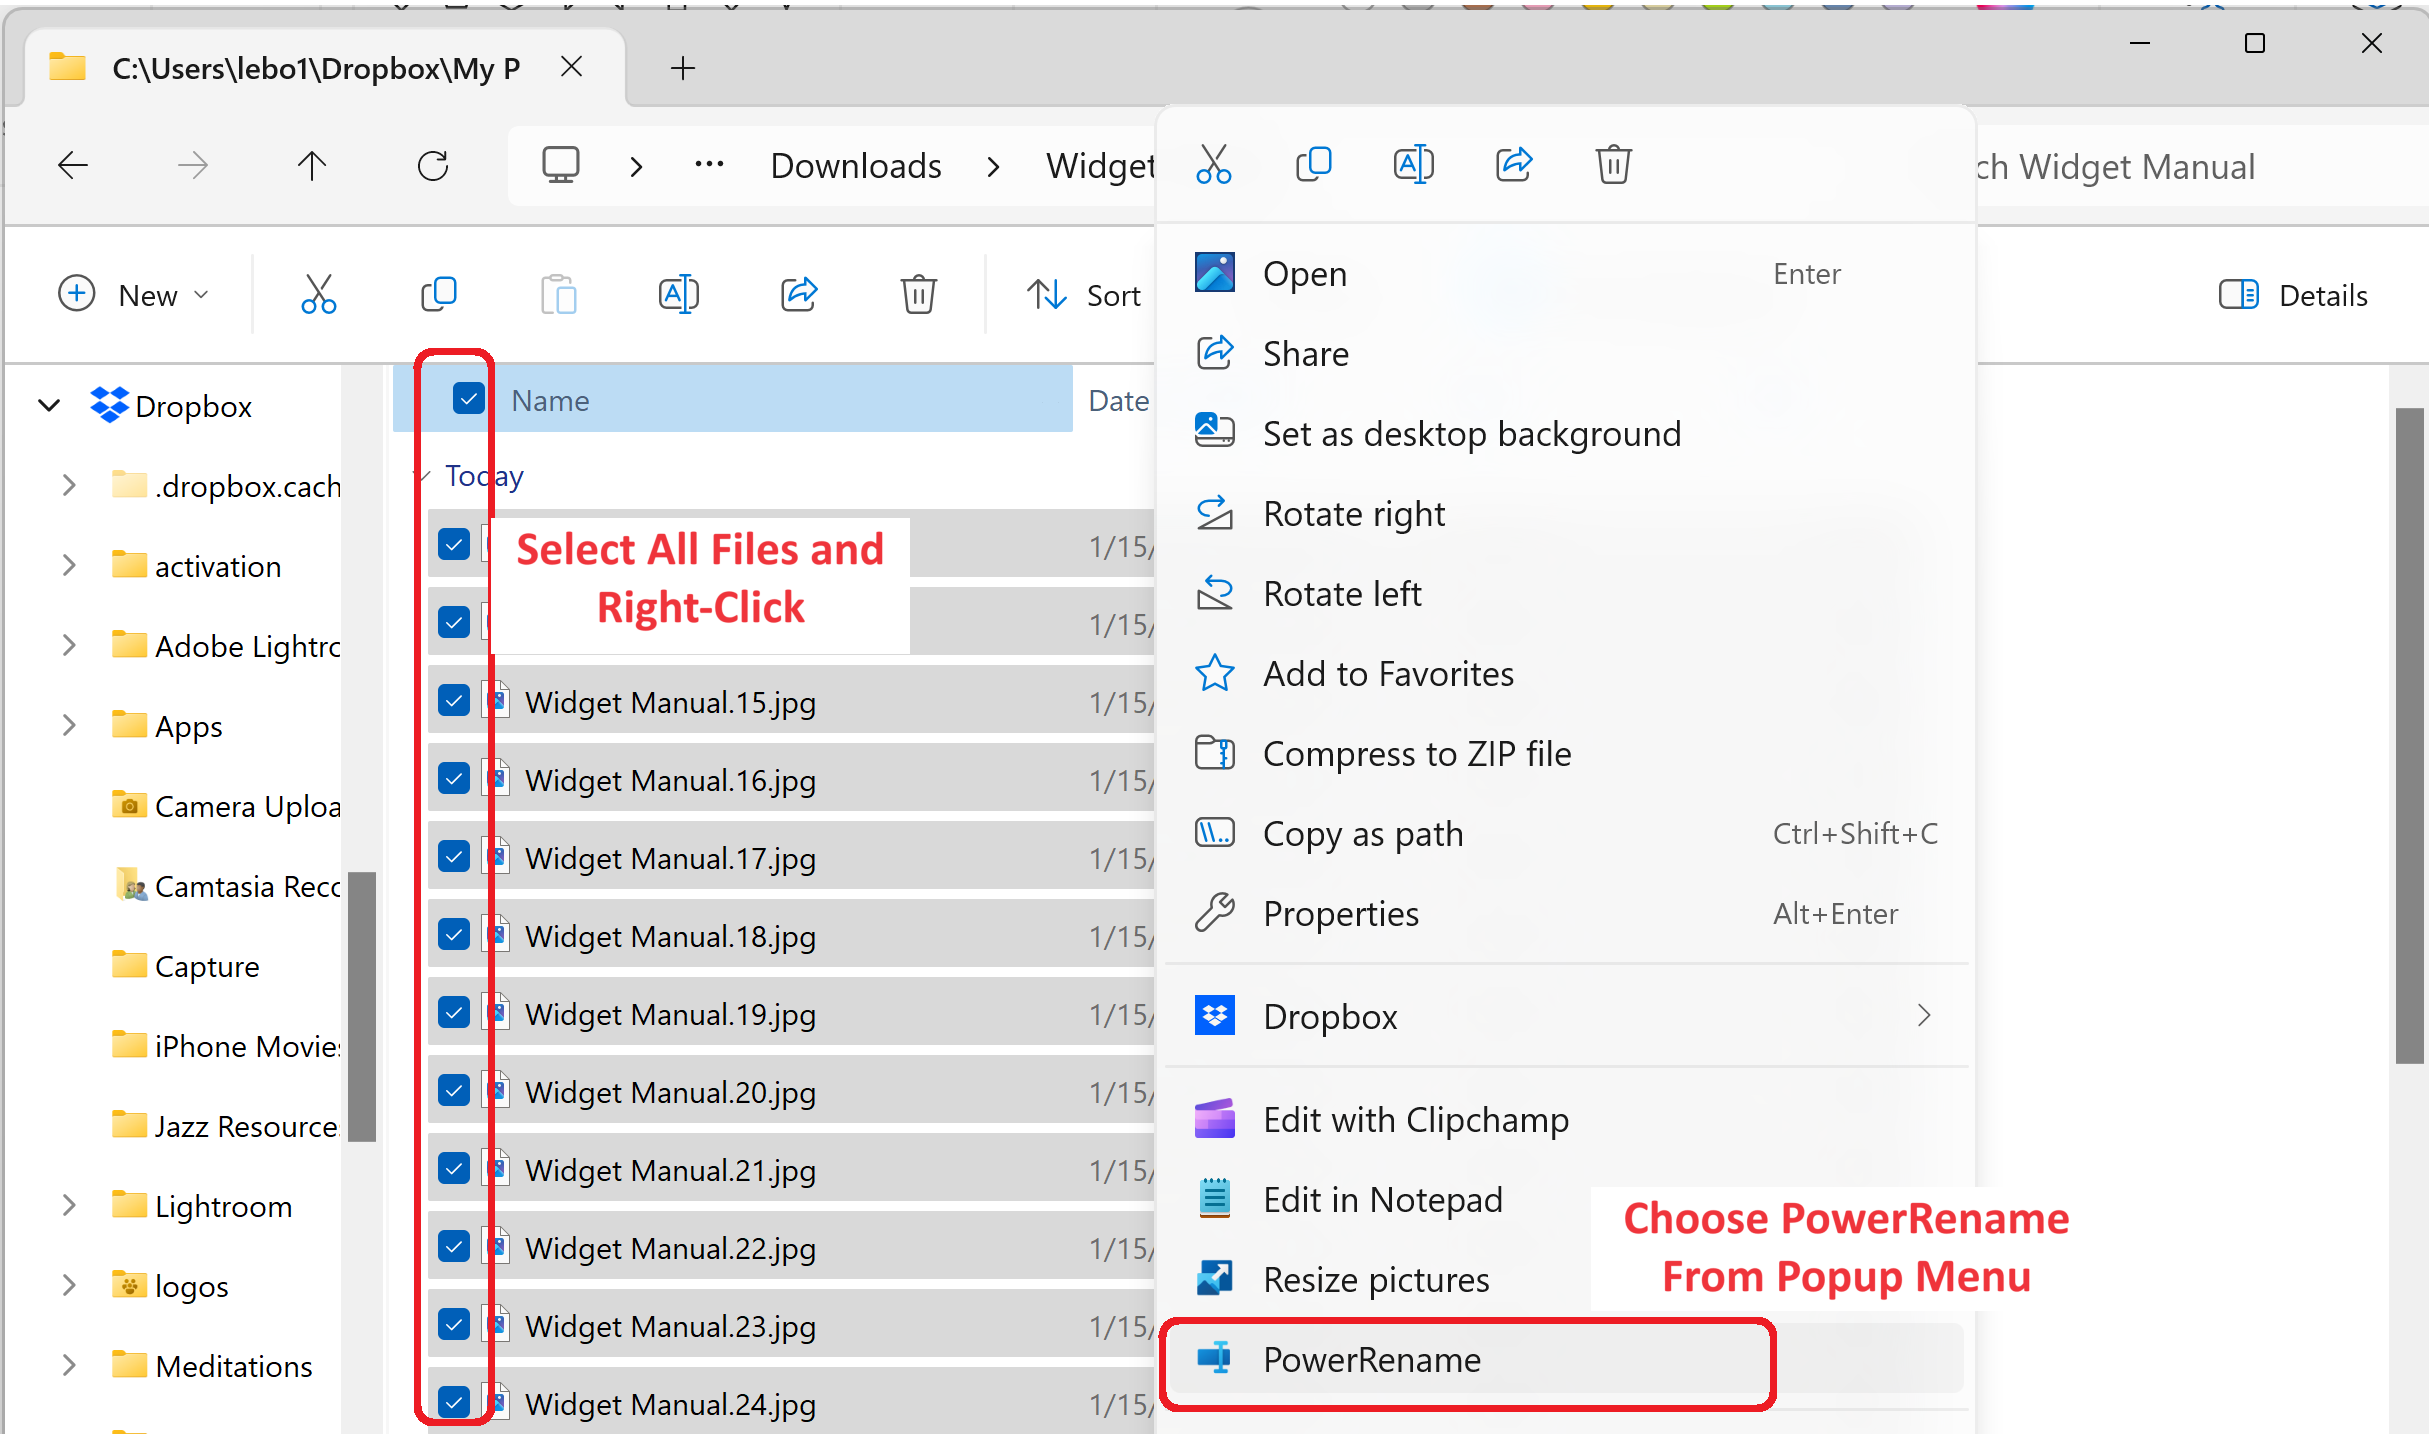
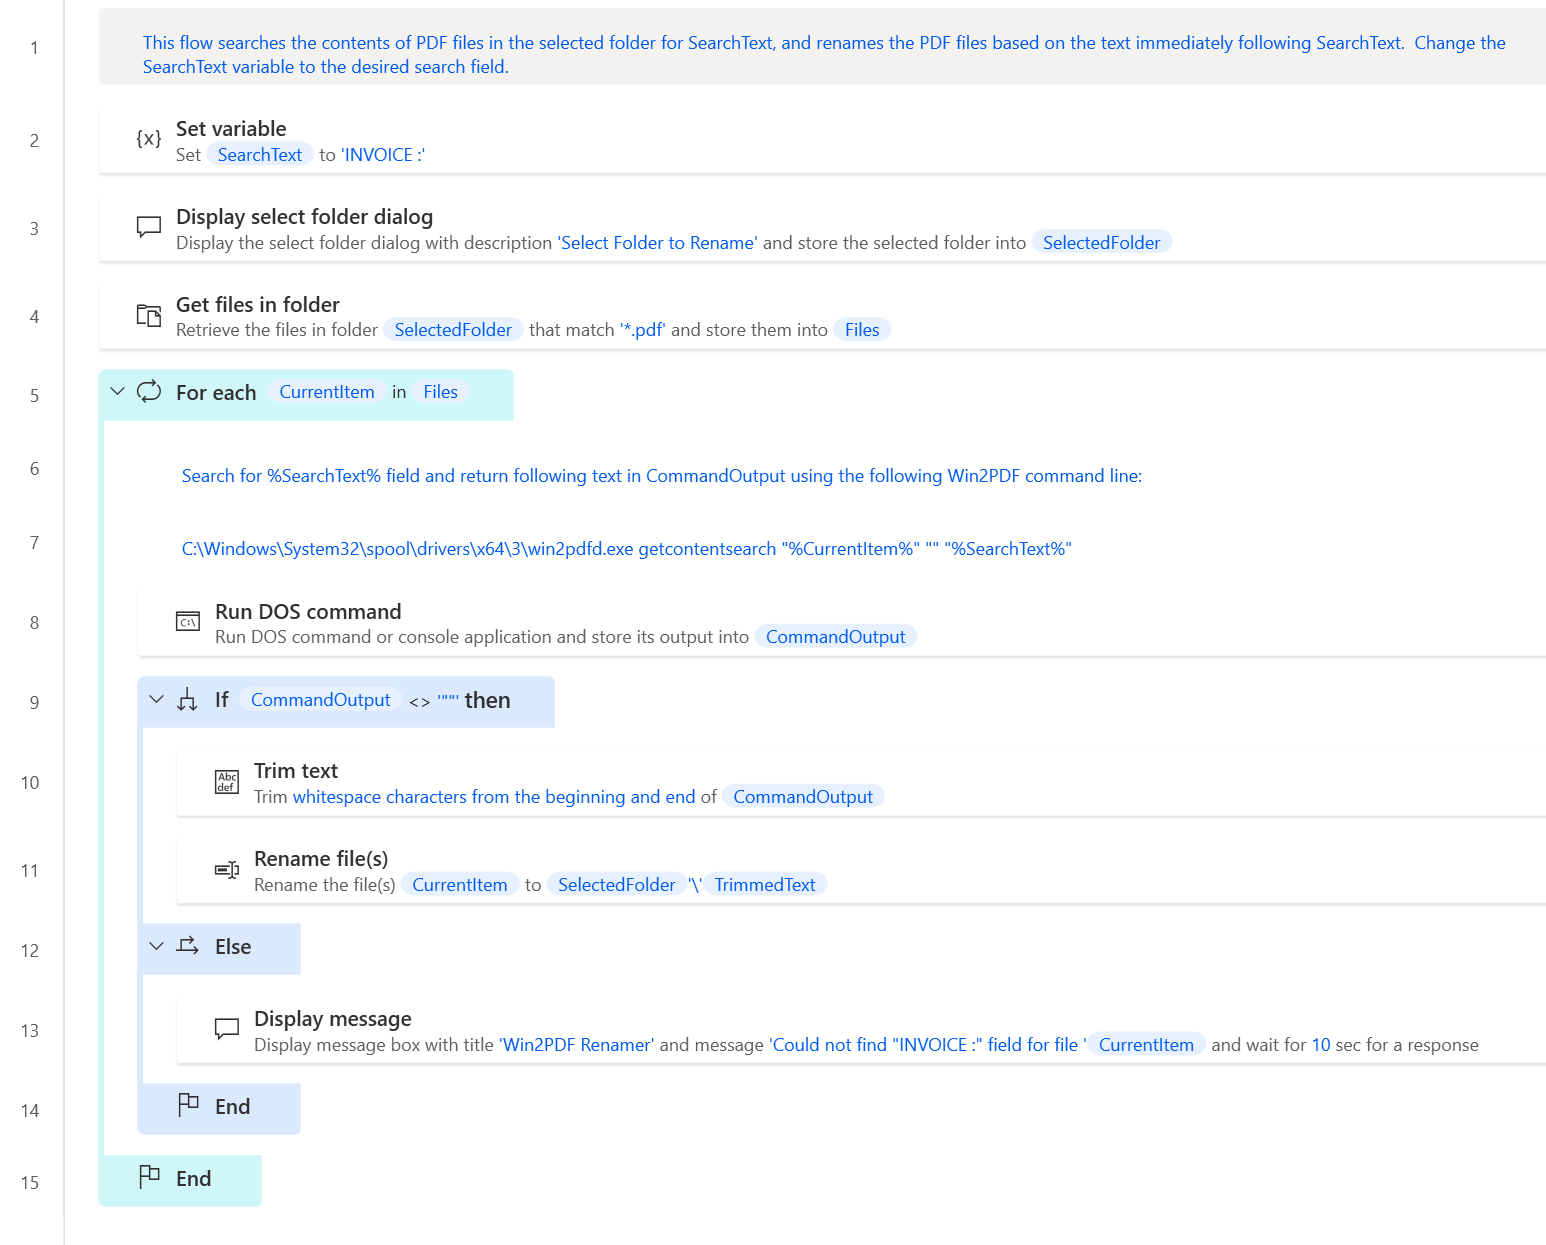
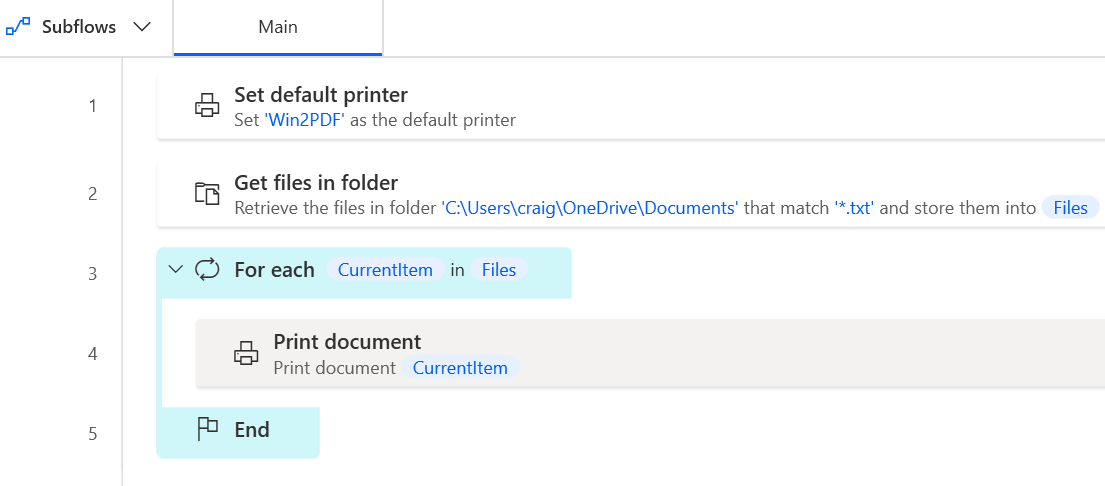
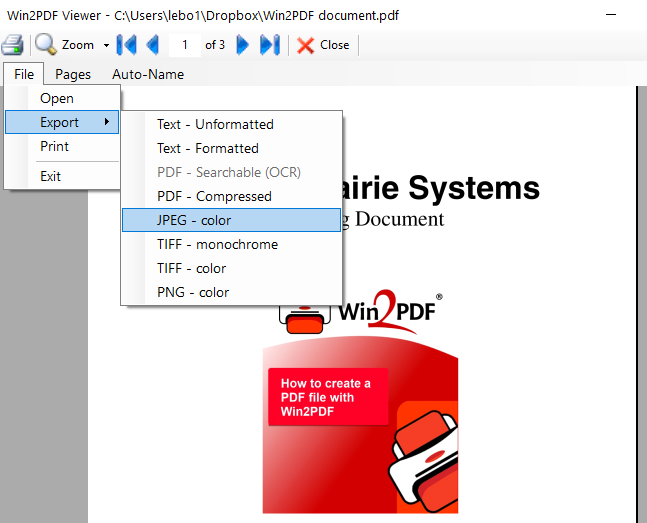
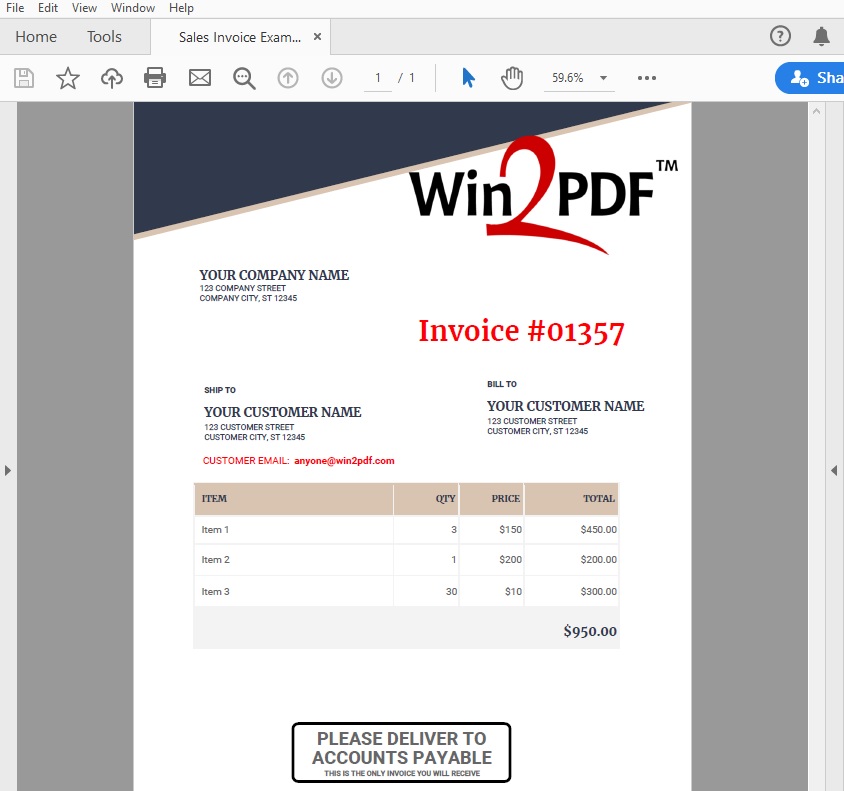
- Automatic report and document generation: Win2PDF can be used as part of an automated process that generates reports on a regular basis.
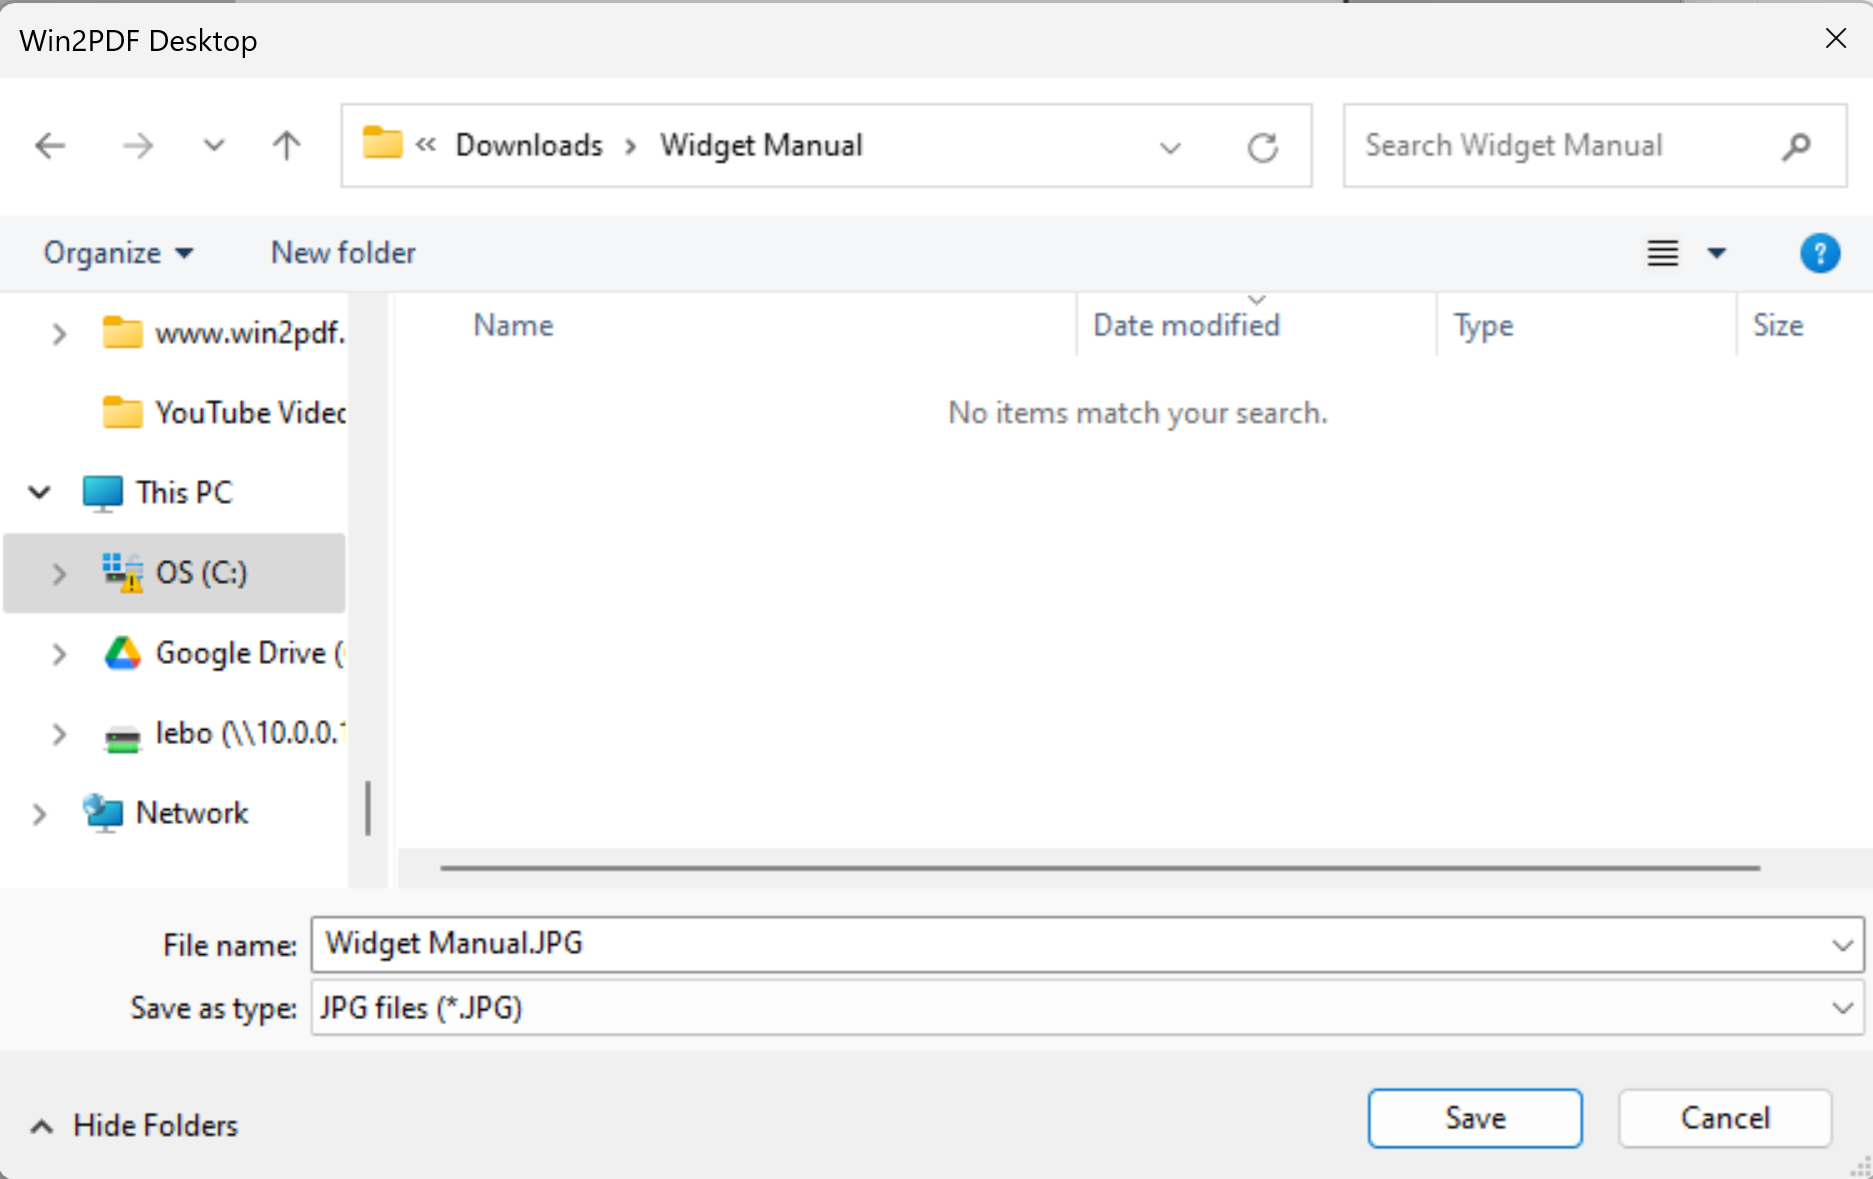
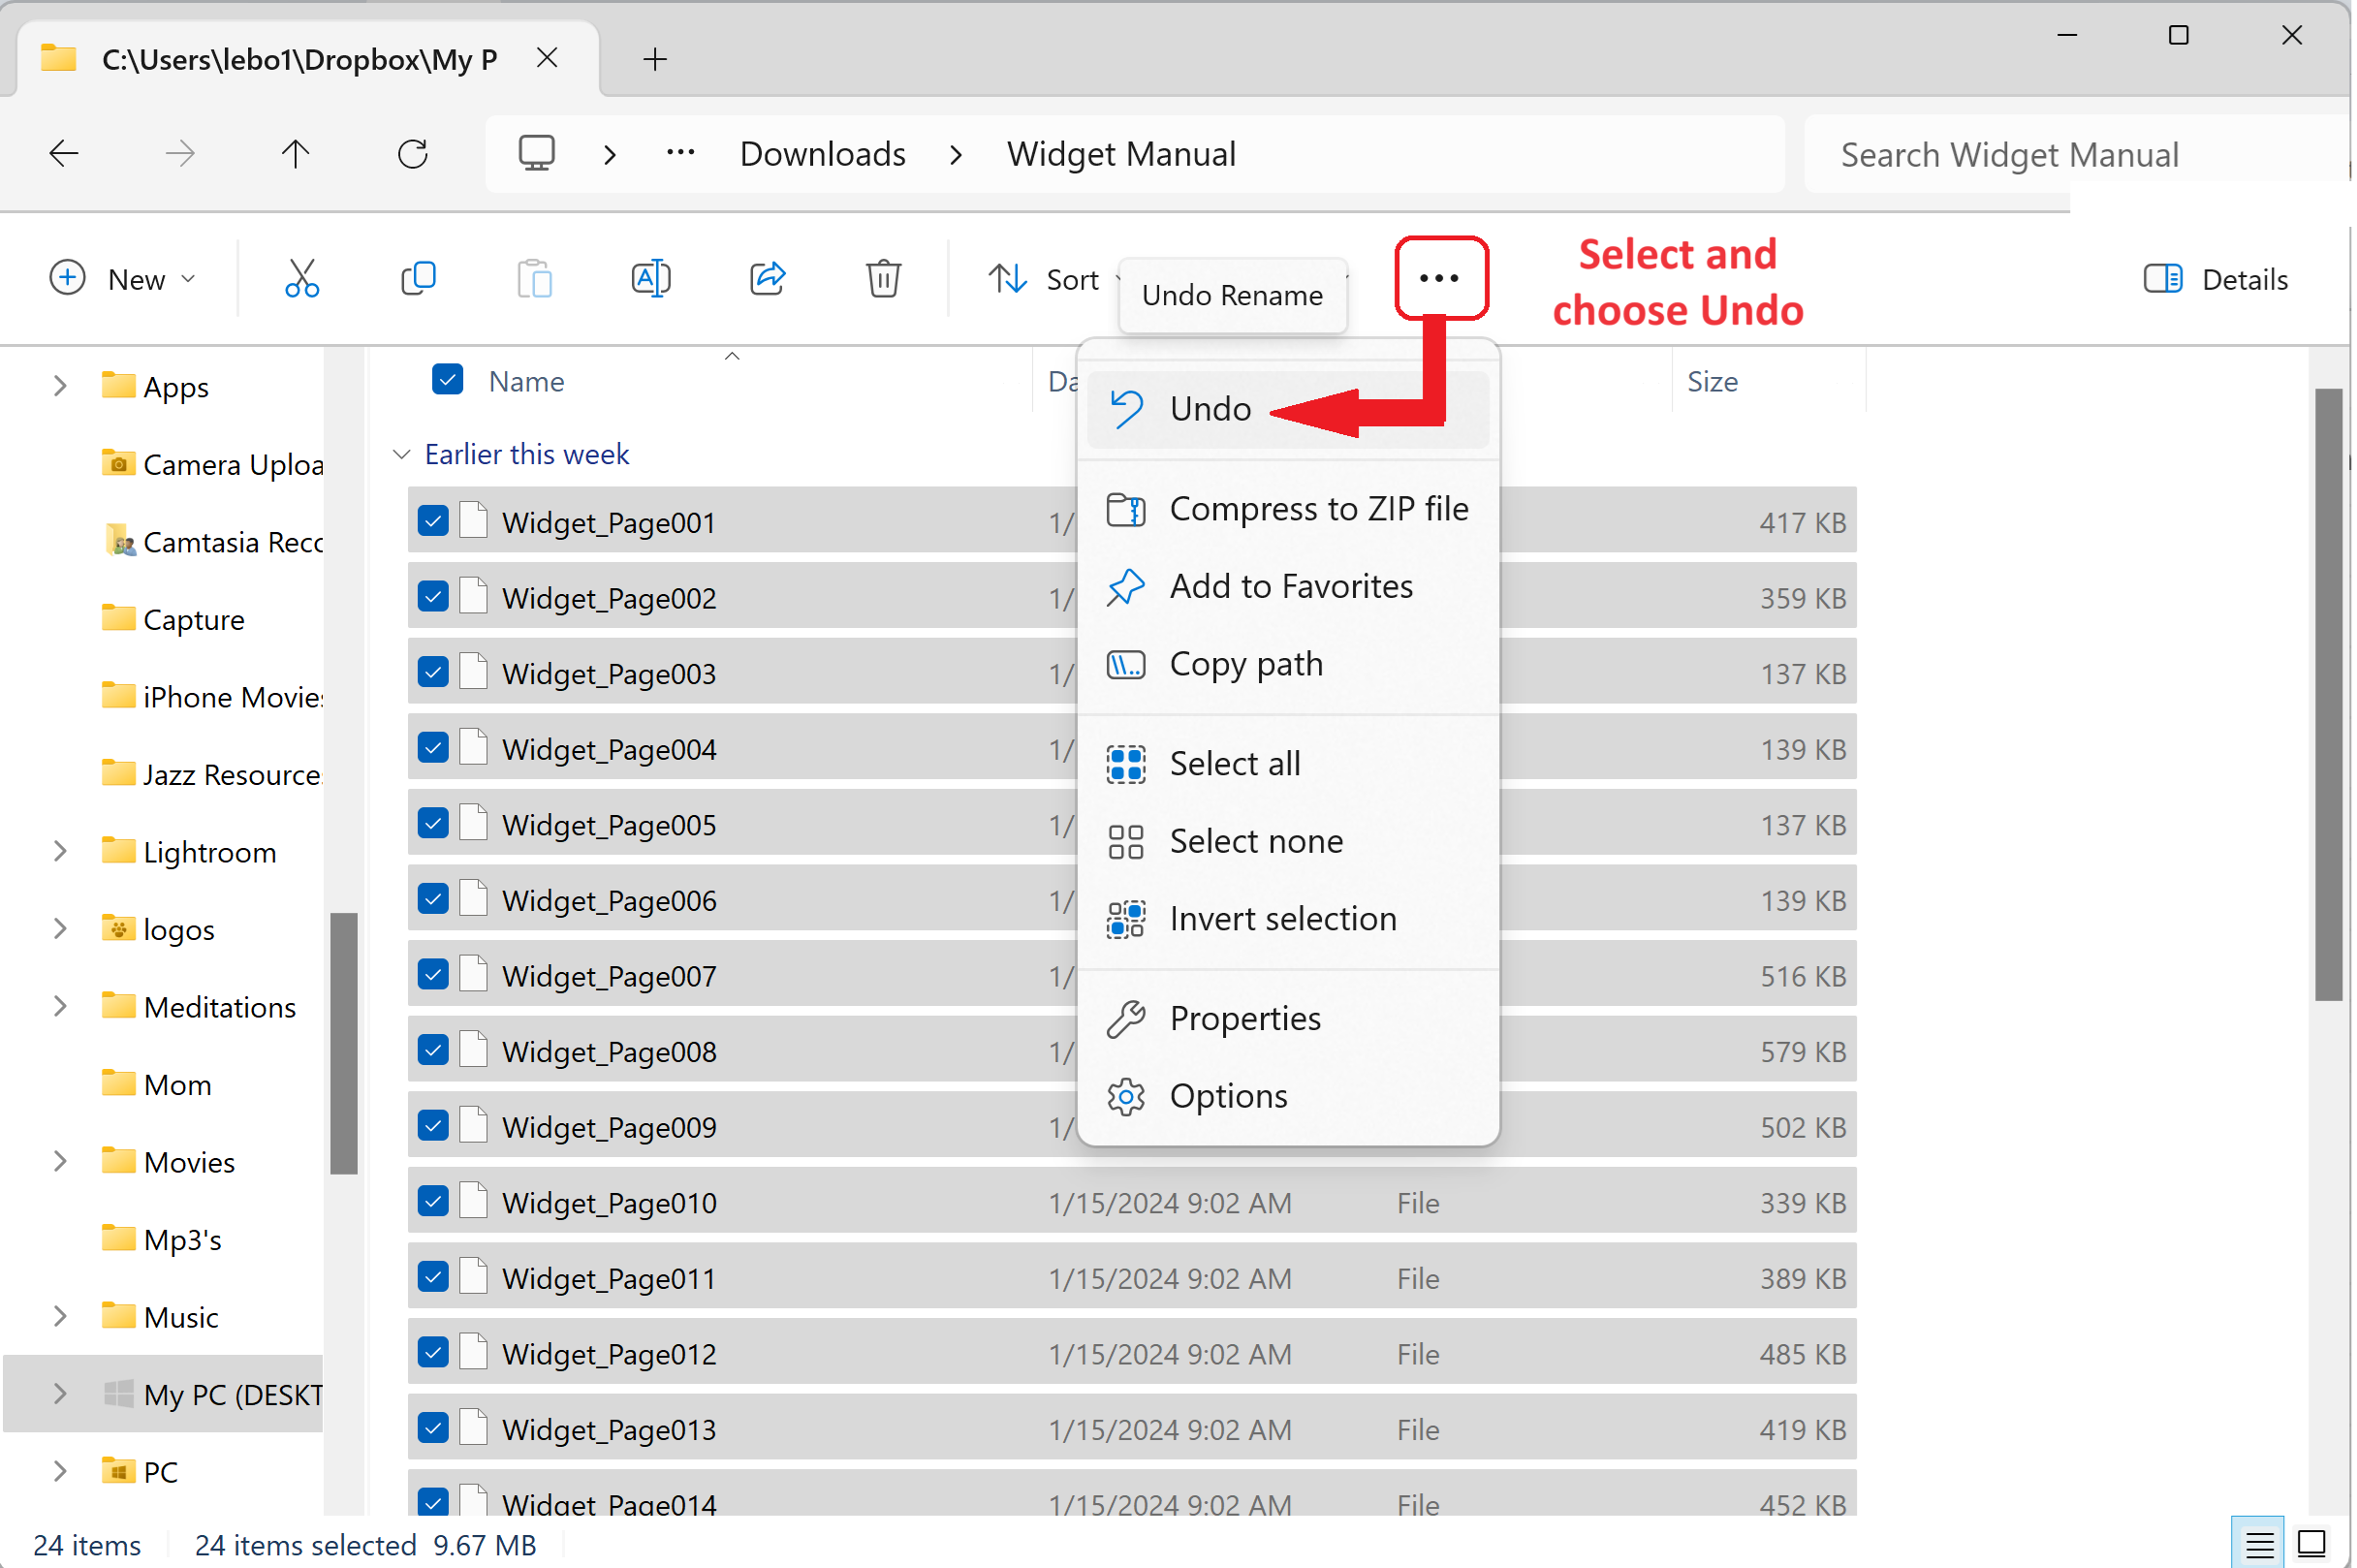
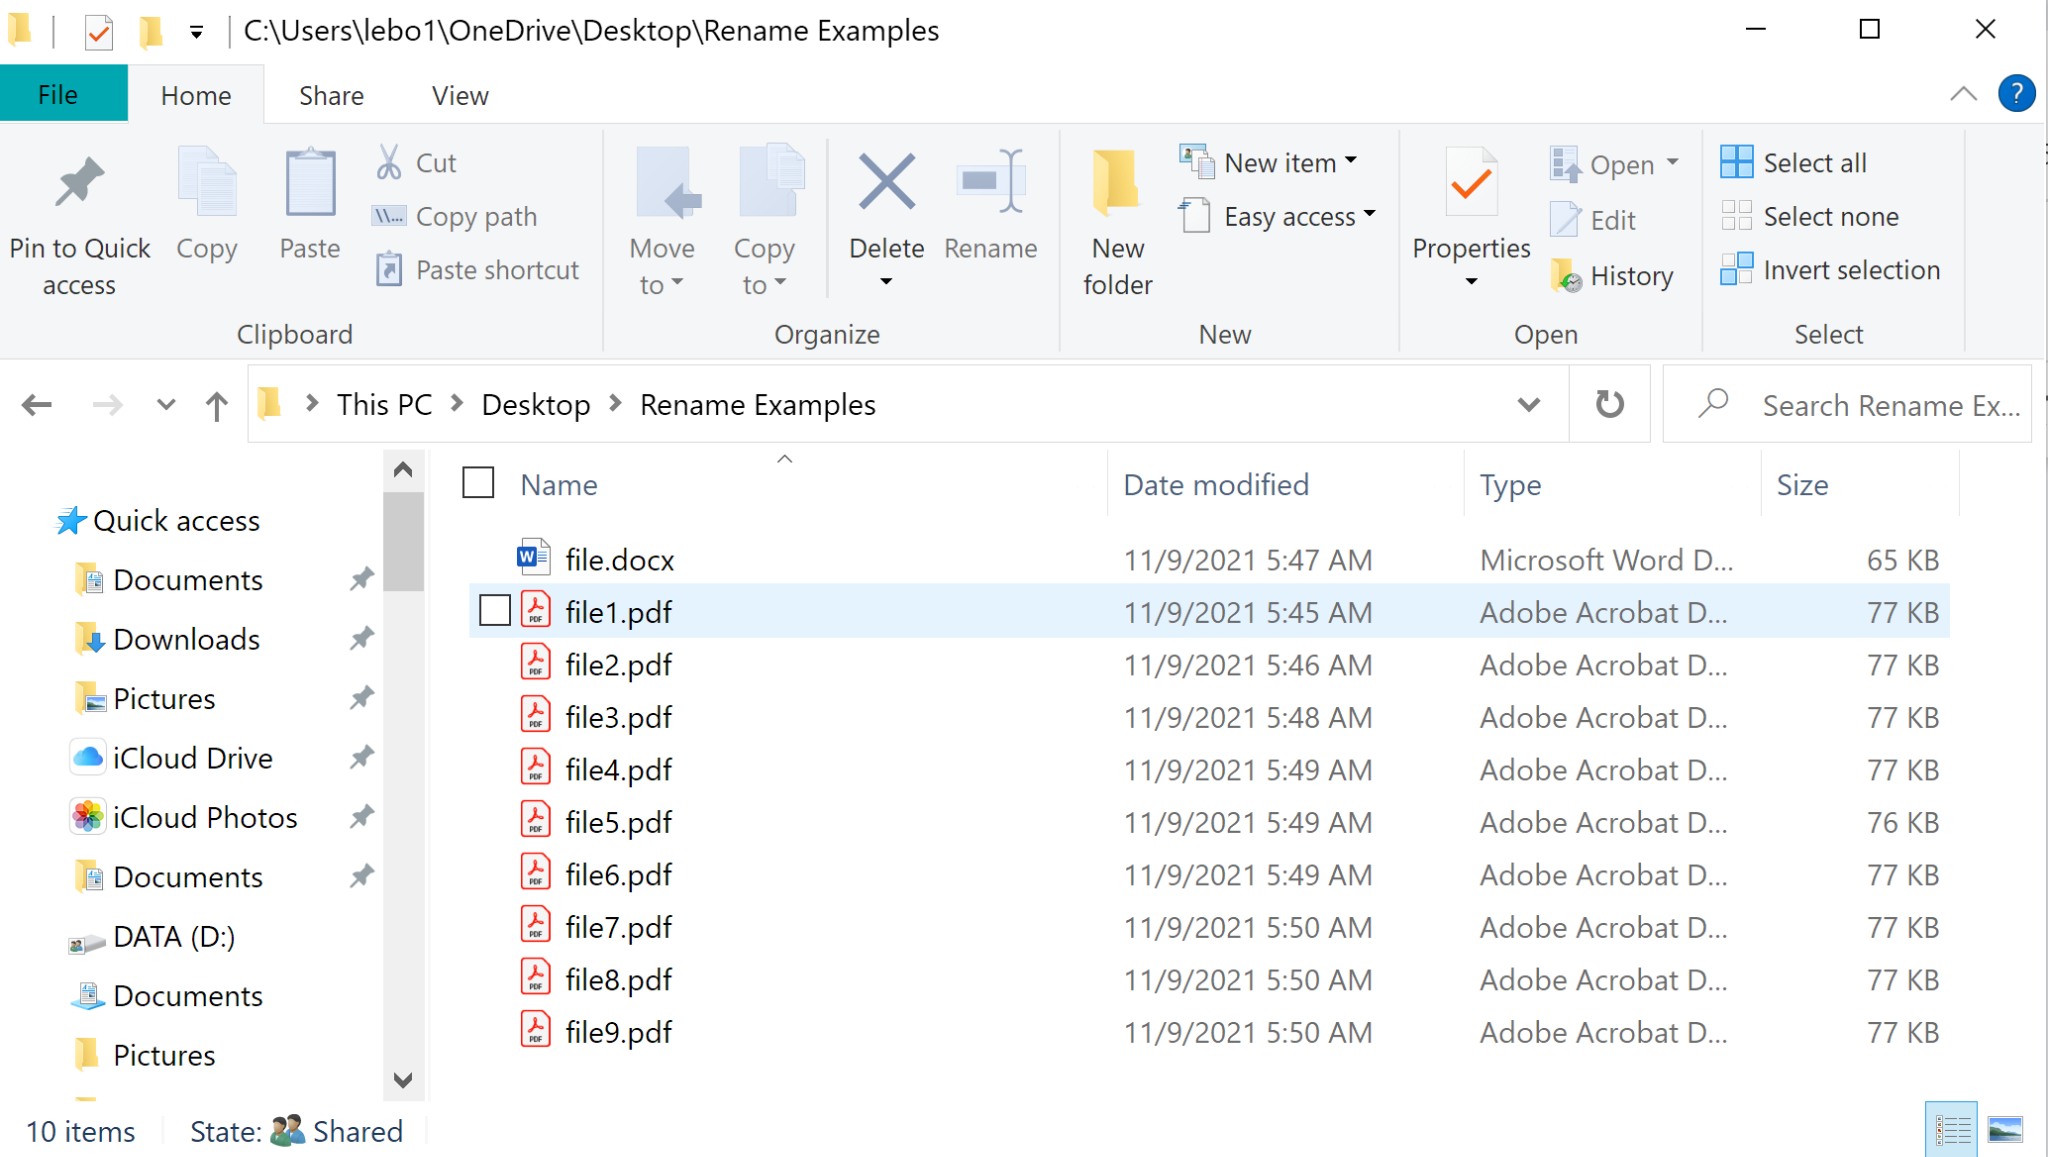
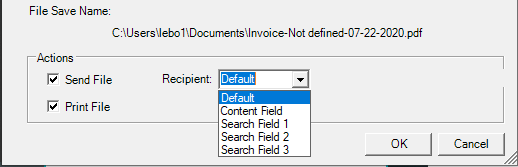
- Accessibility through shared drive storage: Reports and documents are saved to a shared drive, which makes them accessible to authorized users on the local network.
- Scalable and easy to use: Win2PDF is easy to set up and use, and can be deployed from very small to large enterprise organizations. It requires no special training or expertise.
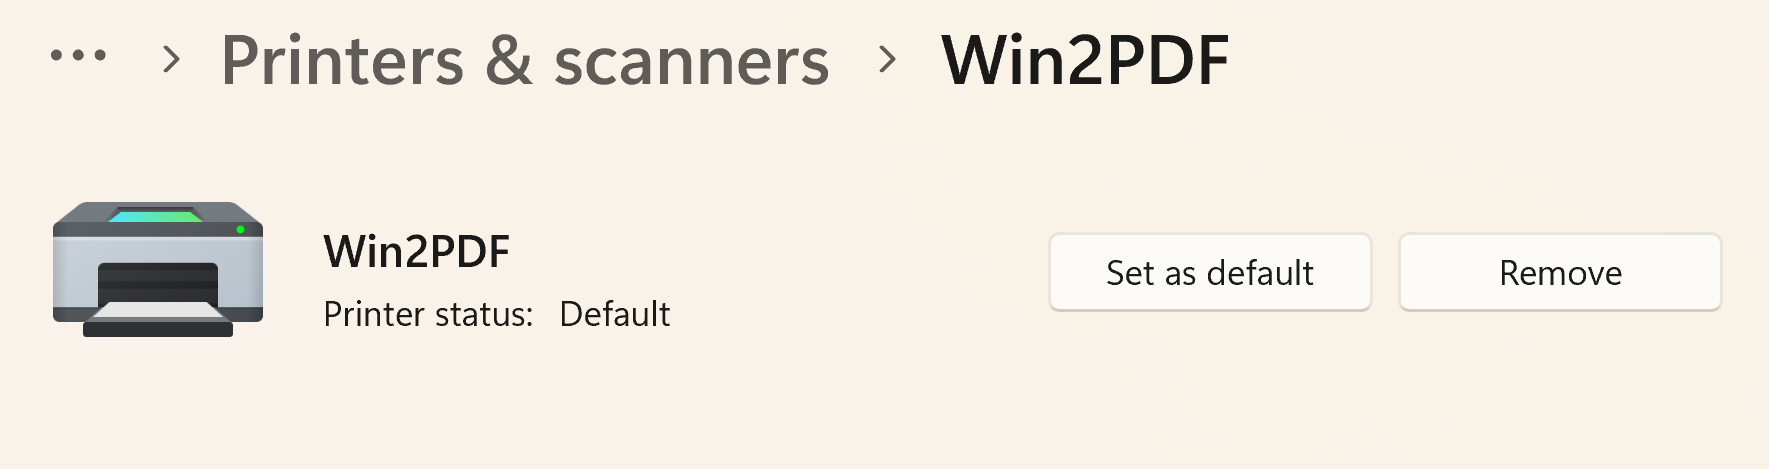
- Safe and secure: Win2PDF software is installed locally and is not dependent on the cloud or internet to function, unlike some subscription services that may be unavailable if the network is disrupted. The Win2PDF solution is always in the customer’s complete control.
Do you have backup document and report access as part of your business continuity plan? Consider using Win2PDF. This simple solution can help you keep your business running in the event of a system outage. Contact us for a 30 day trial to see how Win2PDF can fit into your plans.