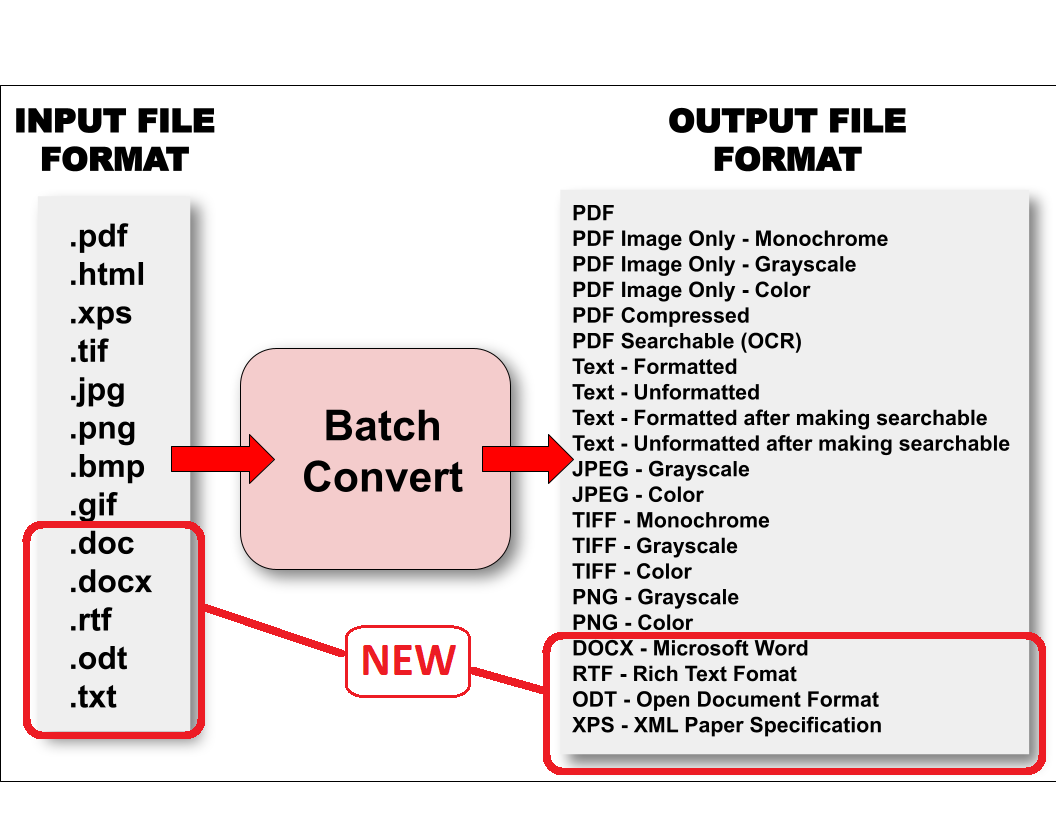
In last week’s post, we announced details on the latest Win2PDF support of various Word Processing formats like Microsoft Word (.doc, .docx), OpenDocument Text (.odt), and Rich Text Format (.rtf).

While MS-Office files have always been an important format for documents, there is an increasing need to support OpenDocument (ODF) files as well, mostly due to its increasing adoption within government and international organizations. The reason for this is simple: they’re open and not dependent on changes imposed by a single company.
Microsoft Office Documents (.doc) were originally binary files used by Microsoft as a proprietary format. Microsoft adapted the format to an standards-based format based on Open Office XML in 2007, and this became the (.docx) format. Today, both (.doc) and (.docx) formats are maintained by Microsoft. The OpenDocument format, on the other hand, is an open format that is documented and maintained by an independent non-profit consortium known as OASIS.
[If you’re interested in more details, here’s Microsoft’s list of differences between (.docx) and (.odt) files].
For these reasons and more, Win2PDF now supports more conversion options with .odt files.
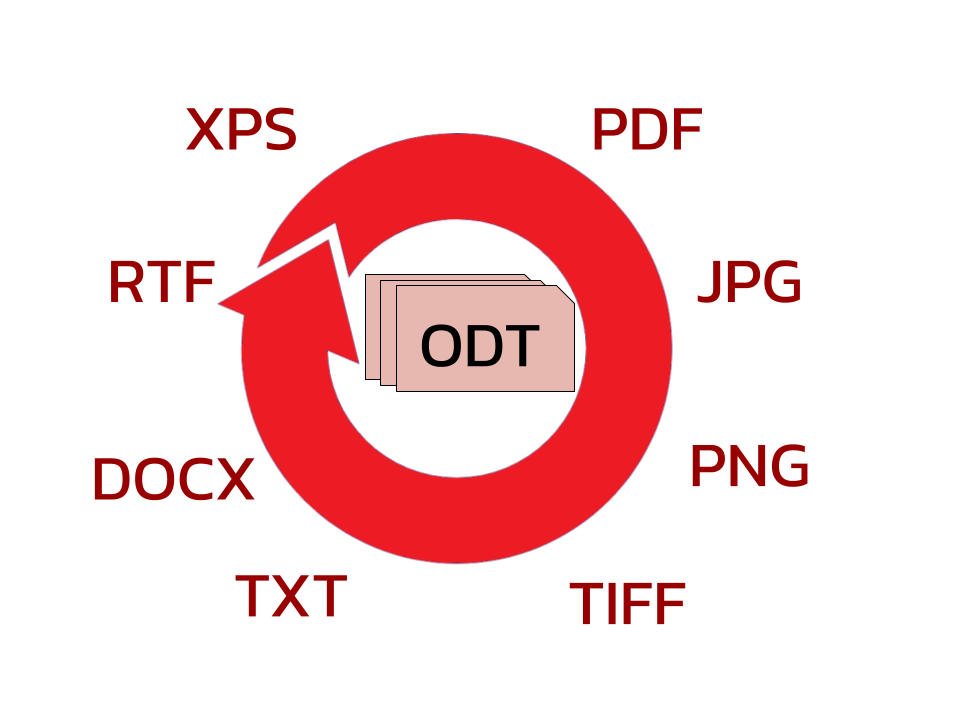
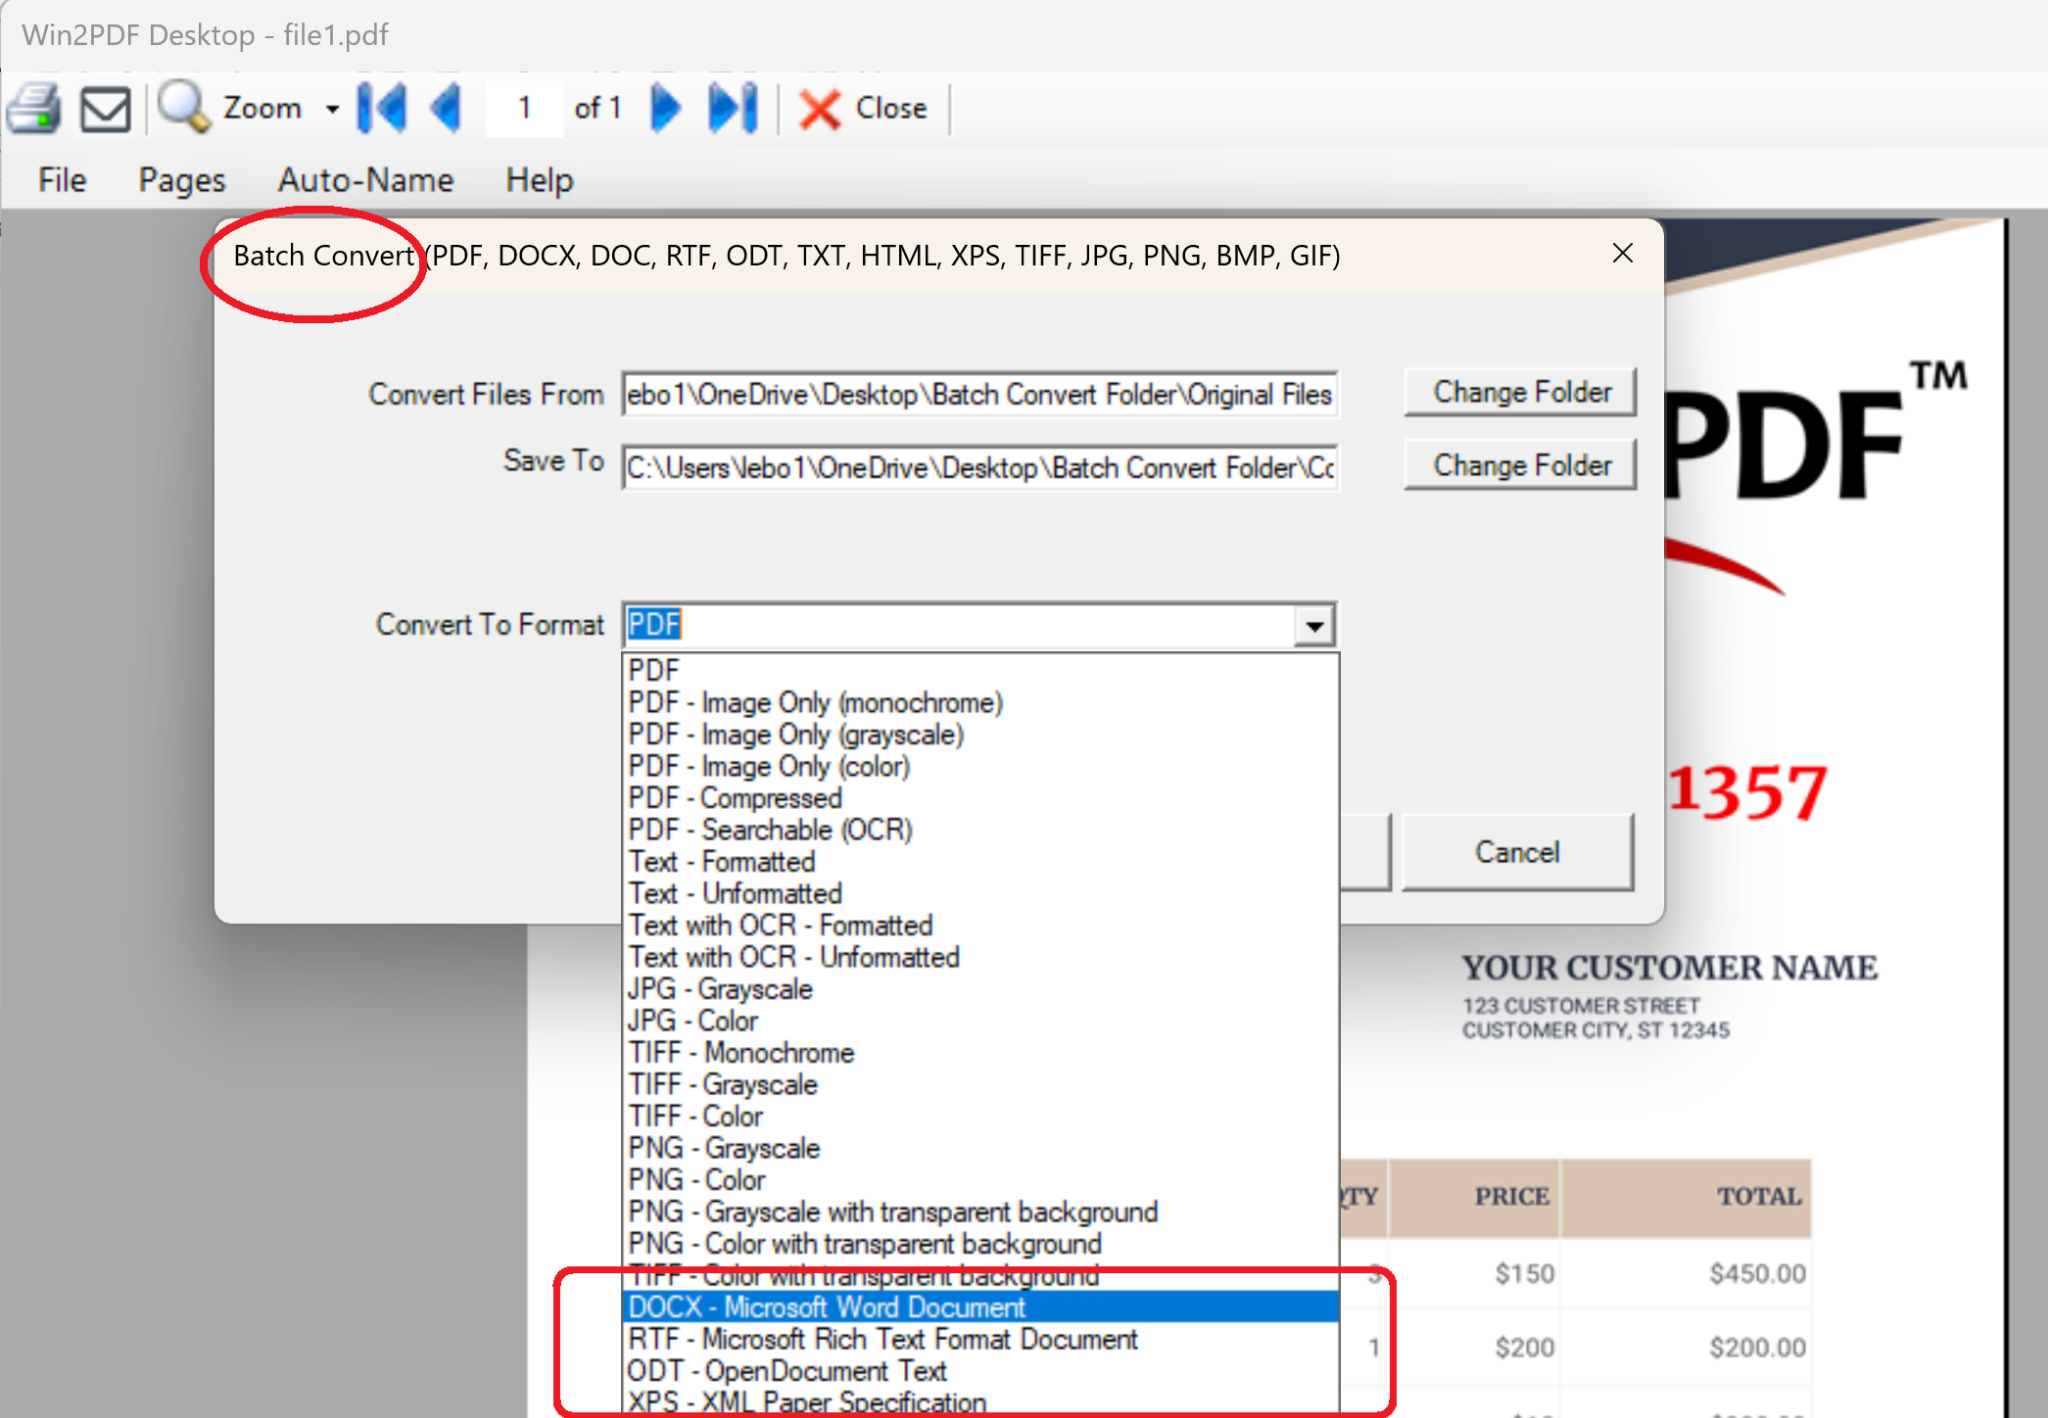
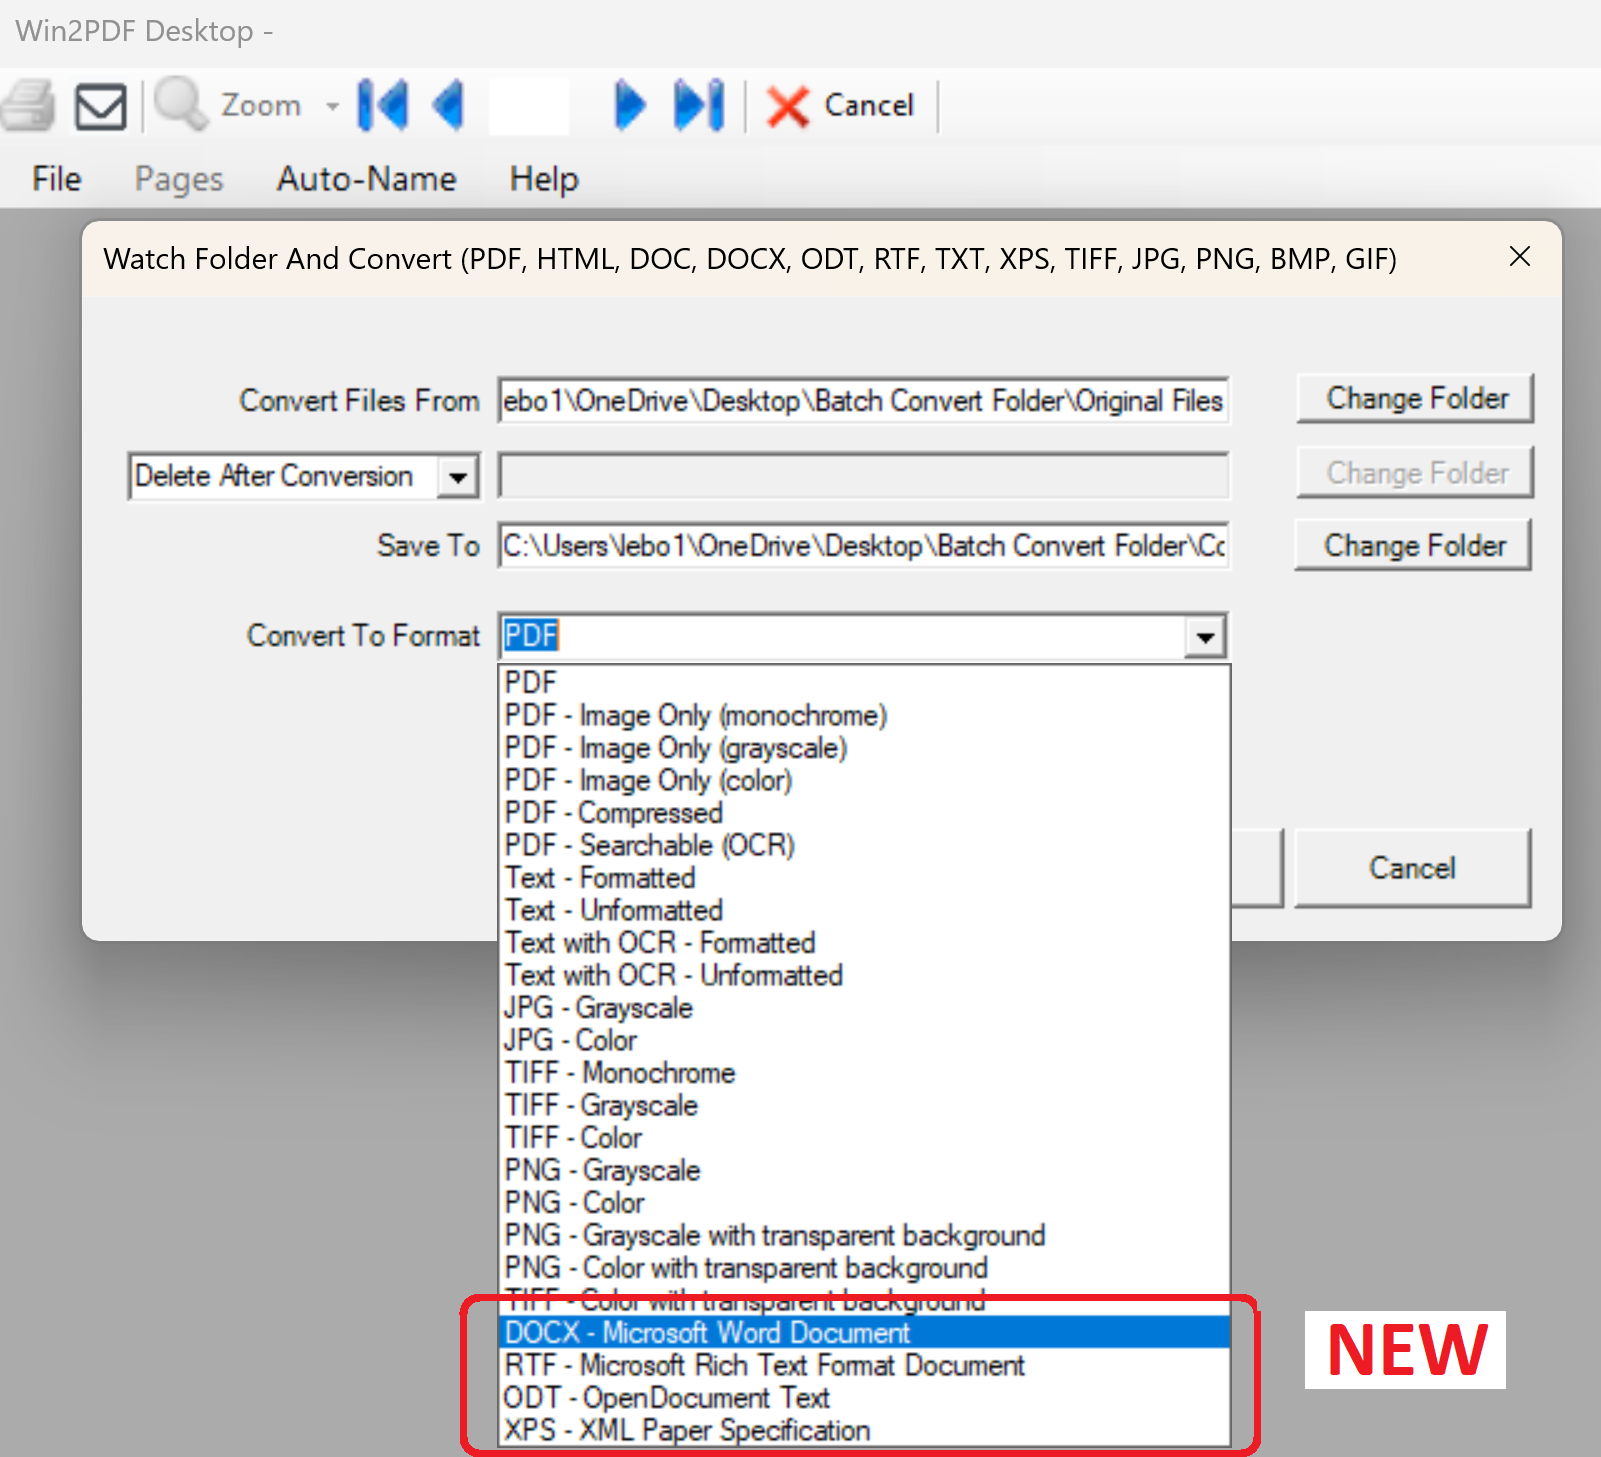
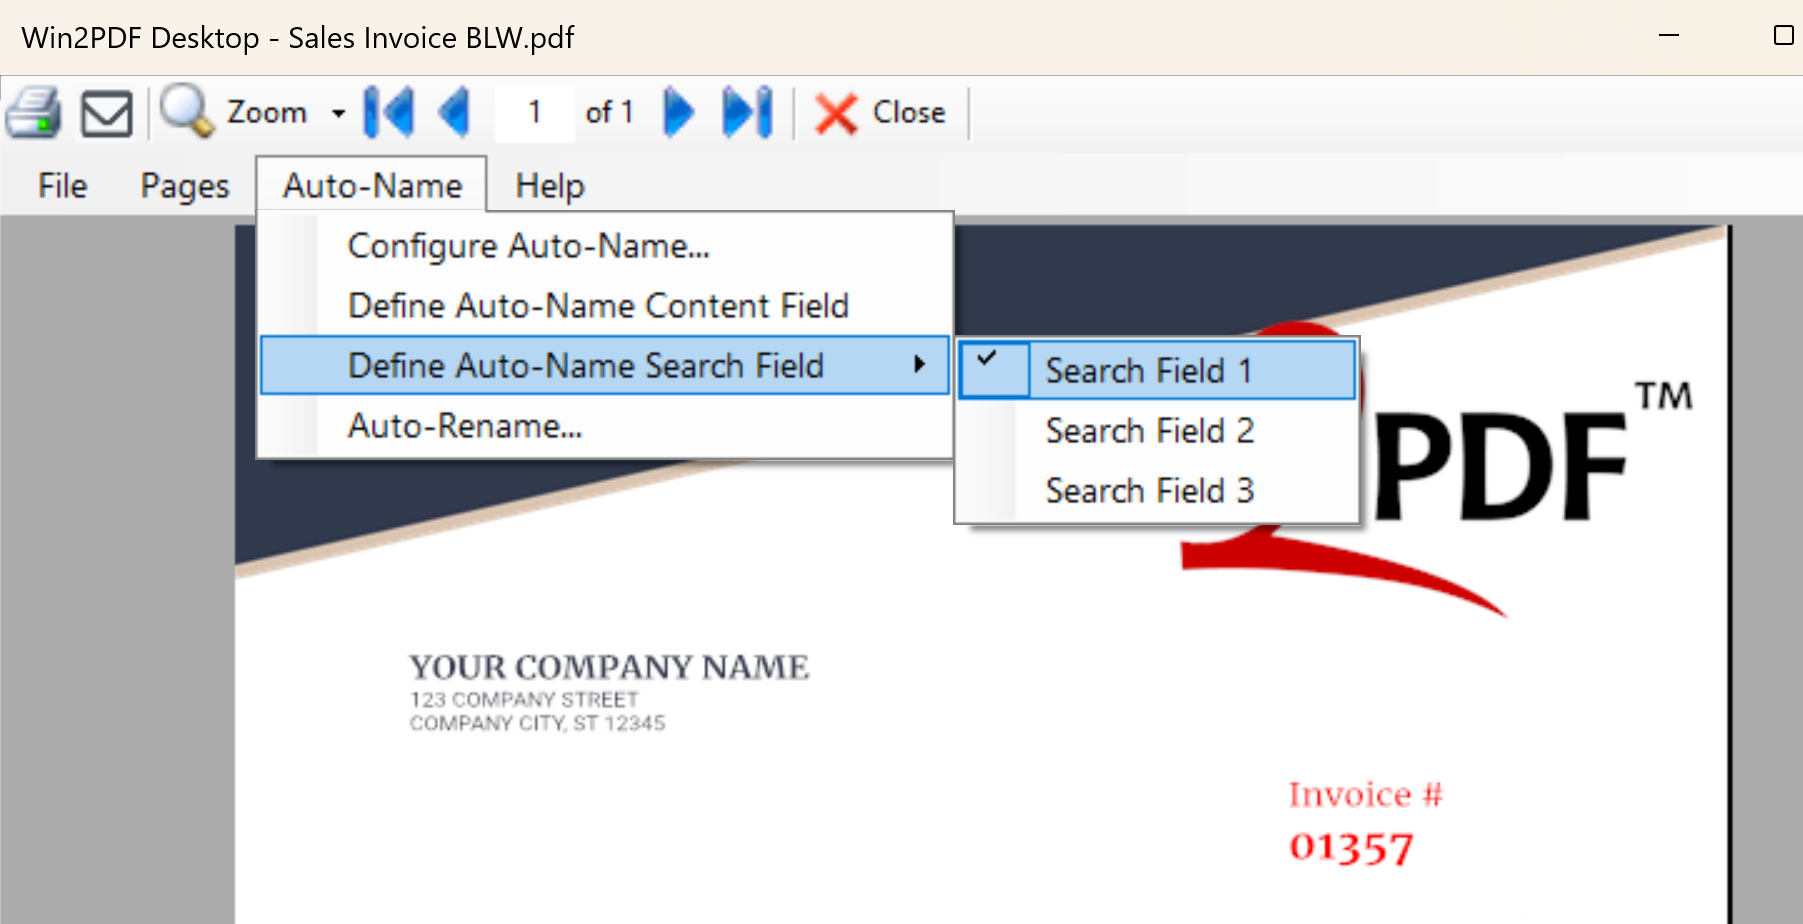
You can now read .odt files in the Win2PDF Desktop App, and batch convert folders of .odt files into the following formats:
- PDF to ODT
- JPG to ODT
- PNG to ODT
- DOCX to ODT
- DOC to ODT
- RTF to ODT
- TXT to ODT
- ODT to PDF
- ODT to JPG
- ODT to PNG
- ODT to TIFF
- ODT to TXT
- ODT to Searchable PDF
- ODT to Compressed PDF
- ODT to Image Only PDF
- ODT to DOCX
- ODT to RTF
- ODT to XPS
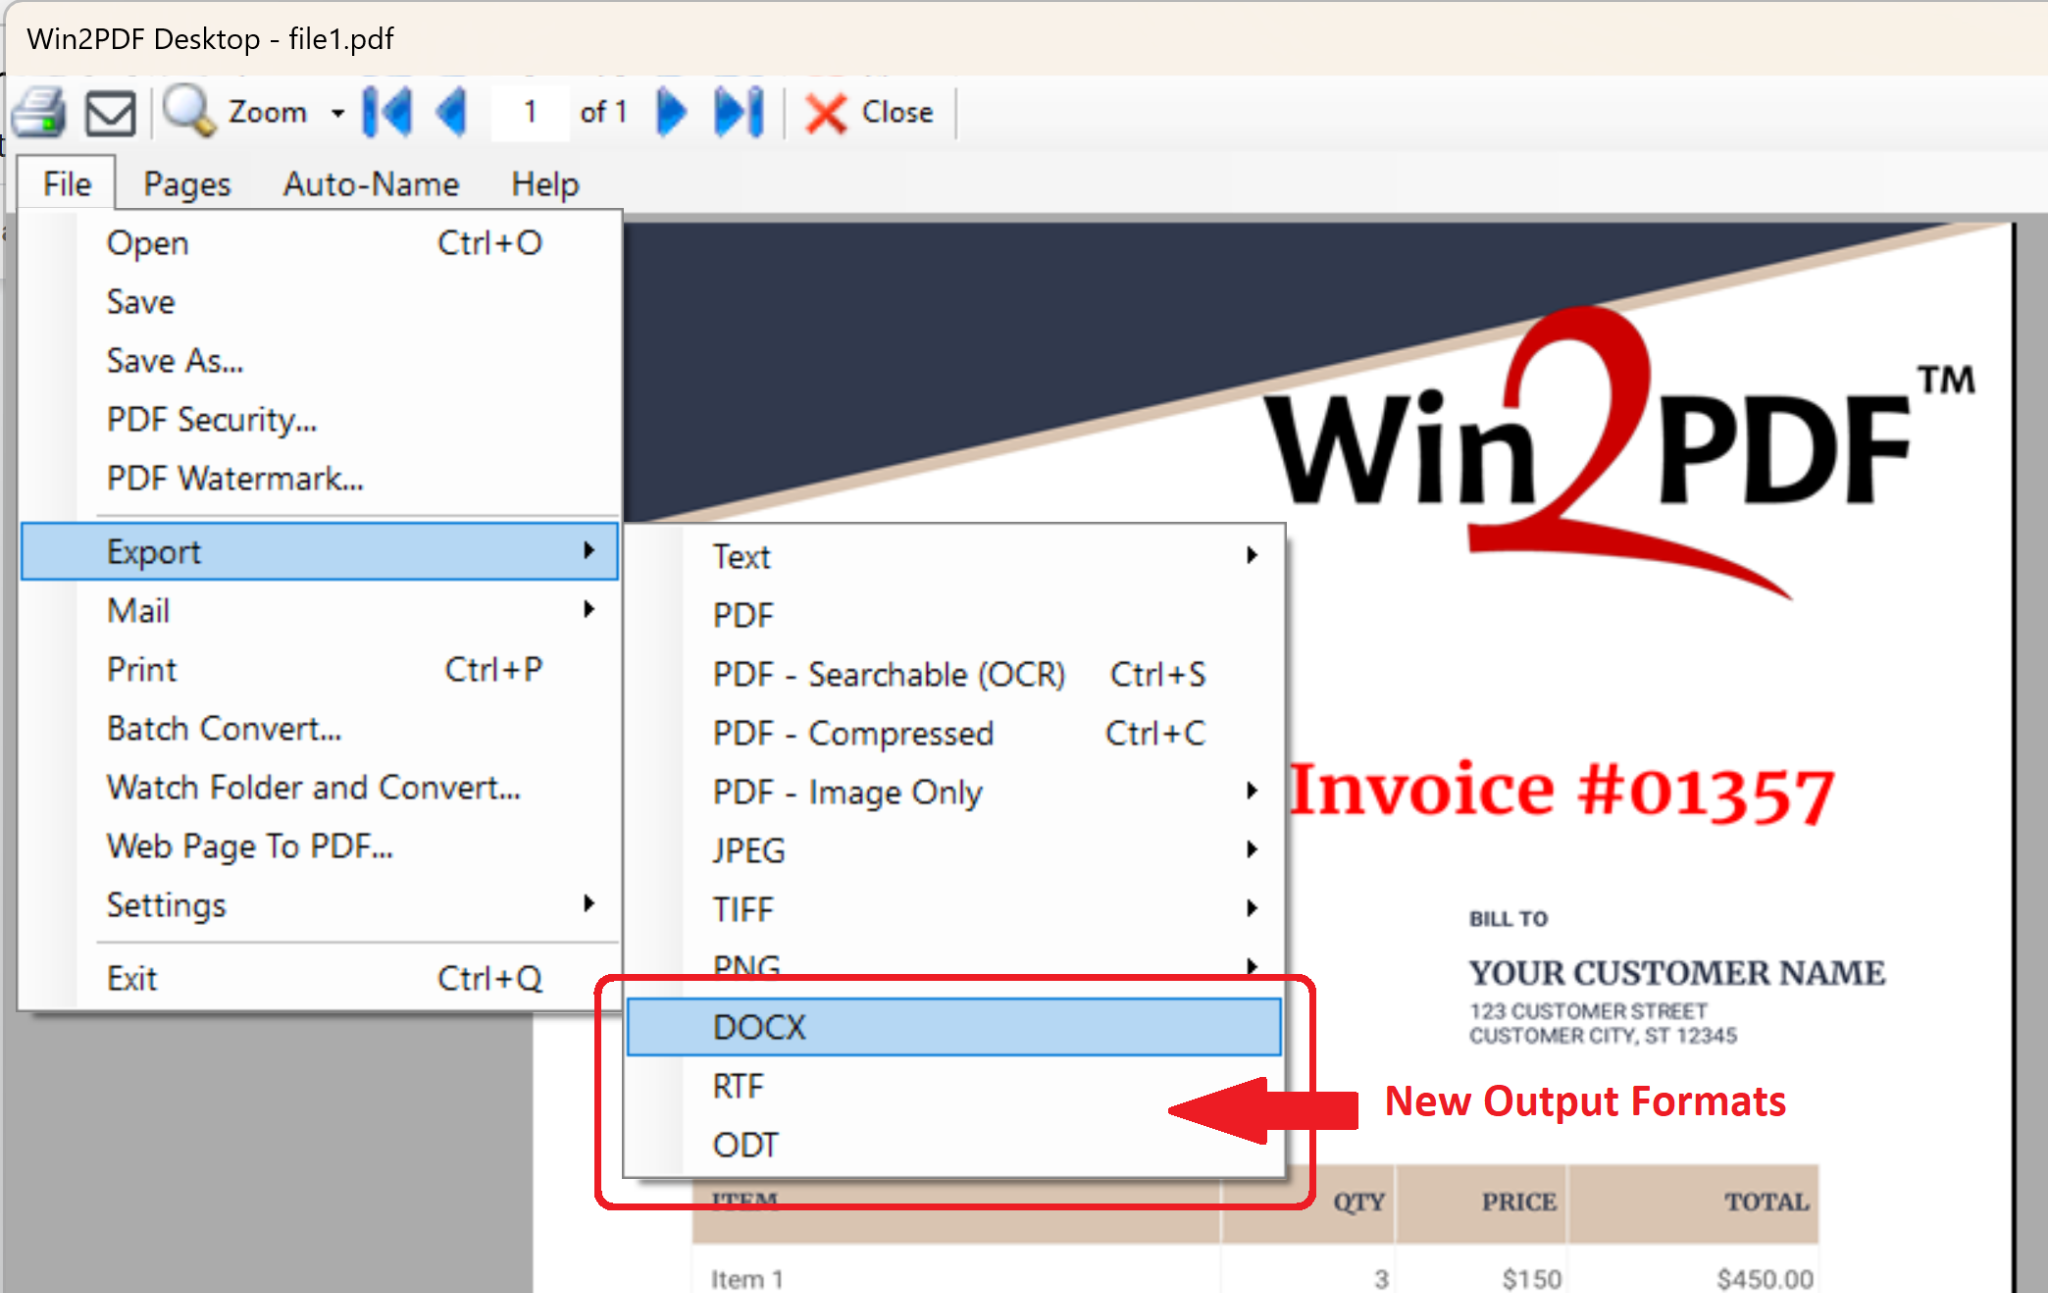
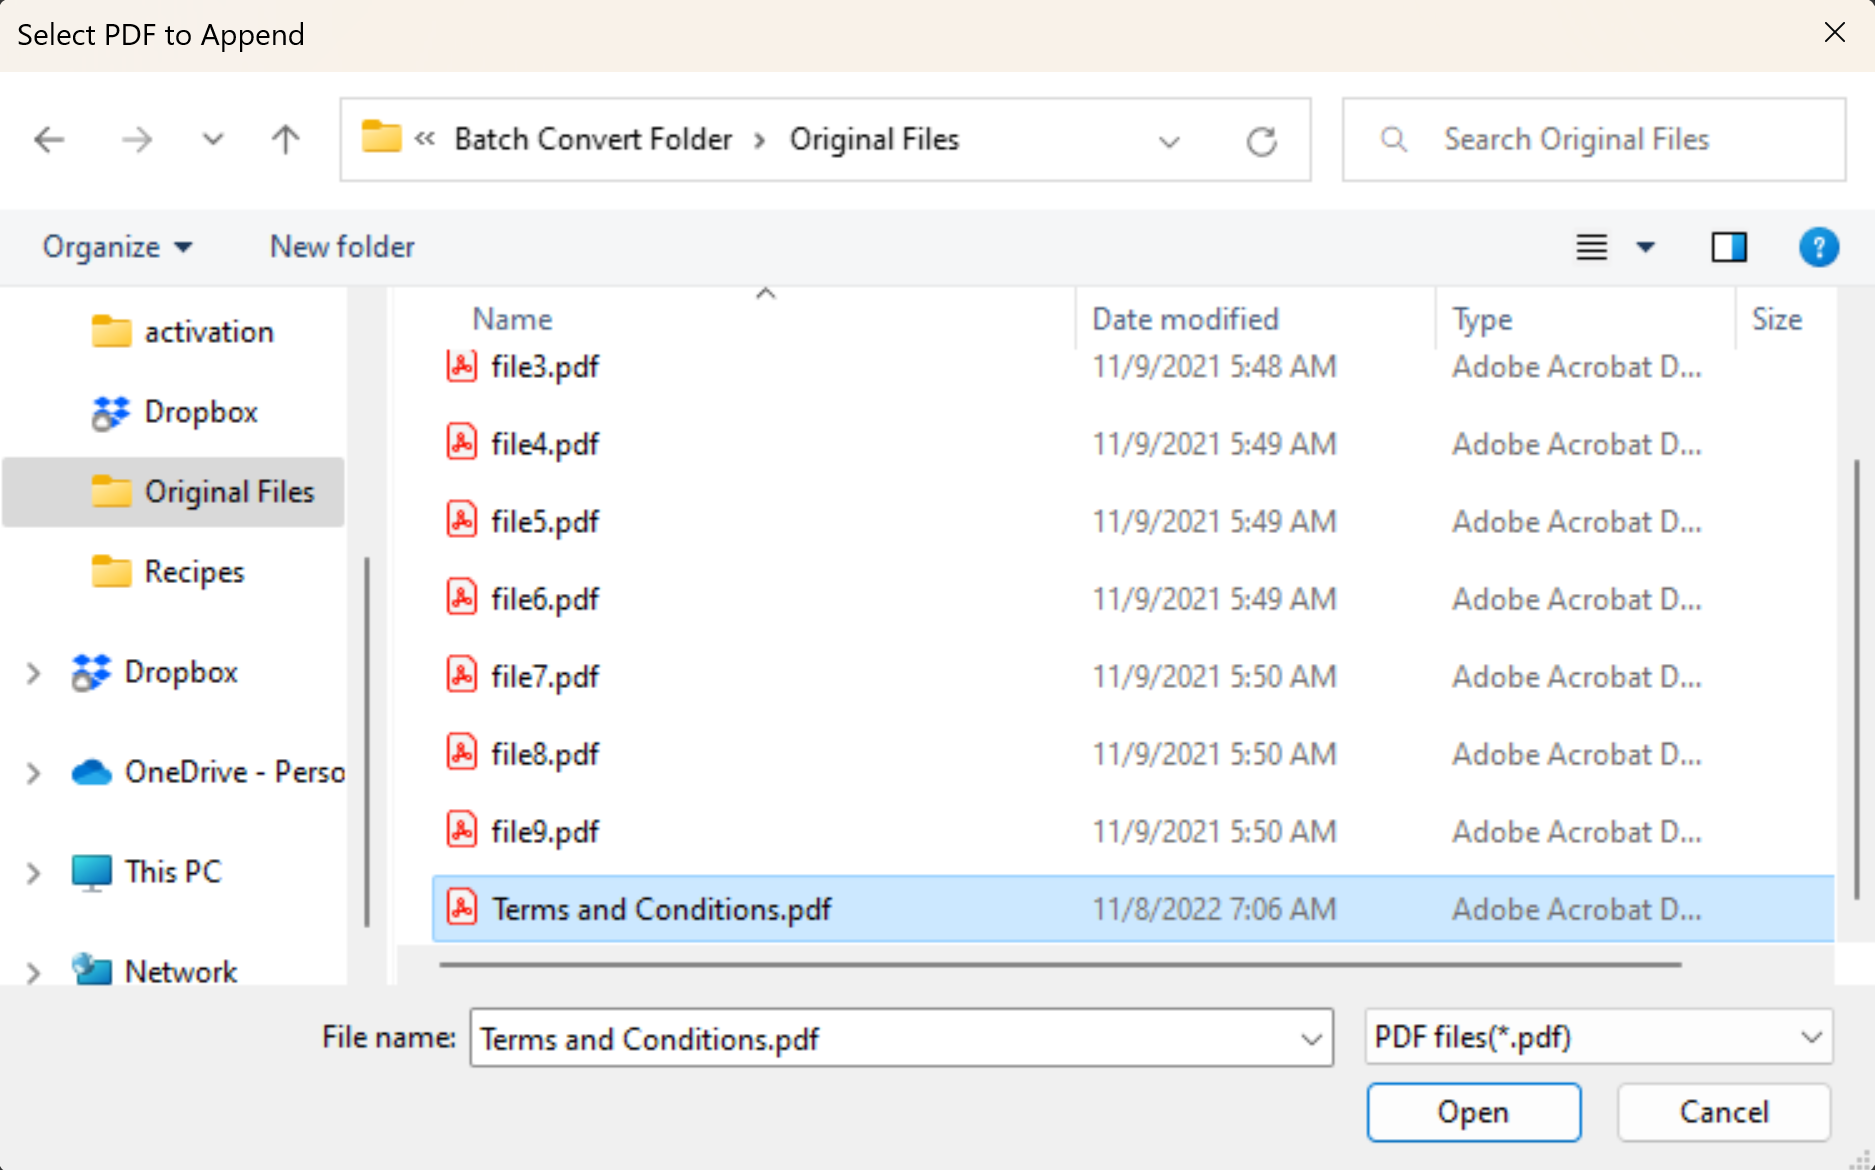
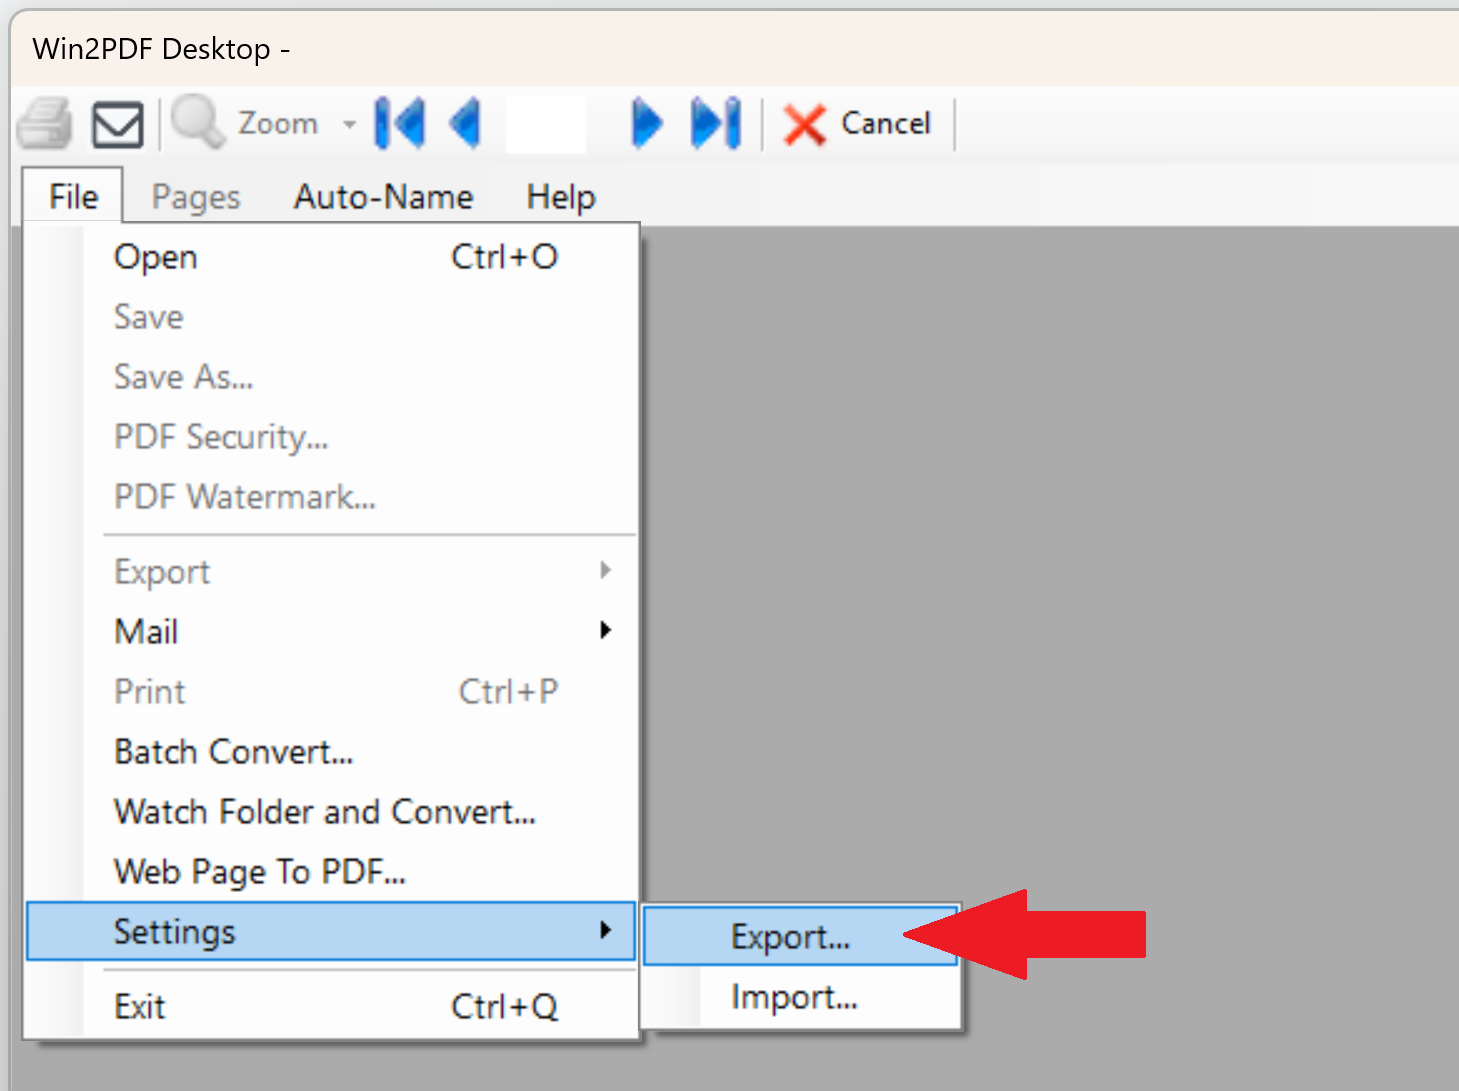
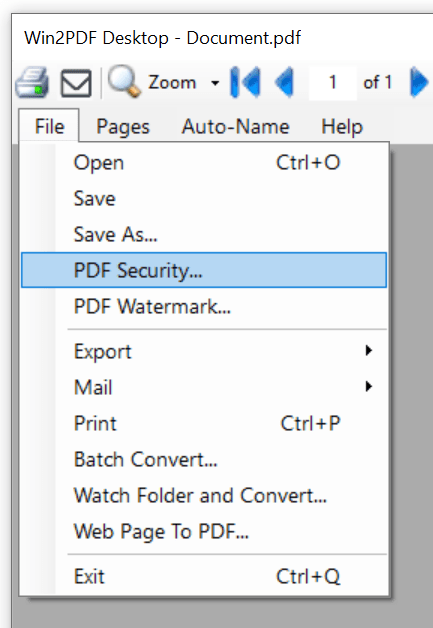
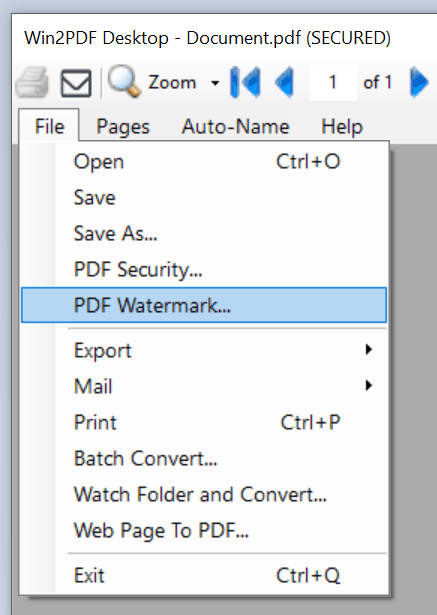
If you want to convert individual files instead of batch converting folders of documents, you can either use the “export to ODT” feature or the “convertto” command line with the source or destination set to an .odt file.
Whether you’re looking to share these documents with others by email or the web, or simply preserve their formatting in another format, Win2PDF can help you batch convert folders of .odt documents to PDF quickly and easily. If your organization is using OpenDocument Formats and there’s something else you’d like to see in terms of conversion, let us know. We’re always interested in making the conversion process between different file formats easier and more flexible.