For centuries people used a wax seal on letters to prove to the recipient that the letter was from a trusted source and had not been tampered with. Did you know there is a way to do this digitally with your PDF file?

We recently added a feature that allows you to apply a digital certificate to a PDF file when it is created by Win2PDF. The certificate — which can be created by you, or purchased from a certificate authority — allows the recipient to verify that the file was ‘signed’ from the sender and that it hasn’t been altered or modified.
Before we get into the specifics of this feature, we should probably do a little explanation of terms surrounding digital signatures and what is commonly known as “digitally signing” documents, because it can be a confusing topic.
There are several ways of doing this that largely break down into 2 categories.
- Electronic Signatures (or e-signatures): This method of signing a PDF allows the user to apply a simple image representing a person’s handwritten signature. It is simple and easy to implement, and is legally permissible for many types of documents, but also not very sophisticated. For example, it would be easy for someone to scan a signature of someone else, and then use it to apply to PDF files without the signature owner ever even knowing about it. Aside from the representation of the signature, there isn’t a formal way of authenticating the creator is who they say they are.
- Digital Signatures: This method of signing is more sophisticated and preferred by companies that require a greater level of source authentication. With this type of digital signature, an encrypted certificate is embedded within the PDF file. The recipient of the file can view the certificate and verify exactly “who” created it. For example, if I create a trusted certificate as John Doe from Win2PDF Sales and applied it to a PDF file, the receiver of that file would be able to verify that “John Doe” really was the creator of the file and that the document hasn’t been modified since it was signed. There are also different types of certificates that can be used, from simple digital IDs that you can create yourself in Adobe Reader, to more advanced ones that can be purchased and verified by an approved certificate authority (CA).
The new Win2PDF feature utilizes this second method — digital signature, or digitally signing documents using certificates. It requires a valid Win2PDF Pro software license (request a trial version if you want to try this), and it assumes that you have already either created or obtained your own digital certificate. Adobe’s web site provides documentation on how to create your own Digital ID in Adobe Reader.
Here is an overview of the steps needed to apply a digital certificate to a PDF file using Win2PDF:
- Download and install Win2PDF Pro 10.0.108 or later software. [Note: This links to the Win2PDF Pro Service Pack for the latest version.]
- Download and install the PDFSignWithCertificate Plug-In.
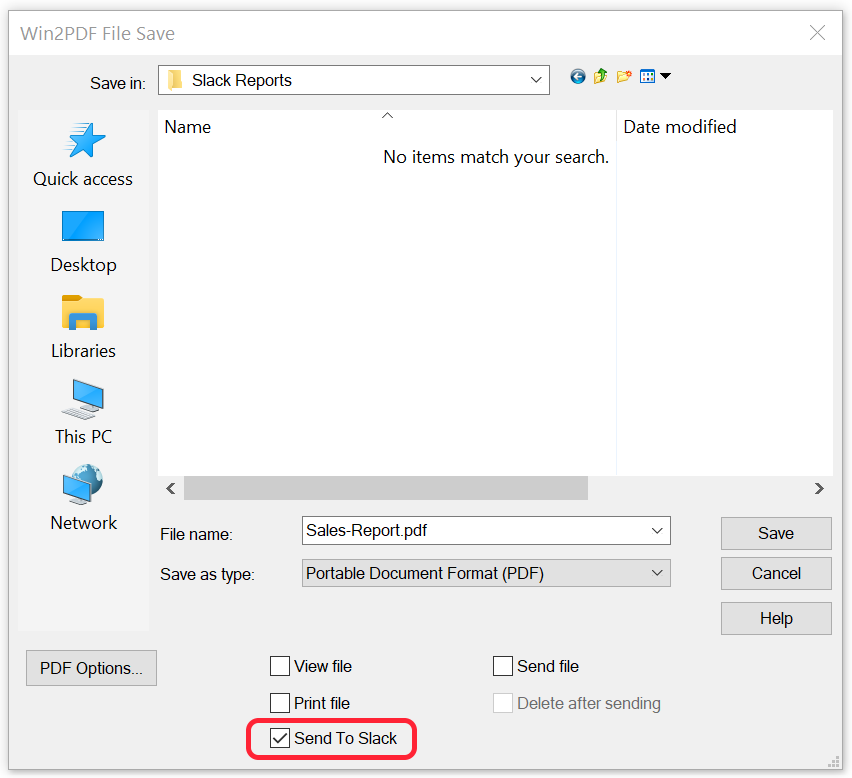
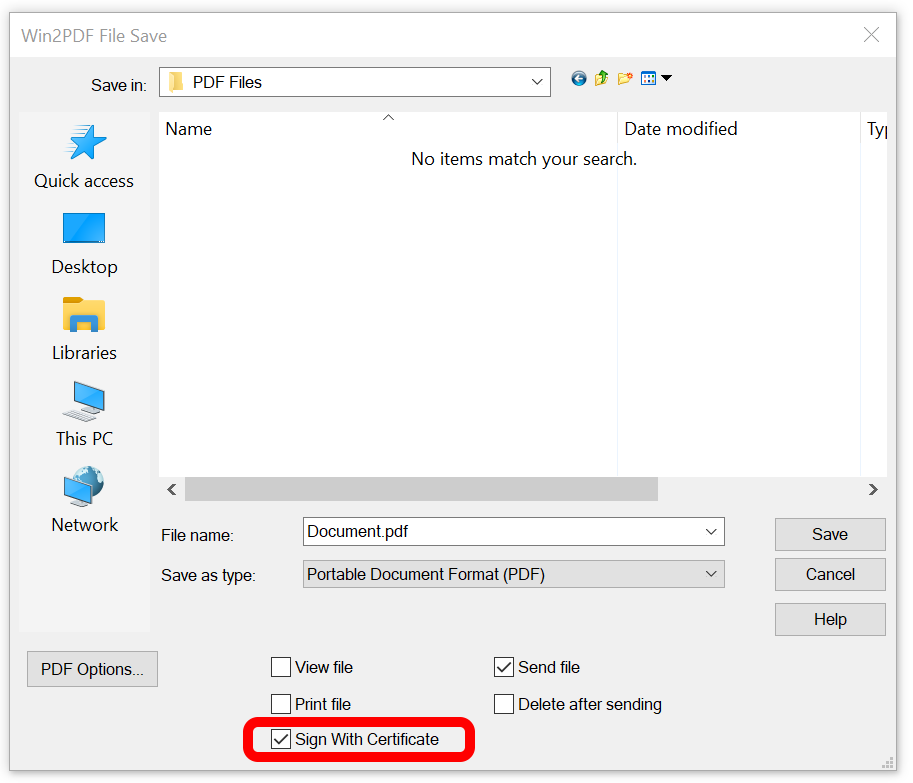
- Once these 2 components are installed, you will see a new checkbox on the Win2PDF file save window. If this box is checked, you will get a pop-up to select a certificate when the PDF file is saved.
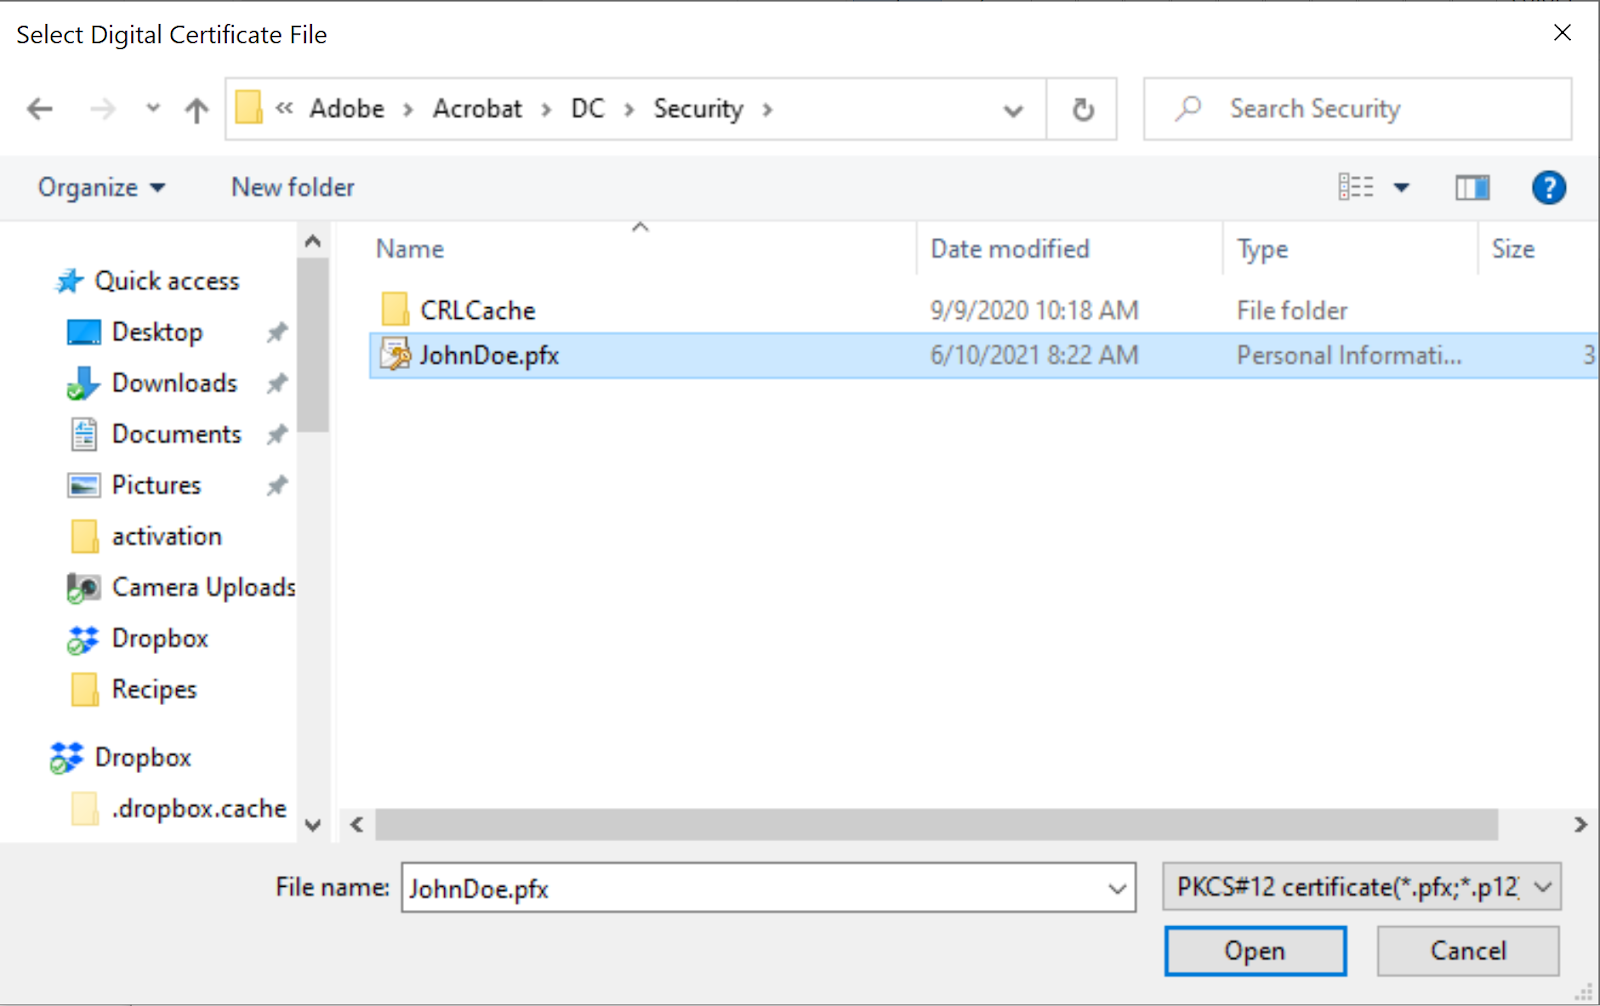
- When the PDF file is saved, choose your Digital Certificate. If you used Adobe Reader to create your digital ID certificate, for example, the file would have a .pfx file extension and be located on your hard drive folder named:
C:\Users\[your username]\AppData\Roaming\Adobe\Acrobat\DC\Security
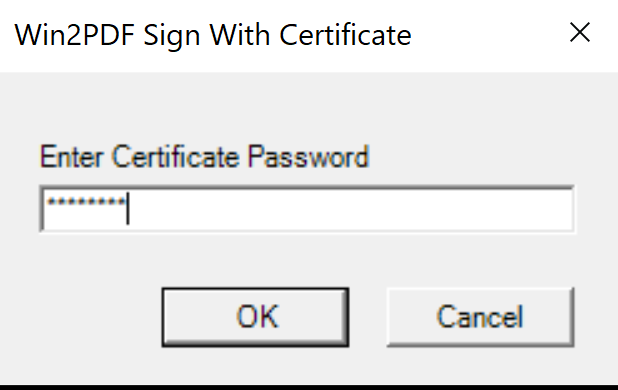
- When the Digital Signature file is applied, it will require you to enter in a password to complete the certificate application to the PDF file. This password is something you set up when creating your Digital ID or obtained from a certificate authority.
- Lastly, when you open the PDF file in Adobe Reader, Adobe recognizes the PDF file as being signed with a valid digital certificate. You can see how this is displayed in Adobe below.

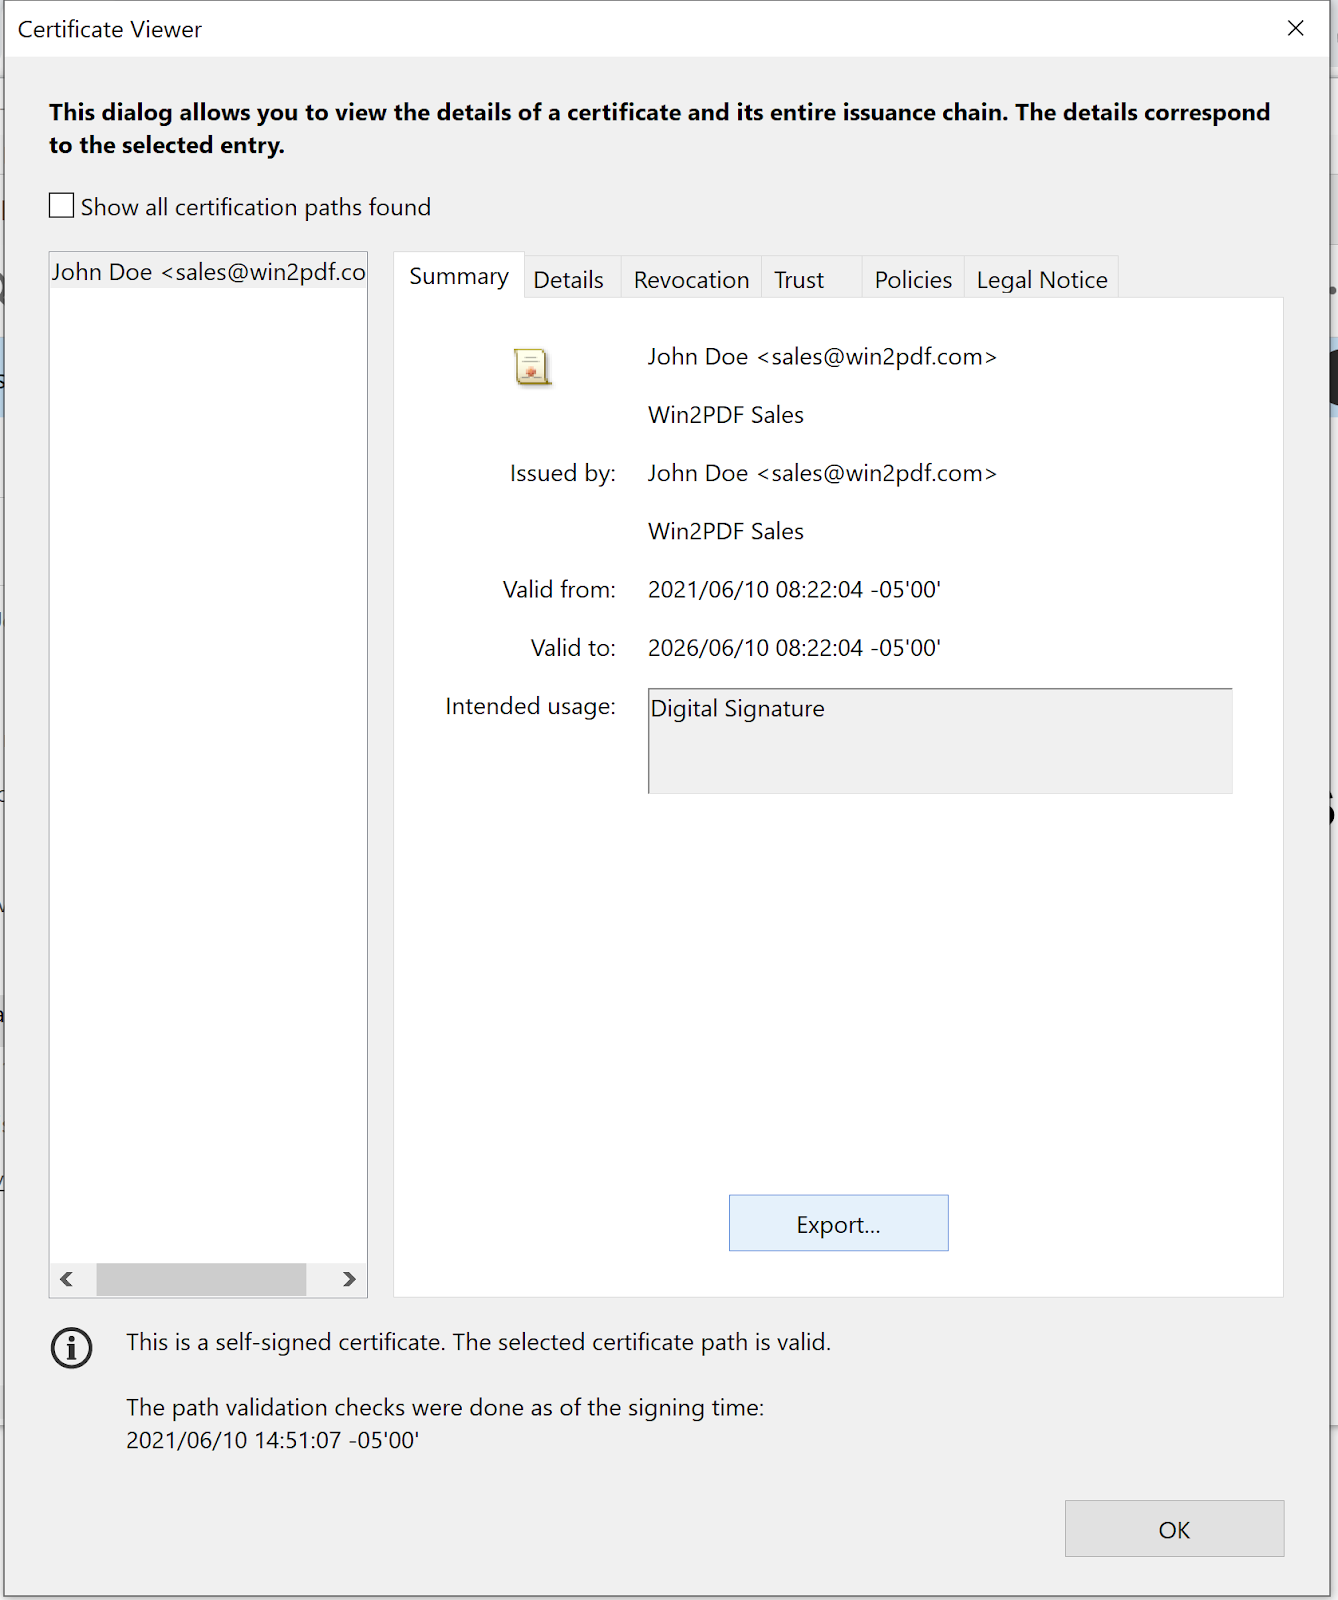
- If you examine the certificate in the Adobe Reader software, it will show the details that were used. Here, the recipient could verify that the file was signed by John Doe from Win2PDF Sales.
For advanced users, Win2PDF Pro also supports a command line to sign PDF files with a digital certificate.
This has just been an overview of the new Digital Signature feature in Win2PDF Pro. If you have any questions please let us know and we’ll be glad to provide more assistance.